

How to Check Your Stairs Against Building Code
About This Guide
This project outlines the process for a DIYer to check their existing stairs against common building code requirements. It involves understanding key measurements and features of stairs and comparing them to established standards. The goal is to identify any potential safety issues or code violations.
Tools & Materials
Steps
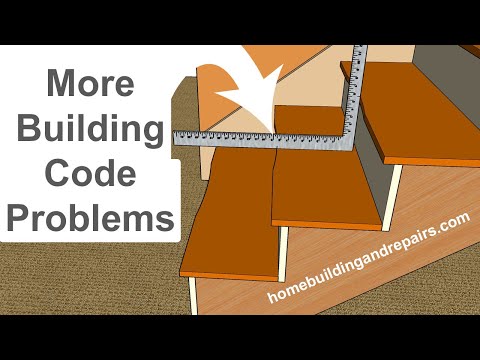
Measure Stair Rise
Using a tape measure, accurately record the vertical distance from the top surface of one tread to the top surface of the adjacent tread. This measurement is known as the stair rise. Repeat this for every step to check for uniformity. Building codes typically require stair rises to be between 4 inches and 7 inches, and all rises within a single flight of stairs should be within 3/8 inch of each other.
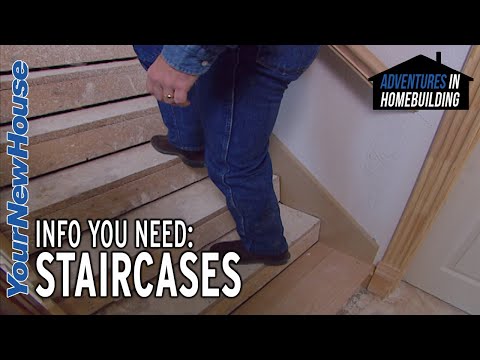
Measure Stair Run
Measure the horizontal distance from the leading edge of one tread to the leading edge of the next tread. This measurement is the stair run. Ensure that the run is consistent across all steps. Building codes typically require a minimum stair run of 10 inches for residential stairs. The 'tread depth' (the part you step on) is typically measured from the nosing of one step to the nosing of the next. Codes usually specify a minimum tread depth (e.g., 10 inches), and the 'going' (the horizontal distance from one riser to the next) should not exceed the tread depth.
Check for Consistent Tread Depth (Run)
Review the tread run measurements from Step 2. While codes primarily focus on riser consistency, consistent tread depth is also important for user comfort and safety. Ensure each tread provides adequate foot placement. Check that the 'going' (horizontal distance from the face of one riser to the face of the next) meets the minimum requirement, typically 10 inches.
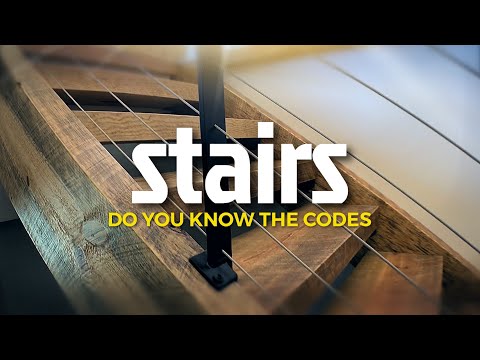
Inspect Tread Nosing
The nosing is the projecting edge of the tread. Codes often specify that the nosing should not exceed a certain projection (typically 1 to 1.5 inches) and that the radius of the nosing should be consistent. Some codes may require that the bottom of the nosing should not extend beyond the face of the riser below it by more than 1/2 inch to prevent toe-catching.
Inspect Handrails
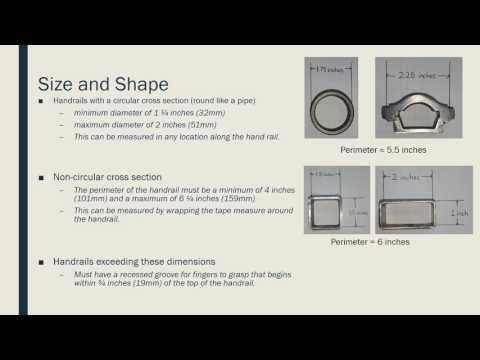
Check that handrails are installed at a height between 34 and 38 inches above the tread nosings. Ensure the handrail is continuous and runs the full length of the stairs. Test for stability by applying firm pressure. The graspable diameter or shape of the handrail should also comply with code (e.g., typically between 1.25 and 2 inches in circumference or cross-sectional dimension).
Inspect Balusters and Guardrails
Measure the clear space between balusters (spindles) to ensure no object larger than 4 inches can pass through. This prevents children from getting stuck. Inspect guardrails (if present) for stability and ensure they meet the required height (typically 36 inches on open sides of stairs and landings).
Evaluate Landing Requirements
Verify that landings are provided at the top and bottom of each flight of stairs. Ensure that any landing is at least as wide as the stairs it serves. If the stairs change direction, the landing must be at least as wide as the stair and also as long as the stair is wide. Check that landings are level and securely attached.
Questions about your project or which product fits? Oak Valley Designs's team is happy to help. Mon–Fri 9–5 ET
Related Guides
See All



Subscribe for exclusive updates
Be the first to know about promotions, new products, and sales.