

How to Decorate Stairs for Halloween Safely
About This Guide
While decorating stairs for Halloween can be fun, it's crucial to prioritize safety to prevent trips and falls. This outline focuses on safe decoration strategies.
Assembled from 10 on-camera clips by 10 independent creators demonstrating these exact steps.
Tools & Materials
Steps
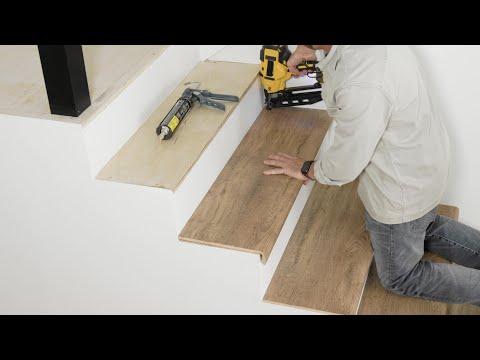
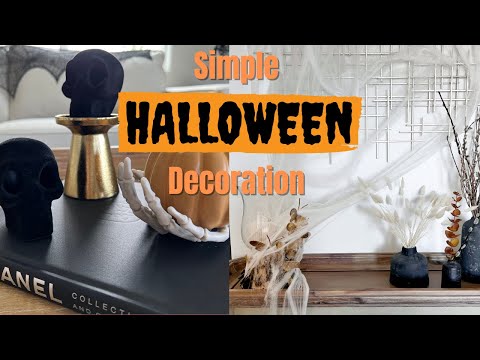
Securely Fasten Non-Obstructive Decorations
Use zip ties, adhesive clips, or non-damaging tape to secure decorations like LED string lights or faux cobwebs along the handrails or the vertical risers of the stairs. Ensure no part of the decoration hangs lower than the handrail or protrudes into the main walking surface of the tread.
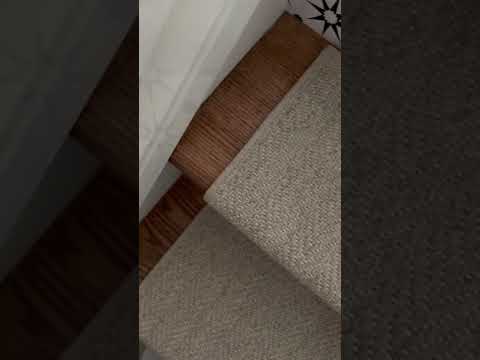
Utilize Stair Riser Decorations
Affix lightweight decorations such as vinyl decals, painted designs, or small, flat cutouts directly onto the riser of each step. Use strong, temporary adhesive like double-sided tape or spray adhesive designed for temporary mounting. Ensure the decorations lie completely flat against the riser and do not extend onto the tread surface.

Incorporate Safe Lighting
Use battery-operated LED puck lights or strip lights mounted flush along the edge of the treads or under the handrail. Ensure lights do not create excessive glare that impairs vision or get hot to the touch. Consider placing lights at the very front edge of each tread or along the stringer if space allows, always prioritizing visibility.
Perform a Final Safety Walk-Through
Walk up and down the stairs multiple times, testing the stability of all decorations. Check that no items can be easily knocked loose or pulled down. Ensure that visual cues (like lights or garland) clearly delineate the edges of the stairs and that no new trip hazards have been inadvertently created. Remove or adjust any elements that compromise safety.
Frequently Asked Questions
How do I ensure my Halloween stair decorations won't cause anyone to trip or fall?
The most important safety rule is to keep stair treads completely clear of any decorative elements. Secure all decorations tightly to banisters, railings, or stair risers using appropriate fasteners like Command clips or zip ties. Always perform a final safety walk-through, especially in the dark, to identify and remove any potential hazards.
What are the best methods for attaching decorations securely to stairs without causing damage?
For banisters and railings, zip ties or Command Decorating Clips are excellent for attaching lightweight items without leaving residue. On stair risers, painter's tape or peel-and-stick decals (like the InHome Blue Vinyl Sea Glass Peel Stick Backsplash Tiles) work well. Avoid using nails, staples, or strong adhesives that could damage your stair finish.
What's a common mistake people make when decorating stairs for Halloween, and how can I avoid it?
A very common mistake is placing items directly on the stair treads, which creates a significant tripping hazard. To avoid this, concentrate your decorating efforts on the stair risers, banisters, and adjacent walls. Focus on vertical elements to achieve a spooky effect without obstructing the path.
What kind of lighting is best for Halloween stairs to ensure both visibility and a spooky effect?
Battery-operated LED string lights, like the Feit Electric Mini LED Fairy String Lights, are ideal because they eliminate the need for outlets and reduce cord-related trip hazards. Drape them along the banister or secure them subtly along the edge of risers to illuminate the steps without creating glare or confusing shadows. Ensure they provide enough light to clearly see each step.
What types of decorations are best suited for stair risers to maximize impact and safety?
Stair risers are perfect for flat, non-obtrusive decorations. Consider peel-and-stick vinyl decals, cut-out silhouettes of bats or ghosts, or even draping lightweight spider webs directly onto the riser face with painter's tape. These options add visual interest without protruding into the walking space.
How much time should I budget for safely decorating my stairs for Halloween as a beginner?
As a beginner, plan to set aside about 1 to 2 hours for this project. This allows ample time for clearing the stairs, planning your decor placement, securely attaching all elements, and conducting a thorough safety walk-through to ensure everything is hazard-free. Having all your tools and materials ready beforehand will make the process smoother.
Questions about your project or which product fits? Oak Valley Designs's team is happy to help. Mon–Fri 9–5 ET
Related Guides
See All
How to Install a Retractable Baby Gate on Stairs

How to Cover Waterfall-Style Stairs with Treads
How to Remove Furniture Dents from Carpet

How to Install a Pressure-Mounted Gate at the Bottom of Stairs

Subscribe for exclusive updates
Be the first to know about promotions, new products, and sales.