
Addressing Exposed Staircase Ends
From How to Cover Waterfall-Style Stairs with Treads · Step 7 of 9 · Video by Remodel With Robert
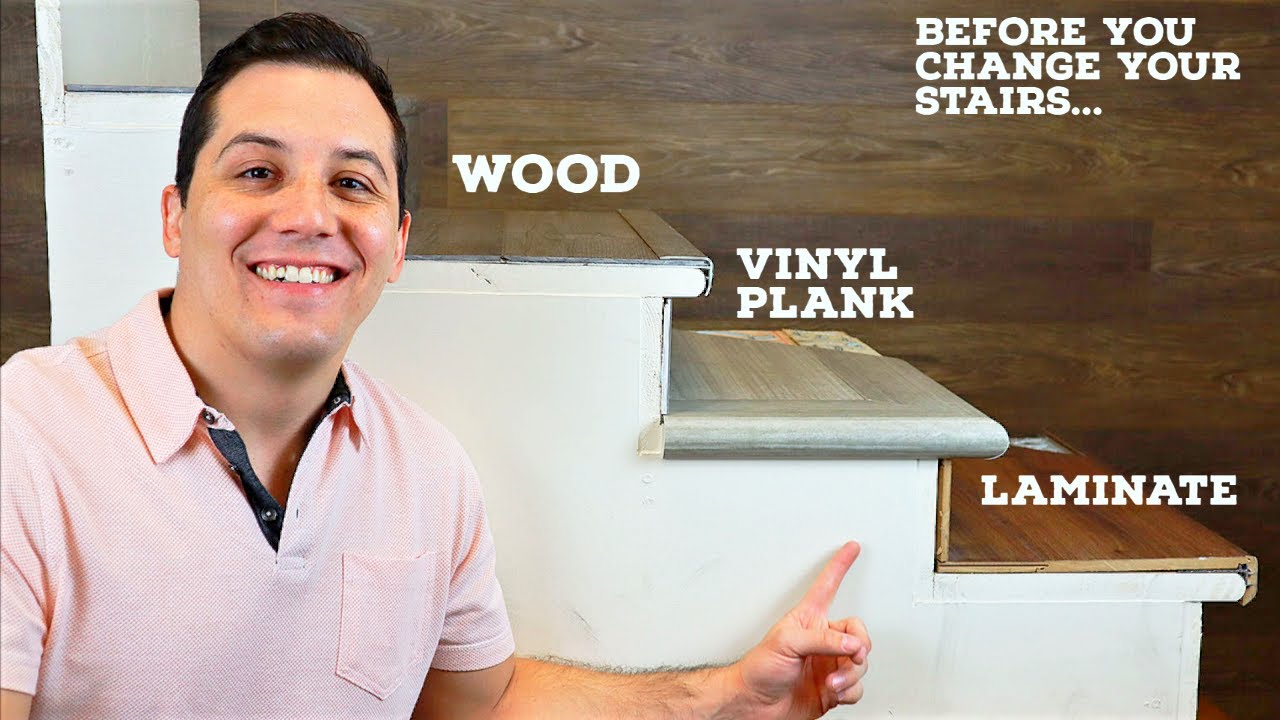
Showing 12:53–14:48 of the source video. Watch the full video with every moment.
What happens in this clip
If your staircase has one or both ends exposed (not enclosed by a wall), you'll need to consider how to finish the 'return' of the stair. This often involves mitering the stair nose and adding a separate piece to create a finished side. For stairs with dramatic radius curves or floating steps (which lack risers and have all four sides visible), standard pre-made options may not be suitable. In such cases, custom-made solid wood pieces, shaped to fit the unique contours of your staircase, may be necessary. This significantly increases the complexity and cost of the project.
Goal: Understand the considerations and methods for finishing exposed stair ends.
What's used
Tools
- Miter saw
- Woodworking tools
Materials
- Solid wood
- Stair nosing
About the full video
This project provides a comprehensive overview of how to convert carpeted stairs to hard surface stairs. It covers the basic anatomy of a staircase, different carpet installation styles, and various hard surface stair nosing options. The video explains challenges related to existing stair nosings, including techniques like cutting them off or backfilling, and introduces modern solutions such as custom-milled or flexible V-groove stair nosings for laminate and waterproof vinyl flooring. Special considerations for finishing exposed stair ends are also discussed.
Step 7 of 9: Install Waterfall Risers/Returns (if applicable)
For waterfall stairs, you may have a separate piece that covers the exposed edge of the tread where it extends beyond the riser. This is often called a return. Measure and cut these return pieces to precisely fit the dimensions of the tread's overhang and the adjacent riser. Apply construction adhesive to the back of the return piece and secure it to the tread and any adjoining surfaces. You may also need to fasten these with brad nails or a routered dado for a stronger connection. Ensure the joints are tight and flush.
Every video in How to Cover Waterfall-Style Stairs with Treads
Step 1: Inspect Existing Treads and Risers
- 0:04–1:28 Assess Existing Staircase & Components
- 0:00–0:13 Assess Existing Stairs and Planning
- 1:02–1:35 Visually Inspect for Staircase Wear and Damage
Step 2: Measure and Template for New Treads
- 0:41–1:06 Measure and Mark Treads
- 0:55–1:05 Measure and Cut First Tread
- 0:18–0:49 Measure Stair Tread and Riser
Step 3: Cut New Treads
- 4:34–5:55 Measure and Cut Treads
- 0:43–0:52 Measure and Cut New Treads
- 7:06–9:20 Mark & Cut New Treads/Risers
Step 4: Prepare Existing Surfaces
- 7:20–7:47 Prepare Existing Stairs for Installation
- 1:40–2:44 Prepare Surface by Filling Holes
- 0:12–0:18 Sand & Prepare Stair Surfaces
Step 5: Dry Fit New Treads
- 19:07–19:52 Dry-Fit and Test Treads
- 1:46–2:21 Install First Tread
- 6:45–8:03 Install New Treads and Secure with Shims/Glue/Nails
Step 6: Apply Adhesive and Fasteners
- 2:32–3:28 Install First Tread and Riser
- 3:28–6:52 Install Remaining Treads and Risers
- 9:53 Install New Treads
Step 7: Install Waterfall Risers/Returns (if applicable)
- 15:24–19:11 Install Risers and Treads
- 1:04–1:15 Install Risers (Counter Stairs)
- 12:53–14:48 Addressing Exposed Staircase Ends (this video)
Step 8: Fill and Sand Fastener Holes
- 4:25–4:47 Fill Gaps and Nail Holes
- 3:59–4:48 Apply Wood Filler and Sand
- 6:57–8:12 Fill and Sand Wood Surfaces
Step 9: Apply Finish to Treads
- 1:18–1:37 Stain Stair Treads
- 0:39–0:43 Stain New Treads
- 6:17–7:17 Stain and Seal Treads
How to Cover Waterfall-Style Stairs with Treads
This project outlines the process of covering waterfall-style stairs with new treads. Waterfall stairs have treads that extend beyond the riser, creating an open side. This project focuses on installing new treads over existing ones, potentially for aesthetic updates or to repair worn surfaces.
Read the full guide Browse all guides
Planning this project? Shop Oak Valley Designs.

Subscribe for exclusive updates
Be the first to know about promotions, new products, and sales.