

How to Install a Motion-Sensor Light Switch in a Stairway
About This Guide
This project outlines the steps for installing a motion sensor light switch to automate lighting in a stairway. It covers preparation, wiring, mounting, and testing the new switch.
Tools & Materials
Steps
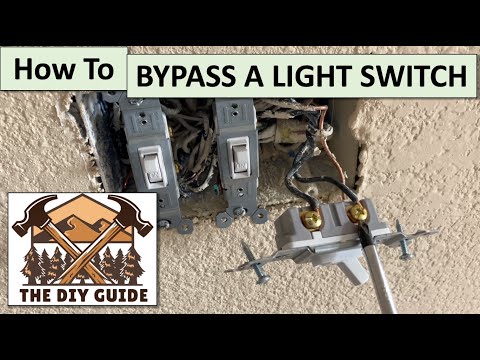

Remove Existing Switch Plate and Switch
Unscrew and remove the cover plate of the existing light switch. Then, unscrew the old light switch from the electrical box. Carefully pull the switch out from the box to expose the wiring. Note or take a picture of how the wires are connected to the old switch.

Identify and Disconnect Wires
Examine the wires connected to the old switch. Typically, you will find a 'line' wire (power coming in), a 'load' wire (power going to the light), and a 'ground' wire (bare copper or green). Loosen the terminal screws or release the wires from the push-in connectors on the old switch. Ensure the wires are not touching each other or the metal electrical box.
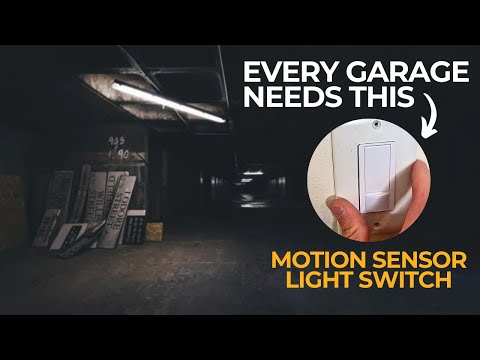
Connect Motion Sensor Switch - Line and Load
Refer to the wiring diagram provided with your motion sensor switch. Connect the 'line' wire (power source) to the terminal or wire designated for 'line' or 'input' on the new switch. Connect the 'load' wire (to the light fixture) to the terminal or wire designated for 'load' or 'output' on the new switch. Ensure connections are secure.
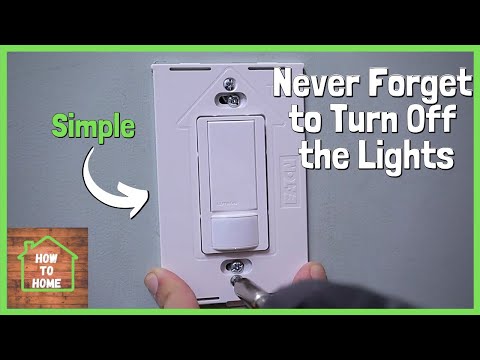


Restore Power and Test
Return to the circuit breaker panel and flip the breaker back to the 'ON' position. Wait a few moments for the motion sensor to calibrate if required by the manufacturer. Walk into the area covered by the sensor to test if the light turns on automatically. Verify that the light turns off after the set period of inactivity.
Questions about your project or which product fits? Oak Valley Designs's team is happy to help. Mon–Fri 9–5 ET
Related Guides
See All
How to Wire a 3-way Switch for Stair Lights at the Top and Bottom
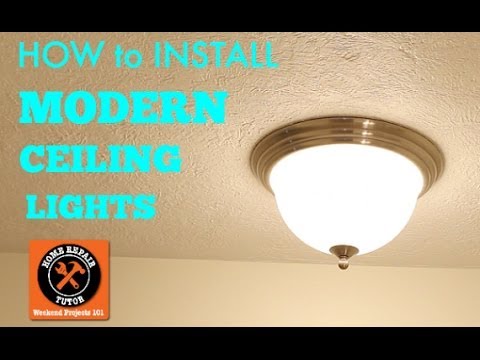
How to Replace a Flush-Mount Ceiling Light on a Stair Landing

How to Cut and Join LED Strip Lights Around Stair Corners

How to Replace a Light Fixture over a Two-Story Stairwell

Subscribe for exclusive updates
Be the first to know about promotions, new products, and sales.