

How to Wire a 3-way Switch for Stair Lights at the Top and Bottom
About This Guide
Outline for installing a 3-way switch system to control stair lights from both the top and bottom of the stairs.
Tools & Materials
Scotch 3/4 in. x 66 ft. Vinyl Electrical Tape, Black/Red and White (3-Pack) 6132-10828/6
Scotch 3/4 in. x 66 ft. Vinyl Electrical Tape, Black/Red and White (3-Pack) 6132-10828/6
Steps
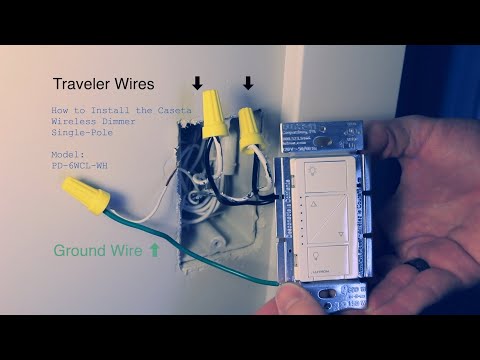
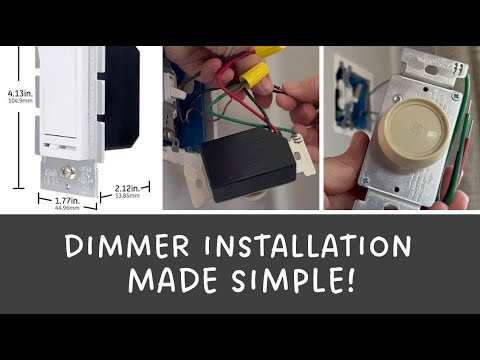
Remove existing switch and light fixture
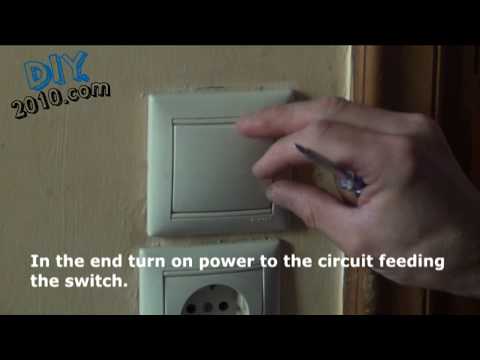
Unscrew the faceplate of the existing light switch. Carefully unscrew the switch from the electrical box, pulling it out to expose the wires. Note which wires are connected to the switch. Remove the light fixture canopy or cover to expose its wiring connections. Disconnect the wires from the light fixture.

Identify and label wires
At the first switch location (e.g., top of stairs), identify the incoming hot wire (usually black), the wire going to the light (switched hot), and the traveler wires. At the second switch location (e.g., bottom of stairs), identify the wire coming from the first switch (traveler) and the wire going to the light (switched hot). At the light fixture, identify the hot wire from the switch, the neutral wire, and the ground wire. Use electrical tape or wire nuts to label each wire clearly (e.g., 'LINE', 'LOAD', 'TRAVELER 1', 'TRAVELER 2').

Install new 3-way switches
At the first switch location, connect the incoming hot (LINE) wire to the 'common' terminal (usually black or a different color screw). Connect the two 'traveler' wires to the two 'traveler' terminals (usually brass screws). At the second switch location, connect the wire coming from the first switch's traveler terminals to the traveler terminals on this switch. Connect the wire going to the light fixture (LOAD) to the 'common' terminal of this switch.

Wire the light fixture
Connect the 'LOAD' wire from the second 3-way switch to the hot terminal of the light fixture. Connect the neutral wire from the electrical box to the neutral terminal of the light fixture. Connect the ground wire from the electrical box to the ground screw on the light fixture.

Questions about your project or which product fits? Oak Valley Designs's team is happy to help. Mon–Fri 9–5 ET
Related Guides
See All
How to Install a Motion-Sensor Light Switch in a Stairway
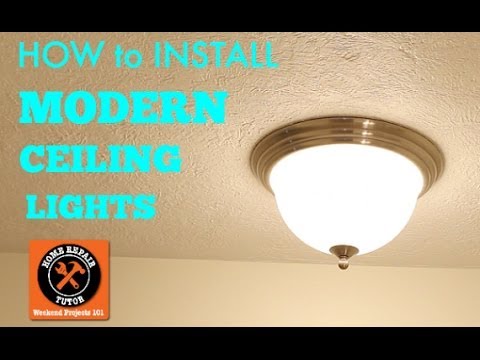
How to Replace a Flush-Mount Ceiling Light on a Stair Landing

How to Cut and Join LED Strip Lights Around Stair Corners

How to Replace a Light Fixture over a Two-Story Stairwell

Subscribe for exclusive updates
Be the first to know about promotions, new products, and sales.