
Wire the Motion Sensor Switch
From How to Install a Motion-Sensor Light Switch in a Stairway · Step 4 of 8 · Video by The Slow Build
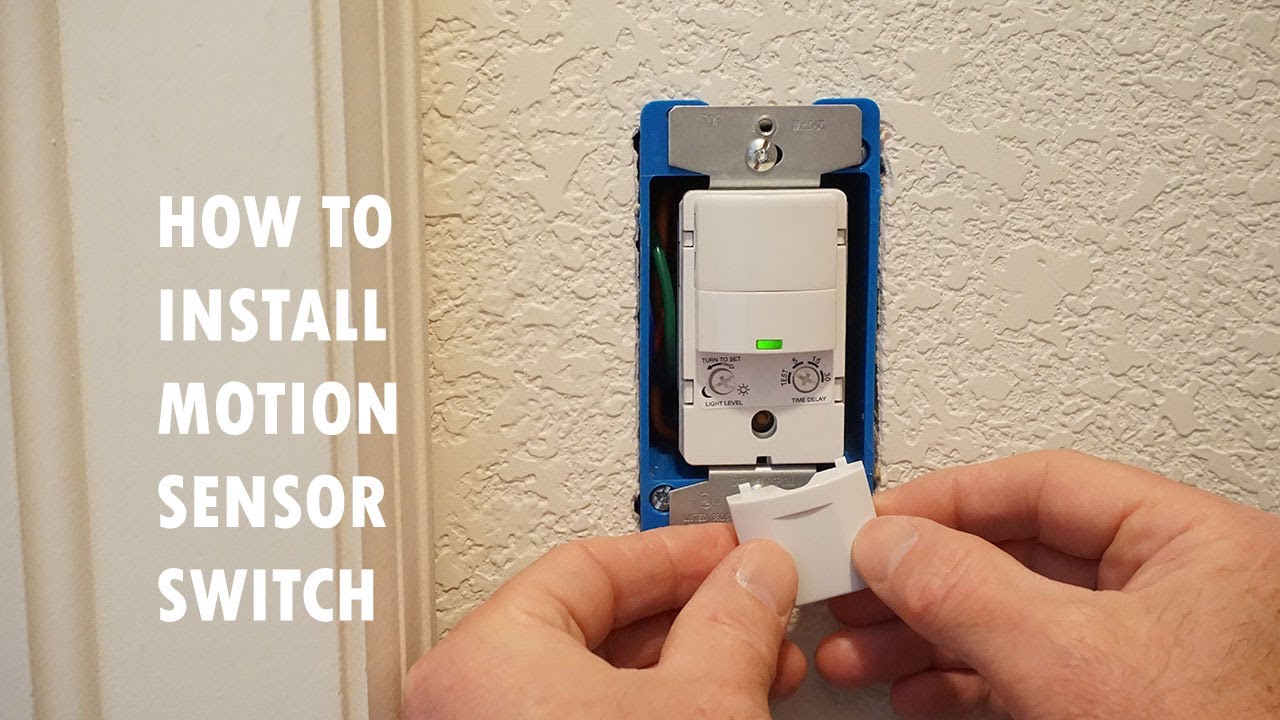
Showing 5:45–6:30 of the source video. Watch the full video with every moment.
What happens in this clip
Following the wiring diagram provided with the Eaton motion sensor switch, begin connecting the wires using Wago connectors. The typical sequence is: first, connect all bare copper ground wires. Next, connect all white neutral wires. Then, connect the black hot wire from the incoming power (from the receptacle) to the designated black and orange wires on the motion sensor switch. Connect the red 'relay out' wire from the switch to the black wire leading to the light fixture. If any wires from the switch (like a blue wire for a different configuration) are not used, cap them with a wire nut. Once all connections are made and verified as secure, carefully fold the wires into the switch box and then anchor the motion sensor switch device to the box using its mounting screws.
Goal: Connect the motion sensor switch to the power source and the light fixture.
What's used
Tools
- Motion Sensor Switch Eaton
- Screwdriver Southwire
- Wago Connectors with Levers Wago
- Wire Nuts
About the full video
This project details the installation of a motion sensor light switch and a new LED light fixture in a dark hallway closet. The process involves creating openings for the switch and light, running new electrical wiring through walls and ceilings, connecting to an existing power source, wiring the motion sensor switch and LED fixture, and finally testing the system for automatic operation.
Step 4 of 8: Connect Motion Sensor Switch - Line and Load
Refer to the wiring diagram provided with your motion sensor switch. Connect the 'line' wire (power source) to the terminal or wire designated for 'line' or 'input' on the new switch. Connect the 'load' wire (to the light fixture) to the terminal or wire designated for 'load' or 'output' on the new switch. Ensure connections are secure.
Every video in How to Install a Motion-Sensor Light Switch in a Stairway
Step 1: Turn Off Power
- 0:37–0:52 Cut Power at Circuit Breaker
- 0:51–0:57 Turn off Power at Breaker
- 0:49–0:55 Disconnect Power
Step 2: Remove Existing Switch Plate and Switch
- 27:53–28:00 Remove Existing Switch Plate and Switch
- 0:25–0:34 Remove Existing Light Switch
- 1:46–2:24 Remove Existing Switch and Cover
Step 3: Identify and Disconnect Wires
- 0:05–0:24 Identify and Disconnect Wires
- 2:44–4:10 Disconnect Old Switch & Identify Wires
- 0:47–1:01 Disconnect the Wires Connected to the Outlet Switch
Step 4: Connect Motion Sensor Switch - Line and Load
- 0:34–0:47 Wire the New Motion Sensor Switch
- 5:45–6:30 Wire the Motion Sensor Switch (this video)
- 0:05–0:11 Wire New Motion Sensor Switch
Step 5: Connect Ground Wire
- 3:28–3:58 Connect Ground Wires
- 0:52–0:58 Connect the Ground Wire
- 0:59–1:07 Connect Ground Wire to New Switch
Step 6: Mount the Motion Sensor Switch
- 0:11–0:12 Mount Motion Sensor Switch
- 0:47–0:55 Mount Switch and Attach Faceplate
- 2:41–3:07 Mount Switch and Adjust Settings
Step 7: Install the Cover Plate
- 7:43–7:51 Install Wall Plate
- 3:07–3:55 Install Cover Plate and Final Test
- 4:51–5:25 Mount Switch and Install Faceplate
Step 8: Restore Power and Test
- 2:14–2:58 Restore Power and Test Functionality
- 3:16–4:29 Restore Power and Test Functionality
- 5:30–5:53 Test Switch Operation
How to Install a Motion-Sensor Light Switch in a Stairway
This project outlines the steps for installing a motion sensor light switch to automate lighting in a stairway. It covers preparation, wiring, mounting, and testing the new switch.
Read the full guide Browse all guides
Planning this project? Shop Oak Valley Designs.

Subscribe for exclusive updates
Be the first to know about promotions, new products, and sales.