
Restore Power and Test
From How to Wire a 3-way Switch for Stair Lights at the Top and Bottom · Step 7 of 7 · Video by How To Home
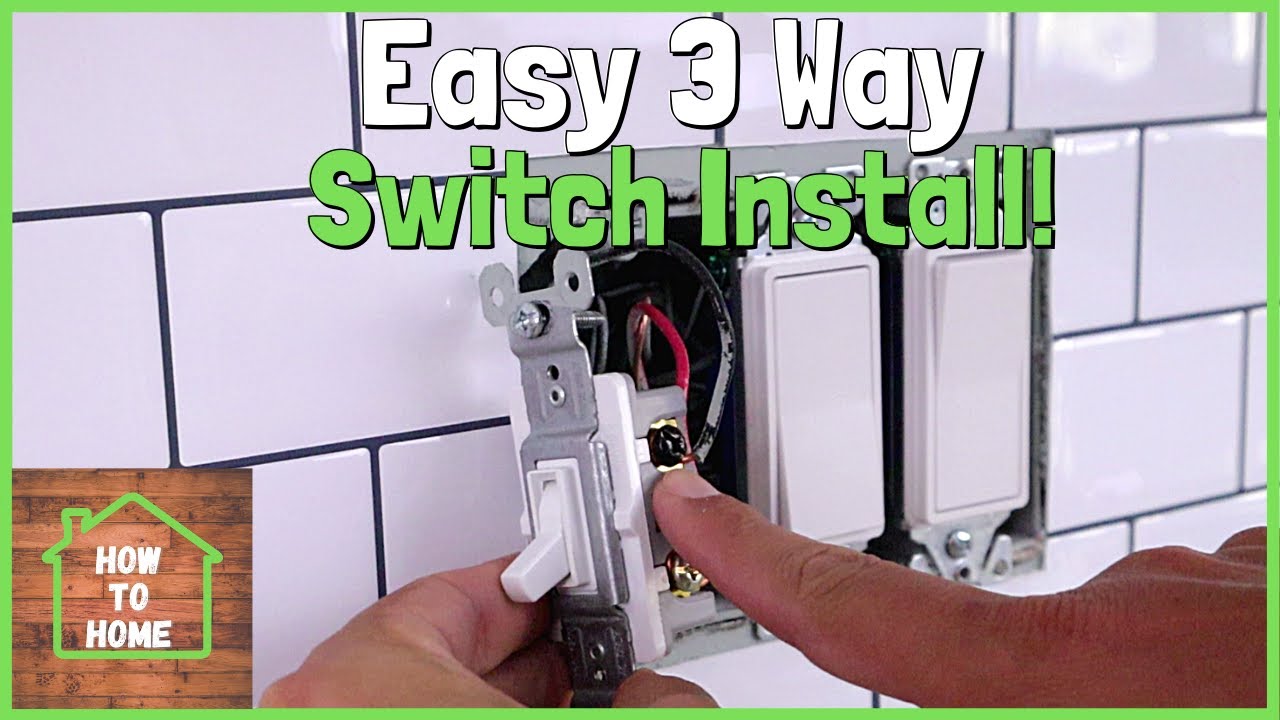
Showing 7:09–8:19 of the source video. Watch the full video with every moment.
What happens in this clip
With both switches and the faceplate securely installed, go back to your main electrical panel and flip the circuit breaker for the light circuit back to the 'ON' position. Test both two-way switches to ensure the light can be turned on and off from either location. If the switches do not function correctly, immediately turn off the power and re-examine all connections, paying special attention to the common wire at both switch locations.
Goal: Return to the main electrical panel, turn the circuit breaker back on, and test the functionality of both two-way switches.
About the full video
This video provides a detailed guide on replacing existing standard light switches with a two-way (also known as three-way) configuration. The process emphasizes identifying the 'first-in-line' switch that receives constant power, distinguishing common wires from traveler wires using a multimeter, and then correctly wiring these to the new two-way switches. Safety precautions, such as turning off power at the circuit breaker, are highlighted throughout the process.
Step 7 of 7: Restore power and test operation
Go back to the breaker panel and switch the circuit breaker to the 'ON' position. Test the light by operating each switch independently. The light should turn on or off regardless of the position of the other switch.
Every video in How to Wire a 3-way Switch for Stair Lights at the Top and Bottom
Step 1: De-energize the circuit
- 0:08–0:36 Turn Off Circuit Breaker
- 0:03–0:08 Turn Off Power at Breaker Panel
- 2:06–2:13 Turn Off Power at Breaker
Step 2: Remove existing switch and light fixture
- 0:16–0:24 Remove Old Light Switch
- 17:23–17:28 Remove the old light switch
- 0:08–0:12 Remove Existing Light Switch
Step 3: Identify and label wires
- 2:06–2:27 Label All Wires
- 4:12–5:29 Identify the Line (Hot) Wire
- 0:25–1:15 Identify Wires and Switch Terminals
Step 4: Install new 3-way switches
- 5:49–6:58 Wire a Three-Way Switch Circuit
- 17:43–19:32 Connect Wires to Second Switch (Method 2)
- 5:22–7:16 Wire the Primary Three-Way Switch
Step 5: Wire the light fixture
- 4:17–4:29 Connect Load Wire to Common (Second Switch Box)
- 2:47–2:56 Connect Common (Light) to Switch 2
- 0:04–0:08 Connect Second Switch to Light Fixture
Step 6: Install switch and fixture covers
- 3:20–3:58 Secure New Switch and Install Button Cover
- 7:25–8:09 Install New Fixture Cover
- 1:42–1:43 Install Light Switch Cover Plate
Step 7: Restore power and test operation
- 3:39–3:54 Restore Power and Test Functionality
- 7:09–8:19 Restore Power and Test (this video)
- 6:26–6:54 Restore Power and Test Switches
How to Wire a 3-way Switch for Stair Lights at the Top and Bottom
Outline for installing a 3-way switch system to control stair lights from both the top and bottom of the stairs.
Read the full guide Browse all guides
Planning this project? Shop Oak Valley Designs.

Subscribe for exclusive updates
Be the first to know about promotions, new products, and sales.