

How to Pour a Concrete Landing Pad for Deck Stairs
About This Guide
This project involves creating a stable and level concrete landing pad at the base of deck stairs. The process includes excavating the area, building a form, and pouring and finishing the concrete. This pad provides a safe and durable surface for accessing the deck stairs.
Tools & Materials
Litton Lane Brown Teak Wood Handmade Dimensional Circular Abstract Sculpture with Center Cutout 046022
Swanson 7 in. Speed Square, Rafter / Carpenter Square Layout Tool with Etched Markings and Blue Book
Litton Lane Brown Teak Wood Handmade Dimensional Circular Abstract Sculpture with Center Cutout 046022
Swanson 7 in. Speed Square, Rafter / Carpenter Square Layout Tool with Etched Markings and Blue Book
Steps

Excavate Area
Using a shovel and tape measure, mark out a rectangular area at the base of the deck stairs. The dimensions should be approximately 2 feet wide by 3 feet long. Excavate this area to a depth of at least 6 inches to allow for the concrete pad and a gravel base for drainage and stability. Ensure the excavated area is level.

Install Formwork
Cut two pieces of 2x6 lumber to 3 feet in length and two pieces to 2 feet in length. Assemble these pieces into a rectangular frame using screws, ensuring the corners are square. This frame will serve as the mold for the concrete, and its interior dimensions should match the desired final size of the landing pad.


Mix and Pour Concrete
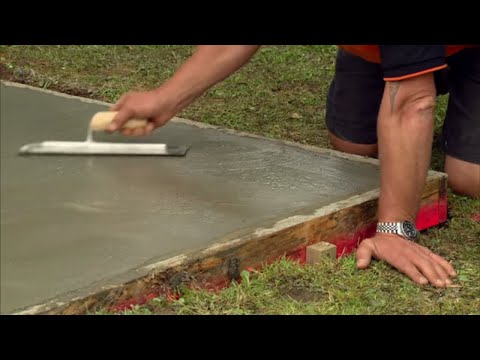
Using a concrete mixer or mixing the concrete in batches with a shovel and wheelbarrow, combine the concrete mix with water as per the manufacturer's instructions. Aim for a workable consistency that is not too wet or too dry. Carefully pour the mixed concrete into the formwork, spreading it evenly with a shovel or rake to fill the entire space.
Screed the Concrete
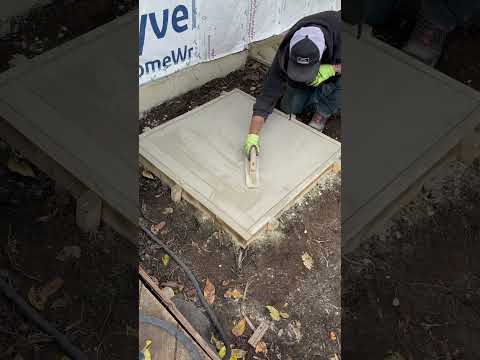
Using a straight piece of lumber (such as a 2x4) as a screed board, rest it on top of the 2x6 formwork. Move the screed board back and forth in a sawing motion across the surface of the wet concrete, dragging excess concrete with it and filling low spots. This process levels the concrete to the height of the form.
Float the Concrete
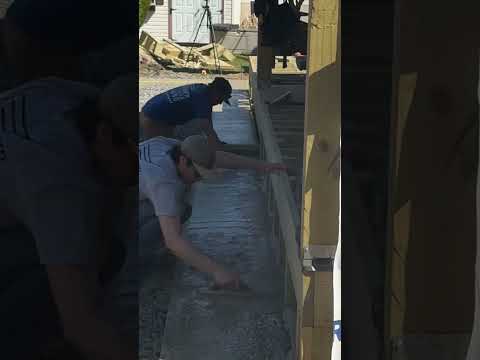
After screeding, wait until the concrete has lost its initial sheen (the bleed water has evaporated). Then, using a magnesium or wood float, sweep the surface in wide, overlapping arcs. This action embeds larger aggregate, smooths out imperfections left by screeding, and brings a layer of cement paste (cream) to the surface, which is essential for final finishing.
Finish the Concrete
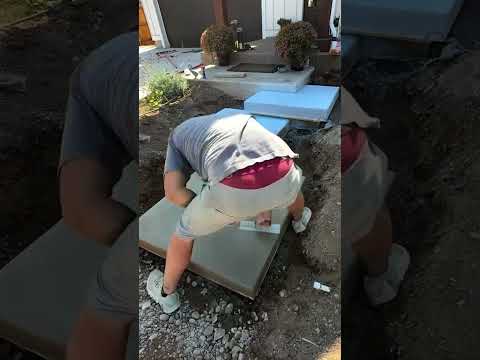
Once the concrete has set further and the float marks have disappeared, use a steel trowel to create a smooth, hard finish. Hold the trowel at a slight angle and move it in large, sweeping arcs across the surface. For a very smooth finish, multiple passes may be necessary as the concrete hardens.

Cure the Concrete
Keep the concrete moist for at least 3 to 7 days after pouring. You can achieve this by covering it with plastic sheeting, burlap bags kept constantly wet, or by periodically misting the surface with water. Proper curing is critical for the concrete to reach its designed strength and durability.
Remove Formwork
Once the concrete has cured sufficiently (typically after 24-48 hours, but check local conditions and concrete type), carefully pry off the 2x6 lumber forms. Use a pry bar to gently loosen the forms from the concrete. Be careful not to chip or damage the edges of the concrete pad.
Questions about your project or which product fits? Oak Valley Designs's team is happy to help. Mon–Fri 9–5 ET
Related Guides
See All
How to Update Rental Stairs with Removable Carpet Treads
How to Update a Spiral Staircase

How to Put Carpet Treads on Already-Carpeted Stairs

How to Fix Popping Noises from Adhesive Carpet Treads on Wood Stairs

Subscribe for exclusive updates
Be the first to know about promotions, new products, and sales.