
Cure Concrete and Remove Forms
From How to Pour a Concrete Landing Pad for Deck Stairs · Step 9 of 10 · Video by Eric Martin Agency
Showing 0:57–0:59 of the source video. Watch the full video with every moment.
What happens in this clip
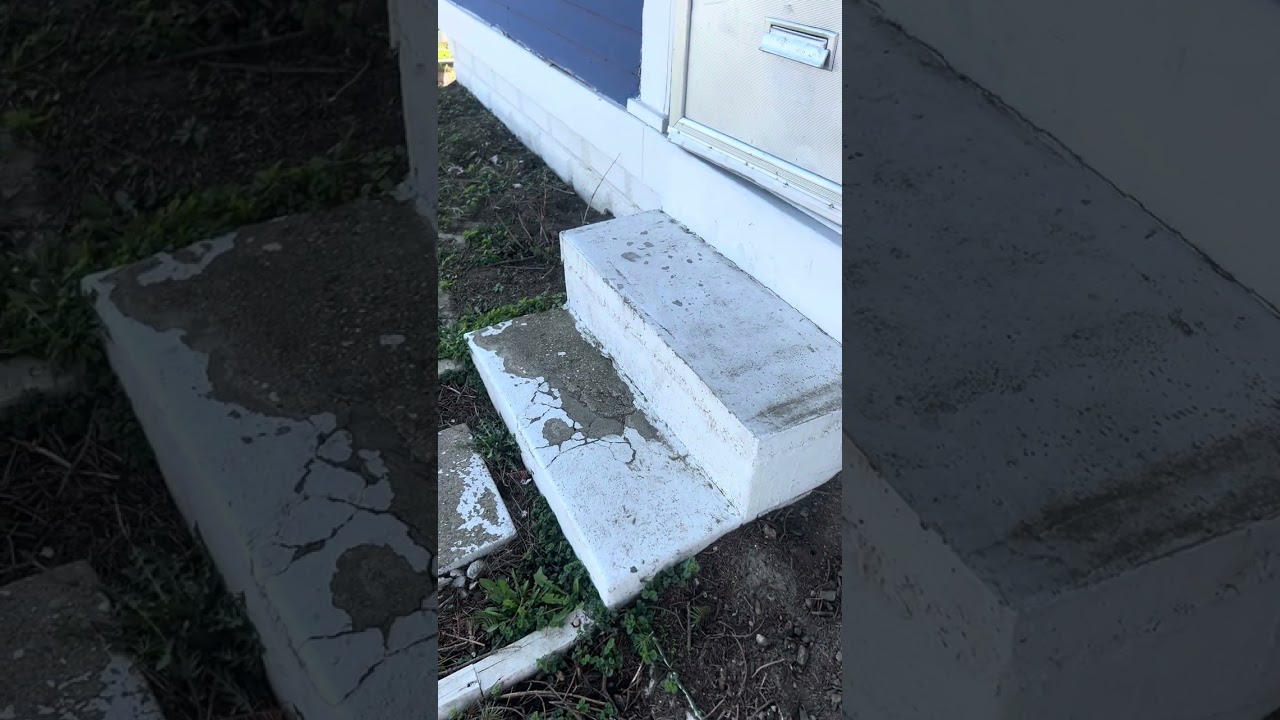
Proper curing is essential for the strength and durability of the concrete. Keep the newly poured concrete moist for at least 7 days (and preferably longer, up to 28 days for full strength) by regularly misting it with water, covering it with plastic sheeting, or using a curing compound. This prevents rapid drying and cracking. Once the concrete has sufficiently hardened (typically after 24-48 hours, but check local guidelines and concrete type), carefully remove the forms. You can gently tap the forms with a hammer to loosen them before prying them away. After form removal, the concrete will continue to gain strength during the remainder of the curing period.
Goal: Allow concrete to reach optimal strength and reveal the finished steps, landing, and planters.
What's used
Tools
- Curing Compound
- Hammer/Drill
- Plastic Sheeting
- Curing blanket
- Pry Bar
- Water Hose
About the full video
This project involves replacing an existing set of concrete steps and a small sidewalk section with a new, larger set of five steps, an extended landing (8 ft by 3.5 ft), and two integrated planters. The process requires demolition of the old structure, site preparation, construction of new forms, pouring and finishing concrete, and proper curing.
Step 9 of 10: Cure the Concrete
Keep the concrete moist for at least 3 to 7 days after pouring. You can achieve this by covering it with plastic sheeting, burlap bags kept constantly wet, or by periodically misting the surface with water. Proper curing is critical for the concrete to reach its designed strength and durability.
Every video in How to Pour a Concrete Landing Pad for Deck Stairs
Step 1: Excavate Area
- 13:17–15:33 Prepare Stair Base and Pour Concrete Pad
- 0:04–0:15 Site Preparation and Trench Digging
- 4:20–8:36 Prepare & Pour Concrete Pad
Step 2: Install Formwork
- 2:04–2:33 Build and Position Concrete Form
- 0:33–0:47 Formwork Installation
- 0:00–0:34 Lay Out and Assemble Initial Form Boards
Step 3: Add and Compact Gravel Base
- 2:21–2:33 Add & Compact Basecourse
- 3:15–4:05 Lay and Compact Gravel Base
- 0:20–0:38 Prepare Gravel Base
Step 4: Place Rebar or Wire Mesh
- 2:45–3:06 Add Steel Reinforcement (Rebar)
- 1:30–1:40 Add Wire Mesh Reinforcement
- 5:41–6:46 Rebar Placement for Reinforcement
Step 5: Mix and Pour Concrete
- 0:30–0:42 Pour and Level Concrete
- 3:10–3:41 Pour and Screed Concrete
- 1:58–2:31 Mix and Pour Concrete
Step 6: Screed the Concrete
- 0:04–0:13 Screed the Concrete
- 0:24–1:01 Screed the Concrete Surface
- 0:17–0:45 Screed the Concrete Surface
Step 7: Float the Concrete
- 0:16–0:25 Float the Concrete Surface
- 0:44–0:46 Hand Float Concrete Surface
- 1:15–1:29 Float Concrete
Step 8: Finish the Concrete
- 0:07–0:11 Trowel for Smooth Concrete Finish
- 10:04–11:22 Final Troweling and Finishing
- 3:30–4:49 Concrete Floating and Troweling
Step 9: Cure the Concrete
- 2:08–2:39 Cure Concrete
- 0:57–0:59 Cure Concrete and Remove Forms (this video)
- 5:50–6:12 Cure the Concrete
Step 10: Remove Formwork
- 8:43–10:04 Remove Form and Backfill
- 4:03–4:08 Remove Formwork
- 0:52–0:54 Remove Formwork
How to Pour a Concrete Landing Pad for Deck Stairs
This project involves creating a stable and level concrete landing pad at the base of deck stairs. The process includes excavating the area, building a form, and pouring and finishing the concrete. This pad provides a safe and durable surface for accessing the deck stairs.
Read the full guide Browse all guides
Planning this project? Shop Oak Valley Designs.

Subscribe for exclusive updates
Be the first to know about promotions, new products, and sales.