
Final Troweling and Finishing
From How to Pour a Concrete Landing Pad for Deck Stairs · Step 8 of 10 · Video by C.L.S. ALL-IN-ONE
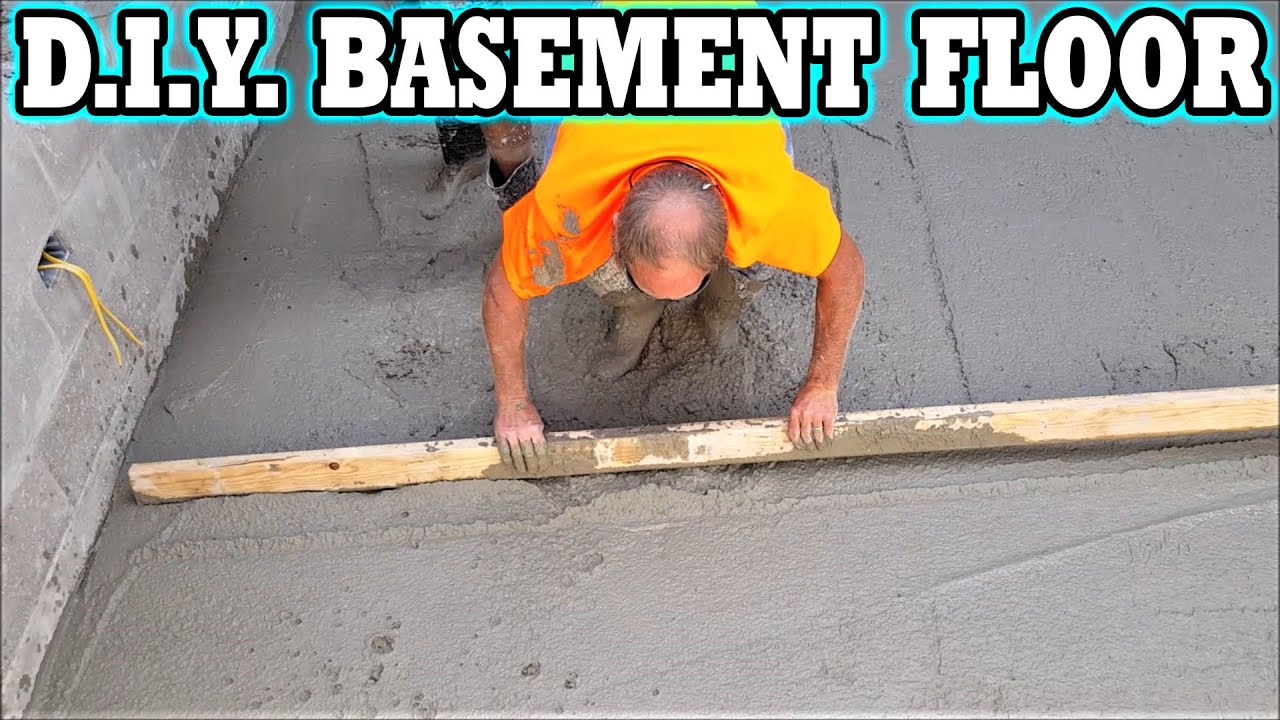
Showing 10:04–11:22 of the source video. Watch the full video with every moment.
What happens in this clip
Allow the concrete to harden to the point where you can press your finger into it about 1/4 inch deep without leaving a deep impression. At this stage, begin the final finishing process using steel hand trowels. To avoid leaving marks or impressions, use knee boards or knee pads to evenly distribute your body weight. Move the steel trowel in a back-and-forth fanning motion. Always keep the leading edge of the trowel slightly tilted up in the direction of movement to prevent it from digging into and marring the surface. Multiple passes will likely be necessary to achieve the desired smooth finish. If any areas are still rough, a quick pass with a hand mag float might be needed before using the steel trowel. If the concrete is setting too quickly due to high temperatures, you can lightly mist the surface with water, but be extremely cautious as too much water can weaken the concrete and lead to cracking.
Goal: Perform final smoothing and finishing of the concrete surface using steel hand trowels after it has partially hardened.
What's used
Tools
- Hand mag float
- Knee boards/pads
- Steel hand trowels
- Water mister
About the full video
This video details the comprehensive process of pouring, leveling, and finishing a 24'x16' concrete basement floor using various tools and techniques. It covers preparing the base, installing reinforcement, distributing concrete, screeding with a 2x4, floating with bull and hand floats, troweling, and finally, cutting control joints for a durable and smooth surface.
Step 8 of 10: Finish the Concrete
Once the concrete has set further and the float marks have disappeared, use a steel trowel to create a smooth, hard finish. Hold the trowel at a slight angle and move it in large, sweeping arcs across the surface. For a very smooth finish, multiple passes may be necessary as the concrete hardens.
Every video in How to Pour a Concrete Landing Pad for Deck Stairs
Step 1: Excavate Area
- 13:17–15:33 Prepare Stair Base and Pour Concrete Pad
- 0:04–0:15 Site Preparation and Trench Digging
- 4:20–8:36 Prepare & Pour Concrete Pad
Step 2: Install Formwork
- 2:04–2:33 Build and Position Concrete Form
- 0:33–0:47 Formwork Installation
- 0:00–0:34 Lay Out and Assemble Initial Form Boards
Step 3: Add and Compact Gravel Base
- 2:21–2:33 Add & Compact Basecourse
- 3:15–4:05 Lay and Compact Gravel Base
- 0:20–0:38 Prepare Gravel Base
Step 4: Place Rebar or Wire Mesh
- 2:45–3:06 Add Steel Reinforcement (Rebar)
- 1:30–1:40 Add Wire Mesh Reinforcement
- 5:41–6:46 Rebar Placement for Reinforcement
Step 5: Mix and Pour Concrete
- 0:30–0:42 Pour and Level Concrete
- 3:10–3:41 Pour and Screed Concrete
- 1:58–2:31 Mix and Pour Concrete
Step 6: Screed the Concrete
- 0:04–0:13 Screed the Concrete
- 0:24–1:01 Screed the Concrete Surface
- 0:17–0:45 Screed the Concrete Surface
Step 7: Float the Concrete
- 0:16–0:25 Float the Concrete Surface
- 0:44–0:46 Hand Float Concrete Surface
- 1:15–1:29 Float Concrete
Step 8: Finish the Concrete
- 0:07–0:11 Trowel for Smooth Concrete Finish
- 10:04–11:22 Final Troweling and Finishing (this video)
- 3:30–4:49 Concrete Floating and Troweling
Step 9: Cure the Concrete
- 2:08–2:39 Cure Concrete
- 0:57–0:59 Cure Concrete and Remove Forms
- 5:50–6:12 Cure the Concrete
Step 10: Remove Formwork
- 8:43–10:04 Remove Form and Backfill
- 4:03–4:08 Remove Formwork
- 0:52–0:54 Remove Formwork
How to Pour a Concrete Landing Pad for Deck Stairs
This project involves creating a stable and level concrete landing pad at the base of deck stairs. The process includes excavating the area, building a form, and pouring and finishing the concrete. This pad provides a safe and durable surface for accessing the deck stairs.
Read the full guide Browse all guides
Planning this project? Shop Oak Valley Designs.

Subscribe for exclusive updates
Be the first to know about promotions, new products, and sales.