
Cure Concrete
From How to Pour a Concrete Landing Pad for Deck Stairs · Step 9 of 10 · Video by QUIKRETE
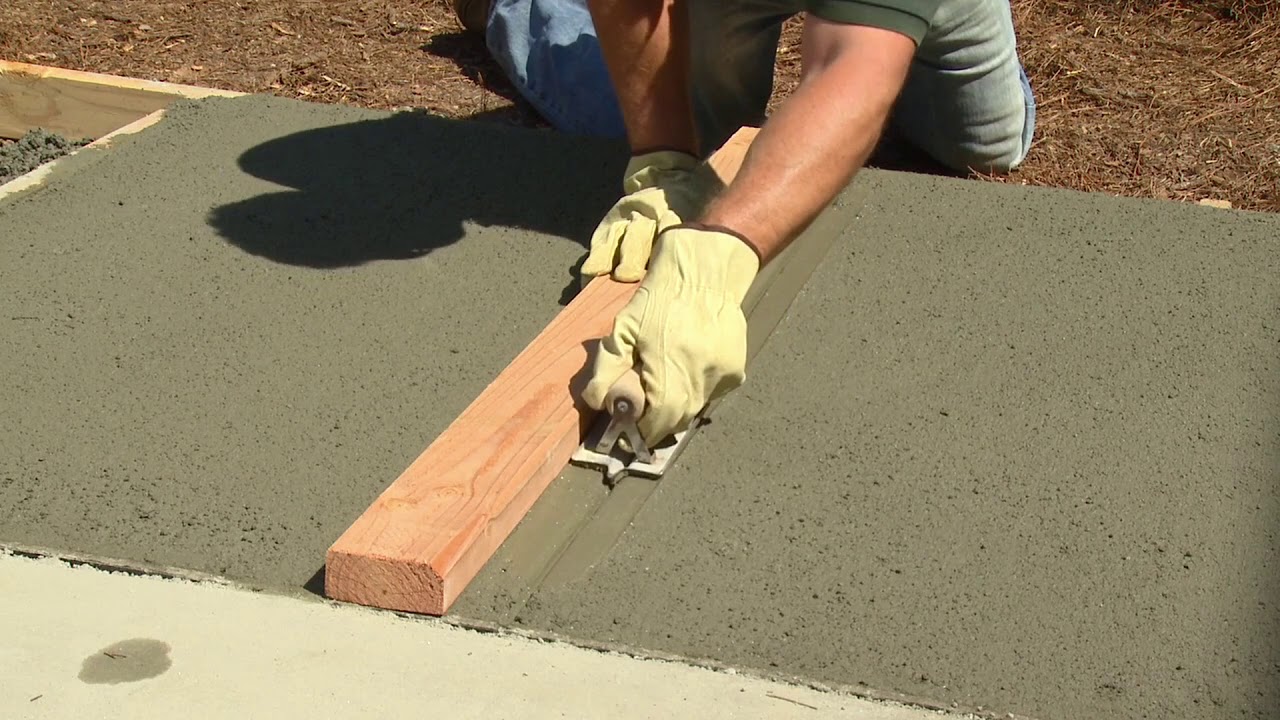
Showing 2:08–2:39 of the source video. Watch the full video with every moment.
What happens in this clip
Proper curing is essential for the strength and durability of concrete. There are two main methods. Option 1: Water Curing. For a minimum of 3 to 5 days, keep the freshly placed concrete moist by applying a fine water mist with a garden hose or sprayer. This helps slow down the drying process and allows the concrete to achieve maximum strength. Option 2: Chemical Curing/Sealing. Alternatively, immediately after finishing, apply Quikrete Acrylic Concrete Cure & Seal. This product can be applied with a roller, garden sprayer, or a brush. It eliminates the need for water curing, provides a semi-gloss sheen, and helps repel water, oil, grease, gasoline, and food stains, protecting the concrete surface.
Goal: Ensure proper hydration for strength and durability
What's used
Tools
- Garden Hose
- Roller
- Paintbrush
Materials
- Quikrete Acrylic Concrete Cure & Seal Quikrete
- Water
About the full video
This project provides a detailed guide on how to pour and finish concrete slabs for various outdoor applications like sidewalks, patios, or floors. It covers essential steps from preparing the sub-base and setting up forms, to pouring, leveling, floating, broom finishing, cutting control joints, edging, and finally, proper curing techniques to ensure a durable and aesthetically pleasing concrete surface.
Step 9 of 10: Cure the Concrete
Keep the concrete moist for at least 3 to 7 days after pouring. You can achieve this by covering it with plastic sheeting, burlap bags kept constantly wet, or by periodically misting the surface with water. Proper curing is critical for the concrete to reach its designed strength and durability.
Every video in How to Pour a Concrete Landing Pad for Deck Stairs
Step 1: Excavate Area
- 13:17–15:33 Prepare Stair Base and Pour Concrete Pad
- 0:04–0:15 Site Preparation and Trench Digging
- 4:20–8:36 Prepare & Pour Concrete Pad
Step 2: Install Formwork
- 2:04–2:33 Build and Position Concrete Form
- 0:33–0:47 Formwork Installation
- 0:00–0:34 Lay Out and Assemble Initial Form Boards
Step 3: Add and Compact Gravel Base
- 2:21–2:33 Add & Compact Basecourse
- 3:15–4:05 Lay and Compact Gravel Base
- 0:20–0:38 Prepare Gravel Base
Step 4: Place Rebar or Wire Mesh
- 2:45–3:06 Add Steel Reinforcement (Rebar)
- 1:30–1:40 Add Wire Mesh Reinforcement
- 5:41–6:46 Rebar Placement for Reinforcement
Step 5: Mix and Pour Concrete
- 0:30–0:42 Pour and Level Concrete
- 3:10–3:41 Pour and Screed Concrete
- 1:58–2:31 Mix and Pour Concrete
Step 6: Screed the Concrete
- 0:04–0:13 Screed the Concrete
- 0:24–1:01 Screed the Concrete Surface
- 0:17–0:45 Screed the Concrete Surface
Step 7: Float the Concrete
- 0:16–0:25 Float the Concrete Surface
- 0:44–0:46 Hand Float Concrete Surface
- 1:15–1:29 Float Concrete
Step 8: Finish the Concrete
- 0:07–0:11 Trowel for Smooth Concrete Finish
- 10:04–11:22 Final Troweling and Finishing
- 3:30–4:49 Concrete Floating and Troweling
Step 9: Cure the Concrete
- 2:08–2:39 Cure Concrete (this video)
- 0:57–0:59 Cure Concrete and Remove Forms
- 5:50–6:12 Cure the Concrete
Step 10: Remove Formwork
- 8:43–10:04 Remove Form and Backfill
- 4:03–4:08 Remove Formwork
- 0:52–0:54 Remove Formwork
How to Pour a Concrete Landing Pad for Deck Stairs
This project involves creating a stable and level concrete landing pad at the base of deck stairs. The process includes excavating the area, building a form, and pouring and finishing the concrete. This pad provides a safe and durable surface for accessing the deck stairs.
Read the full guide Browse all guides
Planning this project? Shop Oak Valley Designs.

Subscribe for exclusive updates
Be the first to know about promotions, new products, and sales.