
Prepare & Pour Concrete Pad
From How to Pour a Concrete Landing Pad for Deck Stairs · Step 1 of 10 · Video by BYOT
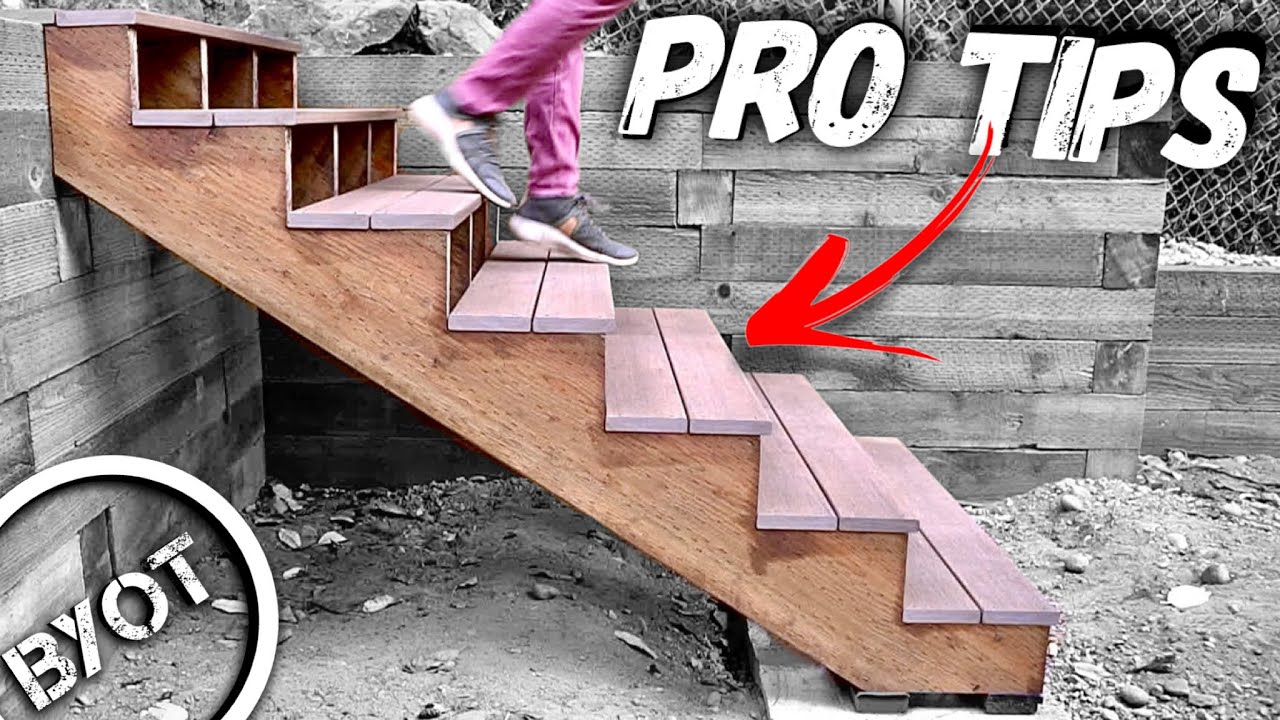
Showing 4:20–8:36 of the source video. Watch the full video with every moment.
What happens in this clip
Cut 2x4 lumber to create a rectangular formwork for the concrete pad, assembling it with screws. Excavate the ground area where the stairs will land, ensuring it's deep enough to accommodate the concrete pad and a gravel base, and that the formwork is level and in its final position. Add a layer of 5/8" crushed minus rock to the excavated area, rake it evenly, and compact it thoroughly. Secure the formwork to the ground using steel stakes, ensuring the pad will have a slight slope away from the retaining wall for drainage. Mix fast-setting concrete in a wheelbarrow by adding water first, then the concrete mix. Pour the concrete into the formwork, spread it evenly, screed it flush with the formwork, and float the surface. While the concrete is still wet, use a string line to mark the positions for the galvanized anchor bolts and gently push them into place.
Goal: Excavate the base, install formwork, add and compact crushed rock, then mix and pour concrete, installing anchor bolts.
What's used
Tools
- Impact Driver
- Level
- Miter Saw
- Rake
- Shovel
- String Line
- Trowel (magnesium float
- finishing trowel)
- Wheelbarrow
- Wood Screed
Materials
- 2x4 Lumber
- 5/8" Crushed Minus Rock
- Fast-Setting Concrete Mix
- Galvanized Anchor Bolts
- Galvanized Steel Stakes
- Screws
About the full video
This video details the step-by-step process of constructing durable exterior deck stairs, specifically designed to connect a retaining wall to ground level. The project involves accurately calculating stair dimensions, cutting stringers, preparing and pouring a concrete foundation pad with anchor bolts, installing base plates and stringers, and finally, securing composite decking treads to complete the stairs. Key considerations like wood preservation for cut ends and proper spacing for decking are also highlighted.
What's said in this clip
begin to start the form work for our concrete pad with the concrete pad it's just going to be our standard 2x4 sections which means the slab is going to be three and a half inches deep which is just fine for an exterior staircase once i have all three pieces cut up i secure them using power pro three-inch screws and slide it into its general location now it's okay if it's not a perfect fit the very first time because you might have to do a bit of excavation at this point just to ensure we have the correct height of our concrete pad that's going to be matching the adjacent concrete we have right next to it and as you can see we did have to do a bit of excavation but once we actually had a nice level surface i then brought in some crushed rock if you did watch how i built this retain wall it's the same exact base product that i use for that project which is 5 8 crushed minus this is a perfect product to use as a base layer because not only does it compact very nicely and very securely but it can also drain moisture pretty easily however i did not rent a plate compactor for this project i just used my sturdy feet and my body weight to try and compact it at least as much as possible but just know the earth that's below it is extremely compacted because there was three feet of soil on top of it just mere weeks ago okay i figured i would explain a couple things real quick with the leveling process so we have our laser level right here and from the existing concrete that's here we have ten and a quarter inches now i want this the same height so if we run a line right here we have approximately ten and a quarter inches of the exact same height as the existing concrete but keep in mind i want this to slope away i don't want this completely flat so this side over here is 10 inches so it's going to be sloping water is going to be sloping from here down away from our retaining wall note to self i hammered in steel sticks in all four corners and secured our steel stakes to our wood frame with our three inch power pro screws once one side is securely in place just make sure the second side is measured properly and you have the same width of frame on the adjacent side as i noted earlier we will be putting base plates below our stringer therefore i'm making marks on where the center of those base plates need to be now that we have our framework securely in place it's now time to mix up our concrete and for our concrete we're going to be using fast setting concrete because…
Automatically transcribed from the source video.
Step 1 of 10: Excavate Area
Using a shovel and tape measure, mark out a rectangular area at the base of the deck stairs. The dimensions should be approximately 2 feet wide by 3 feet long. Excavate this area to a depth of at least 6 inches to allow for the concrete pad and a gravel base for drainage and stability. Ensure the excavated area is level.
Every video in How to Pour a Concrete Landing Pad for Deck Stairs
Step 1: Excavate Area
- 13:17–15:33 Prepare Stair Base and Pour Concrete Pad
- 0:04–0:15 Site Preparation and Trench Digging
- 4:20–8:36 Prepare & Pour Concrete Pad (this video)
Step 2: Install Formwork
- 2:04–2:33 Build and Position Concrete Form
- 0:33–0:47 Formwork Installation
- 0:00–0:34 Lay Out and Assemble Initial Form Boards
Step 3: Add and Compact Gravel Base
- 2:21–2:33 Add & Compact Basecourse
- 3:15–4:05 Lay and Compact Gravel Base
- 0:20–0:38 Prepare Gravel Base
Step 4: Place Rebar or Wire Mesh
- 2:45–3:06 Add Steel Reinforcement (Rebar)
- 1:30–1:40 Add Wire Mesh Reinforcement
- 5:41–6:46 Rebar Placement for Reinforcement
Step 5: Mix and Pour Concrete
- 0:30–0:42 Pour and Level Concrete
- 3:10–3:41 Pour and Screed Concrete
- 1:58–2:31 Mix and Pour Concrete
Step 6: Screed the Concrete
- 0:04–0:13 Screed the Concrete
- 0:24–1:01 Screed the Concrete Surface
- 0:17–0:45 Screed the Concrete Surface
Step 7: Float the Concrete
- 0:16–0:25 Float the Concrete Surface
- 0:44–0:46 Hand Float Concrete Surface
- 1:15–1:29 Float Concrete
Step 8: Finish the Concrete
- 0:07–0:11 Trowel for Smooth Concrete Finish
- 10:04–11:22 Final Troweling and Finishing
- 3:30–4:49 Concrete Floating and Troweling
Step 9: Cure the Concrete
- 2:08–2:39 Cure Concrete
- 0:57–0:59 Cure Concrete and Remove Forms
- 5:50–6:12 Cure the Concrete
Step 10: Remove Formwork
- 8:43–10:04 Remove Form and Backfill
- 4:03–4:08 Remove Formwork
- 0:52–0:54 Remove Formwork
How to Pour a Concrete Landing Pad for Deck Stairs
This project involves creating a stable and level concrete landing pad at the base of deck stairs. The process includes excavating the area, building a form, and pouring and finishing the concrete. This pad provides a safe and durable surface for accessing the deck stairs.
Read the full guide Browse all guides
Planning this project? Shop Oak Valley Designs.

Subscribe for exclusive updates
Be the first to know about promotions, new products, and sales.