
How to Pour & Finish Concrete (Hi Resolution)
Video by QUIKRETE · 3 moments used in Oak Valley Designs's DIY guides · 2:38 long
Moments in this video
- 0:20–0:38 Prepare Gravel Base
From How to Pour a Concrete Landing Pad for Deck Stairs, Step 3: Add and Compact Gravel Base
Place a 3 to 4-inch layer of Quikrete All-Purpose Gravel into the leveled forms. Spread the gravel evenly across the entire area. Once spread, use a tamper to thoroughly compact the gravel base. A solid sub-base is crucial for preventing erosion and slab settling. After compaction, lightly dampen the gravel with a fine mist from a garden hose. This dampening helps prevent shrinkage cracks in the concrete, especially in hot weather.
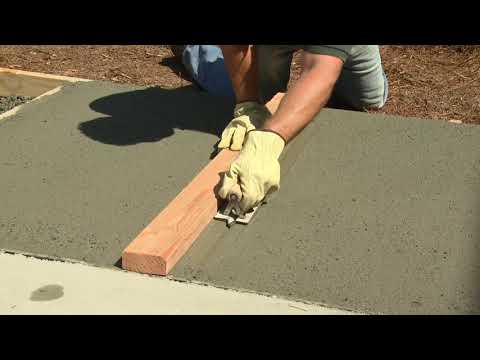
- 1:15–1:29 Float Concrete
From How to Pour a Concrete Landing Pad for Deck Stairs, Step 7: Float the Concrete
Once the concrete has lost its watery sheen and appears dull, it's time to float the surface. Use a wood float in an arcing or sweeping motion across the entire slab. This process further smooths the concrete, pushes down any larger aggregate particles, and brings a layer of cement paste (known as 'cream') to the surface, which is essential for a durable finish.
- 2:08–2:39 Cure Concrete
From How to Pour a Concrete Landing Pad for Deck Stairs, Step 9: Cure the Concrete
Proper curing is essential for the strength and durability of concrete. There are two main methods. Option 1: Water Curing. For a minimum of 3 to 5 days, keep the freshly placed concrete moist by applying a fine water mist with a garden hose or sprayer. This helps slow down the drying process and allows the concrete to achieve maximum strength. Option 2: Chemical Curing/Sealing. Alternatively, immediately after finishing, apply Quikrete Acrylic Concrete Cure & Seal. This product can be applied with a roller, garden sprayer, or a brush. It eliminates the need for water curing, provides a semi-gloss sheen, and helps repel water, oil, grease, gasoline, and food stains, protecting the concrete surface.
The guide that use this video
More from the Oak Valley Designs DIY Hub
Read the guide Browse all guides
Planning this project? Shop Oak Valley Designs.

Subscribe for exclusive updates
Be the first to know about promotions, new products, and sales.