

How to Resurface Worn Concrete Steps
About This Guide
This project outlines the steps to resurface worn concrete steps, including cleaning, repairing cracks, applying a bonding agent, and finishing with a concrete resurfacer product.
Tools & Materials
Steps

Inspect and Clean Concrete Steps
Begin by sweeping away loose dirt and debris. For stubborn stains or grease, use a concrete degreaser and a stiff-bristled brush, followed by a thorough rinse with water. Ensure the concrete is completely dry before proceeding. Inspect the steps for any cracks, spalling, or crumbling areas that will need repair.
Repair Cracks and Damage
For cracks less than 1/4 inch wide, use a flexible concrete crack filler. For wider cracks, holes, or spalled areas, use a concrete patching compound. Follow the manufacturer's instructions for mixing and application. For patching compounds, ensure you overfill slightly to allow for shrinkage. Smooth the patch flush with the surrounding concrete surface using a trowel.
Prime the Surface
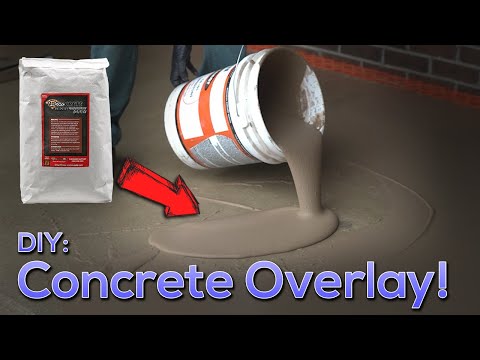
Once the repairs are fully cured and the surface is dry, apply a concrete bonding agent or primer according to the manufacturer's instructions. This is typically brushed or rolled onto the concrete. Ensure complete coverage, paying attention to edges and corners. This step is crucial for creating a strong bond between the old concrete and the new resurfacing material.

Mix and Apply Concrete Resurfacer
In a clean mixing bucket, combine the concrete resurfacer powder with the recommended amount of clean water. Mix thoroughly with a drill equipped with a mixing paddle until a lump-free, workable consistency is achieved. The mixture should be like thick pancake batter. Immediately after mixing, pour the resurfacer onto the primed step and spread it evenly using a squeegee or trowel. Work from the top step downwards. Ensure consistent thickness across all surfaces.

Texture and Finish
While the resurfacer is still wet, use a broom, stiff brush, or specialized texturing tools to create the desired finish. A broom can create subtle lines, while a trowel can be used for smoother finishes or to create patterns. Work from the top step down. Smooth any ridges or uneven areas with a trowel as needed. Ensure all edges are neat and tidy.
Cure the Resurfacer
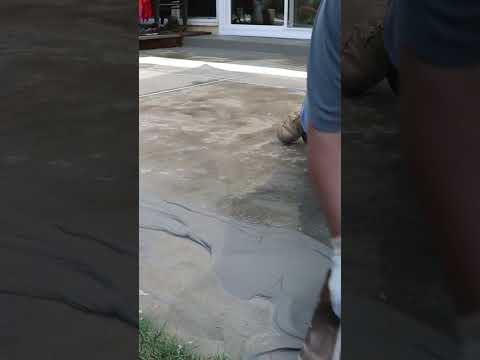
Protect the newly resurfaced steps from direct sunlight, rain, and heavy foot traffic. The curing process typically takes 24-72 hours, but check the specific product's instructions for the recommended curing time and method. Some products may recommend misting the surface with water periodically during the first few days of curing to ensure optimal hydration.
Questions about your project or which product fits? Oak Valley Designs's team is happy to help. Mon–Fri 9–5 ET
Related Guides
See All



Subscribe for exclusive updates
Be the first to know about promotions, new products, and sales.