
Cure Resurfaced Steps
From How to Resurface Worn Concrete Steps · Step 6 of 6 · Video by Family Handyman
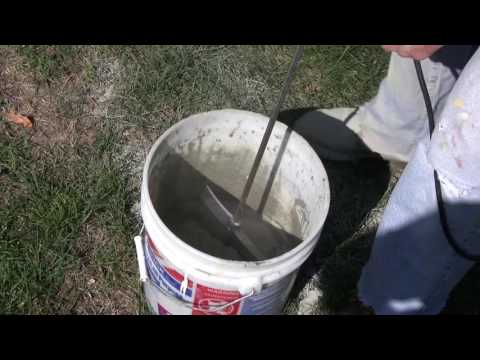
Showing 0:54–1:02 of the source video. Watch the full video with every moment.
What happens in this clip
After the concrete resurfacer has been poured, spread, and smoothed across the step surface, the final critical phase is the drying and curing process. The presenter highlights that the resurfacer needs to dry, and once fully cured, the steps will exhibit a 'brand-new looking' appearance, achieving the project's goal of uniformity. Proper curing is vital for the long-term strength and durability of the resurfacer; this typically involves keeping the concrete moist for a period (often several days) to allow for complete hydration and hardening. This can be done by misting the surface with water periodically, covering it with plastic sheeting, or applying a specialized curing compound. Following the manufacturer's specific instructions for curing is paramount.
Goal: Once the resurfacer is applied, it must be allowed to dry and cure according to manufacturer instructions, which will result in aesthetically uniform and brand-new looking concrete steps.
About the full video
This video provides a concise demonstration on how to revitalize worn and damaged concrete steps by applying a concrete resurfacer. The process involves preparing the surface, mixing the resurfacer to the correct consistency, and applying it to create a smooth, durable, and visually appealing surface that seamlessly matches existing concrete, offering a cost-effective alternative to full replacement.
Step 6 of 6: Cure the Resurfacer
Protect the newly resurfaced steps from direct sunlight, rain, and heavy foot traffic. The curing process typically takes 24-72 hours, but check the specific product's instructions for the recommended curing time and method. Some products may recommend misting the surface with water periodically during the first few days of curing to ensure optimal hydration.
Every video in How to Resurface Worn Concrete Steps
Step 1: Inspect and Clean Concrete Steps
- 0:35–0:58 Clean and Prepare Damaged Steps
- 0:13–0:35 Clean Concrete Stairs
- 1:19–2:05 Cleaning the Concrete Surface
Step 2: Repair Cracks and Damage
- 1:07–1:26 Fill Concrete Cracks
- 2:52–3:20 Apply and Level Patching Compound
- 0:00–0:10 Apply Crack Filler
Step 3: Prime the Surface
- 4:24–5:41 Prime the Concrete Surface
- 0:04–0:09 Prepare and Prime the Concrete Surface
- 4:17–5:40 Apply Concrete Bonding Adhesive
Step 4: Mix and Apply Concrete Resurfacer
- 0:13–0:21 Mix Concrete Resurfacing Product
- 2:22–3:19 Apply and Texture Concrete Resurfacer
- 0:21–0:39 Apply Thin Layer of Resurfacer
Step 5: Texture and Finish
- 16:32–16:40 Achieve Desired Finish
- 0:40–0:45 Apply Broom Finish (Optional)
- 1:16–1:25 Apply Textured Finish
Step 6: Cure the Resurfacer
- 0:33–0:40 Cure Resurfaced Concrete
- 0:12–0:15 Cure and Inspect
- 0:54–1:02 Cure Resurfaced Steps (this video)
How to Resurface Worn Concrete Steps
This project outlines the steps to resurface worn concrete steps, including cleaning, repairing cracks, applying a bonding agent, and finishing with a concrete resurfacer product.
Read the full guide Browse all guides
Planning this project? Shop Oak Valley Designs.

Subscribe for exclusive updates
Be the first to know about promotions, new products, and sales.