
Securing Stringers to Landing Pad with Base Plate
From How to Build Basement Stairs · Step 5 of 9 · Video by Everyday Home Repairs
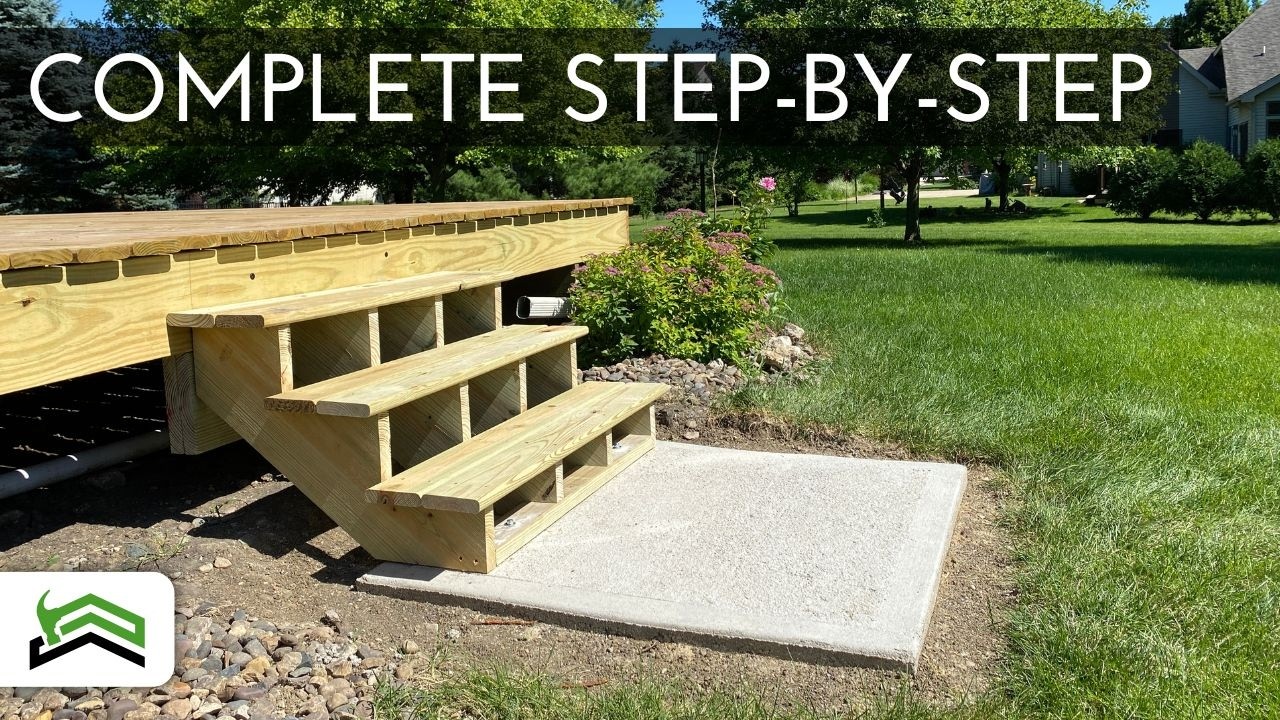
Showing 10:09–11:12 of the source video. Watch the full video with every moment.
What happens in this clip
Place a 2x4 pressure-treated board on the concrete landing pad to serve as a base plate for the stringers. This base plate should be positioned to align with the stringers. Using a hammer drill and a 1/2-inch bit (or the exact bit specified in the product description), drill two holes through the 2x4 base plate and into the concrete landing pad. Insert concrete anchors into these holes, and then secure them by hammering them in. Finally, tighten the anchors with a wrench, ensuring the stringers will be firmly attached to the ground.
Goal: Anchor the stair stringers to the concrete landing pad for stability.
What's used
Tools
- 1/2-inch Drill Bit
- 2x4 Pressure Treated Board
- Concrete Anchors
- Sleeve anchors
- Hammer Drill Milwaukee
- Hammer
- Hearing Protection
- Safety Glasses
- Wrench
About the full video
This project provides detailed, step-by-step instructions for constructing a set of wooden stairs for a deck. It covers crucial initial measurements like rise and run, preparing the deck's rim joists for stringer attachment, marking and cutting stair stringers from 2x12 pressure-treated lumber using specific tools, and finally, assembling and securing the stairs to both the deck and a landing pad.
Step 5 of 9: Secure Bottom of Stringers
The bottom of the stringers must be firmly secured to prevent the stairs from shifting or tipping. If resting on a concrete slab, you can use concrete anchors (like Tapcons) to secure wooden blocks to the slab, and then screw the stringers to these blocks. If resting on a wooden subfloor or a framed landing, attach solid wood blocking or a sturdy footing to the subfloor, and then secure the stringers to this blocking using screws or hangers. Ensure the stringers are plumb and properly spaced before final fastening.
Every video in How to Build Basement Stairs
Step 1: Measure and Plan Stair Location
- 1:14–1:25 Measure and Calculate Stair Dimensions
- 0:11–1:48 Calculate and Layout Staircase Dimensions
- 0:00–2:15 Calculate Stair Dimensions
Step 2: Cut Stair Stringers
- 0:57–1:08 Lay Out and Cut the First Stringer
- 5:24–6:18 Cut Stair Stringers from Lumber
- 2:20–3:14 Mark and Cut Stringers
Step 3: Install Top Support for Stringers
- 12:25–12:49 Install Ledger Board for Stringers
- 5:17–6:26 Determine Stringer Attachment to Deck Band Board
- 13:16–13:26 Attach Stair Stringer Ledger
Step 4: Attach Stringers to Top Support
- 30:00–35:46 Install Stringers and Brackets
- 6:49–8:07 Install Stringers
- 9:15–10:09 Installing Stringer Hangers to Deck
Step 5: Secure Bottom of Stringers
- 10:09–11:12 Securing Stringers to Landing Pad with Base Plate (this video)
- 9:41–10:36 Anchor Stringer Base Plate to Concrete
- 18:03–22:29 Secure Staircase Bottom
Step 6: Cut and Install Treads
- 10:15–17:22 Install Risers and Treads
- 10:10–11:50 Apply Adhesive and Install Treads
- 0:06–0:09 Install Treads and Risers
Step 7: Cut and Install Risers (Optional but Recommended)
- 30:57–33:30 Install Stair Risers
- 8:38–11:15 Install Risers
- 0:06–0:09 Install Treads and Risers
Step 8: Install Handrails and Balusters
- 0:32–0:45 Install Handrails
- 5:36–6:05 Install Balusters and Handrail
- 11:30–13:16 Install Balusters
Step 9: Sand and Finish Treads and Risers
- 0:37–0:41 Sand the Staircase
- 8:53–11:22 Sand and Finish Stairs
- 0:08–1:13 Prepare and Finish Wood Stair Treads
How to Build Basement Stairs
This project outlines the steps for building a safe and code-compliant set of stairs to a basement. It covers planning, material selection, cutting, assembly, and finishing, emphasizing structural integrity and safety features.
Read the full guide Browse all guides
Planning this project? Shop Oak Valley Designs.

Subscribe for exclusive updates
Be the first to know about promotions, new products, and sales.