
Install Balusters and Handrail
From How to Build Basement Stairs · Step 8 of 9 · Video by This Old House
Showing 5:36–6:05 of the source video. Watch the full video with every moment.
What happens in this clip
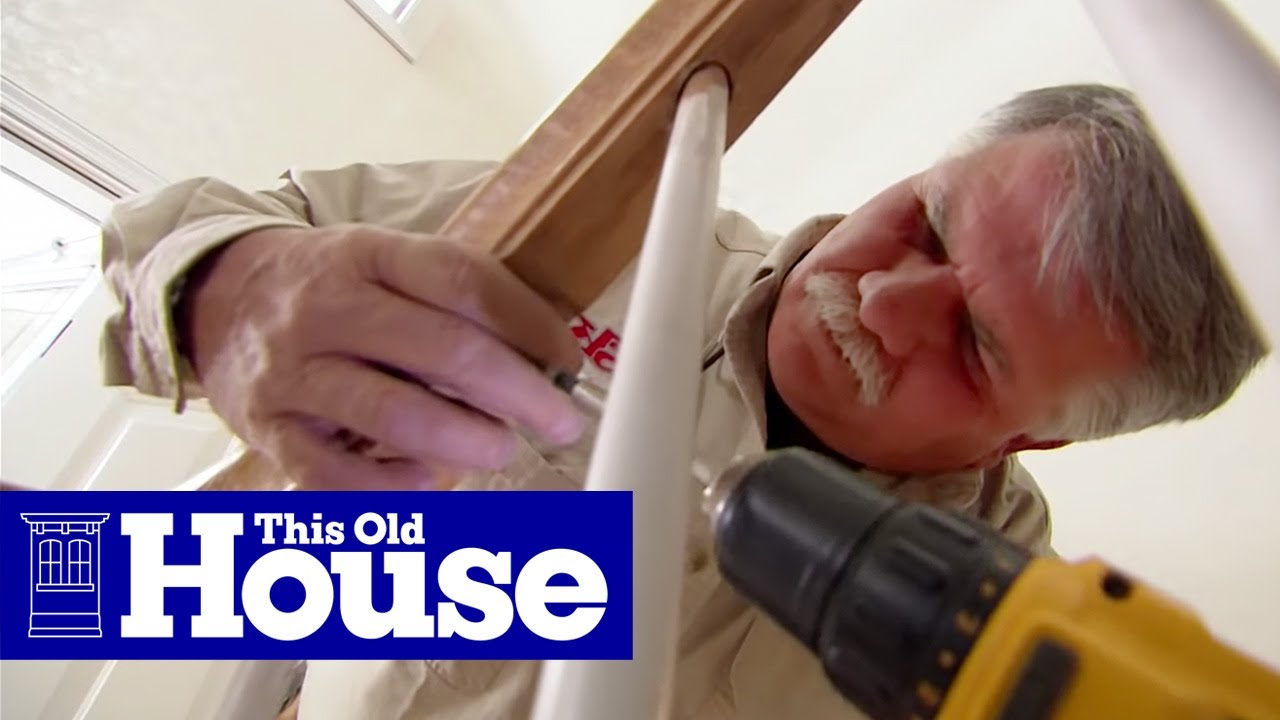
Begin by inserting each baluster into its corresponding pre-drilled hole in the stair tread. Apply construction adhesive into the tread holes before inserting the balusters for a stronger bond. Tap each baluster gently with a mallet to ensure it is fully seated and plumb. Once all balusters are set into the treads, carefully lift the assembled handrail (which includes the turnout section). With an assistant's help, meticulously align the pre-drilled holes on the underside of the handrail with the top tenons of each baluster. Slowly lower the handrail, guiding each baluster into its respective hole. Once all balusters are seated in the handrail, gently tap the handrail with a rubber mallet or a hammer protected by a wood block to ensure a tight, secure fit. Finally, secure the handrail to the newel post at the top of the stairs, and to the wall, completing the installation. (The video implies securing but doesn't explicitly show the final fasteners for the top connection.)
Goal: With all holes drilled and prepared, insert the balusters into the stair treads and then carefully place the assembled handrail over the balusters, tapping it into place for a secure fit.
What's used
Tools
- Construction Adhesive
- Mallet
Materials
- Balusters
- Handrail (Assembled)
About the full video
This video provides a detailed guide on installing a wooden stair railing, focusing on precise techniques using pre-drilled holes for balusters and secure joinery for handrail sections. The process includes preparing stair treads, assembling the handrail, marking and drilling accurate baluster holes, and final assembly to create a stable and aesthetically pleasing railing.
Step 8 of 9: Install Handrails and Balusters
Install handrail posts securely to the stair stringers or landing framing. Attach the handrail to these posts, ensuring it is at the correct height (typically 34-38 inches above the tread nosing) and extends at least 12 inches beyond the top and bottom steps. Spacing for balusters should not allow a 4-inch sphere to pass through (check local code). Attach balusters to the treads or stringers and to the underside of the handrail using appropriate fasteners and brackets. Ensure all connections are very secure.
Every video in How to Build Basement Stairs
Step 1: Measure and Plan Stair Location
- 1:14–1:25 Measure and Calculate Stair Dimensions
- 0:11–1:48 Calculate and Layout Staircase Dimensions
- 0:00–2:15 Calculate Stair Dimensions
Step 2: Cut Stair Stringers
- 0:57–1:08 Lay Out and Cut the First Stringer
- 5:24–6:18 Cut Stair Stringers from Lumber
- 2:20–3:14 Mark and Cut Stringers
Step 3: Install Top Support for Stringers
- 12:25–12:49 Install Ledger Board for Stringers
- 5:17–6:26 Determine Stringer Attachment to Deck Band Board
- 13:16–13:26 Attach Stair Stringer Ledger
Step 4: Attach Stringers to Top Support
- 30:00–35:46 Install Stringers and Brackets
- 6:49–8:07 Install Stringers
- 9:15–10:09 Installing Stringer Hangers to Deck
Step 5: Secure Bottom of Stringers
- 10:09–11:12 Securing Stringers to Landing Pad with Base Plate
- 9:41–10:36 Anchor Stringer Base Plate to Concrete
- 18:03–22:29 Secure Staircase Bottom
Step 6: Cut and Install Treads
- 10:15–17:22 Install Risers and Treads
- 10:10–11:50 Apply Adhesive and Install Treads
- 0:06–0:09 Install Treads and Risers
Step 7: Cut and Install Risers (Optional but Recommended)
- 30:57–33:30 Install Stair Risers
- 8:38–11:15 Install Risers
- 0:06–0:09 Install Treads and Risers
Step 8: Install Handrails and Balusters
- 0:32–0:45 Install Handrails
- 5:36–6:05 Install Balusters and Handrail (this video)
- 11:30–13:16 Install Balusters
Step 9: Sand and Finish Treads and Risers
- 0:37–0:41 Sand the Staircase
- 8:53–11:22 Sand and Finish Stairs
- 0:08–1:13 Prepare and Finish Wood Stair Treads
How to Build Basement Stairs
This project outlines the steps for building a safe and code-compliant set of stairs to a basement. It covers planning, material selection, cutting, assembly, and finishing, emphasizing structural integrity and safety features.
Read the full guide Browse all guides
Planning this project? Shop Oak Valley Designs.

Subscribe for exclusive updates
Be the first to know about promotions, new products, and sales.