
Measure and Calculate Stair Dimensions
From How to Build Basement Stairs · Step 1 of 9 · Video by Sharpimagetv
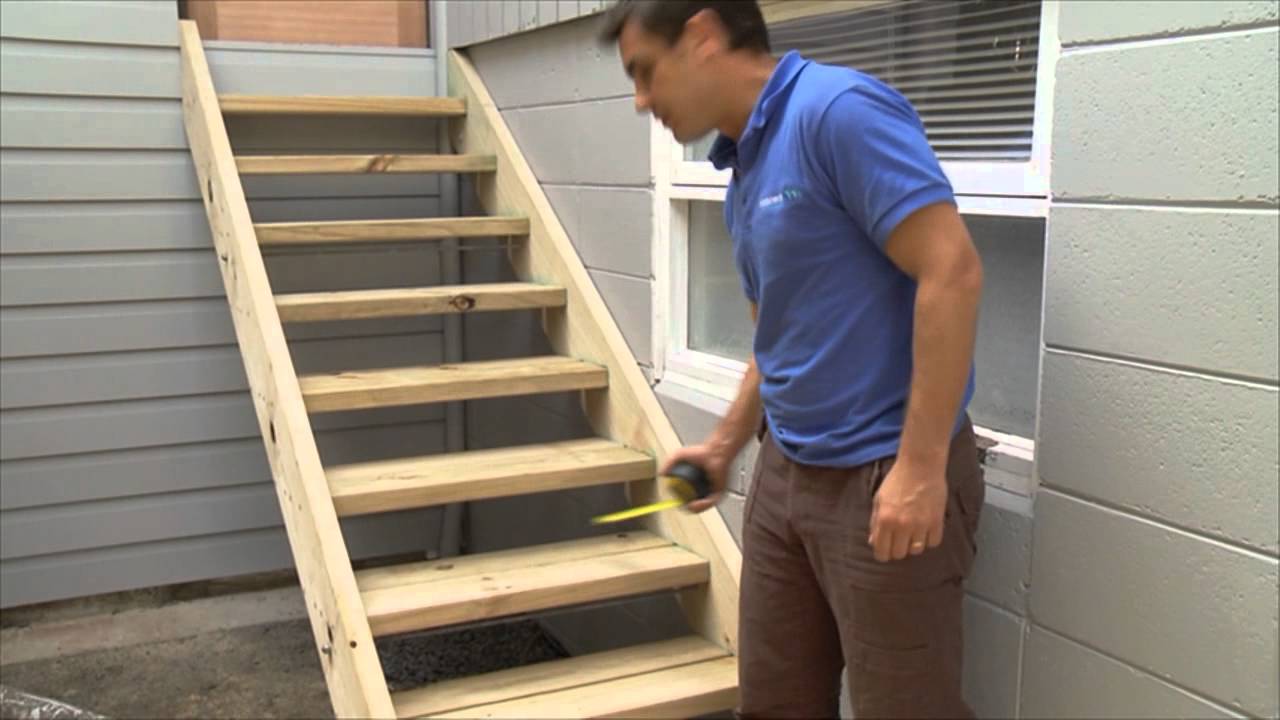
Showing 1:14–1:25 of the source video. Watch the full video with every moment.
What happens in this clip
First, measure the total height of the area where the stairs will be installed. Using this total height, and considering local building codes for rise and run, calculate the exact number of steps (treads) you will need. Simultaneously, determine the required width for each tread and the consistent rise (height) for each step to ensure a comfortable and safe ascent/descent. This pre-calculation is vital for accurate stringer layout and material estimation.
Goal: Determine the number, width, and rise of steps
What's used
Tools
- Calculator
- Pencil
- Tape Measure
- Long ruler
About the full video
This project provides a step-by-step guide on how to build a timber staircase, covering initial planning and terminology, through marking and cutting, to assembly and final installation. The instructions emphasize the importance of pre-planning, regulatory checks, and precise execution for a sturdy and safe structure.
Step 1 of 9: Measure and Plan Stair Location
Accurately measure the vertical distance from the finished basement floor to the finished main floor. This is your total rise. Using a stair calculator or by hand, determine the optimal tread depth and riser height. A common riser height is 7 inches, and a tread depth of 11 inches is standard. The formula is 2xRiser + Tread = 24-25 inches (approx). The total run is the horizontal distance the stairs will occupy. Mark the starting point on the basement wall (usually the rim joist or a reinforced header) and the ending point on the basement subfloor. Transfer these measurements to create a layout for your stair stringers.
Every video in How to Build Basement Stairs
Step 1: Measure and Plan Stair Location
- 1:14–1:25 Measure and Calculate Stair Dimensions (this video)
- 0:11–1:48 Calculate and Layout Staircase Dimensions
- 0:00–2:15 Calculate Stair Dimensions
Step 2: Cut Stair Stringers
- 0:57–1:08 Lay Out and Cut the First Stringer
- 5:24–6:18 Cut Stair Stringers from Lumber
- 2:20–3:14 Mark and Cut Stringers
Step 3: Install Top Support for Stringers
- 12:25–12:49 Install Ledger Board for Stringers
- 5:17–6:26 Determine Stringer Attachment to Deck Band Board
- 13:16–13:26 Attach Stair Stringer Ledger
Step 4: Attach Stringers to Top Support
- 30:00–35:46 Install Stringers and Brackets
- 6:49–8:07 Install Stringers
- 9:15–10:09 Installing Stringer Hangers to Deck
Step 5: Secure Bottom of Stringers
- 10:09–11:12 Securing Stringers to Landing Pad with Base Plate
- 9:41–10:36 Anchor Stringer Base Plate to Concrete
- 18:03–22:29 Secure Staircase Bottom
Step 6: Cut and Install Treads
- 10:15–17:22 Install Risers and Treads
- 10:10–11:50 Apply Adhesive and Install Treads
- 0:06–0:09 Install Treads and Risers
Step 7: Cut and Install Risers (Optional but Recommended)
- 30:57–33:30 Install Stair Risers
- 8:38–11:15 Install Risers
- 0:06–0:09 Install Treads and Risers
Step 8: Install Handrails and Balusters
- 0:32–0:45 Install Handrails
- 5:36–6:05 Install Balusters and Handrail
- 11:30–13:16 Install Balusters
Step 9: Sand and Finish Treads and Risers
- 0:37–0:41 Sand the Staircase
- 8:53–11:22 Sand and Finish Stairs
- 0:08–1:13 Prepare and Finish Wood Stair Treads
How to Build Basement Stairs
This project outlines the steps for building a safe and code-compliant set of stairs to a basement. It covers planning, material selection, cutting, assembly, and finishing, emphasizing structural integrity and safety features.
Read the full guide Browse all guides
Planning this project? Shop Oak Valley Designs.

Subscribe for exclusive updates
Be the first to know about promotions, new products, and sales.