Wire New Light Fixture
From Light Fixture Replacement · Step 9 of 13 · Video by HouseImprovements
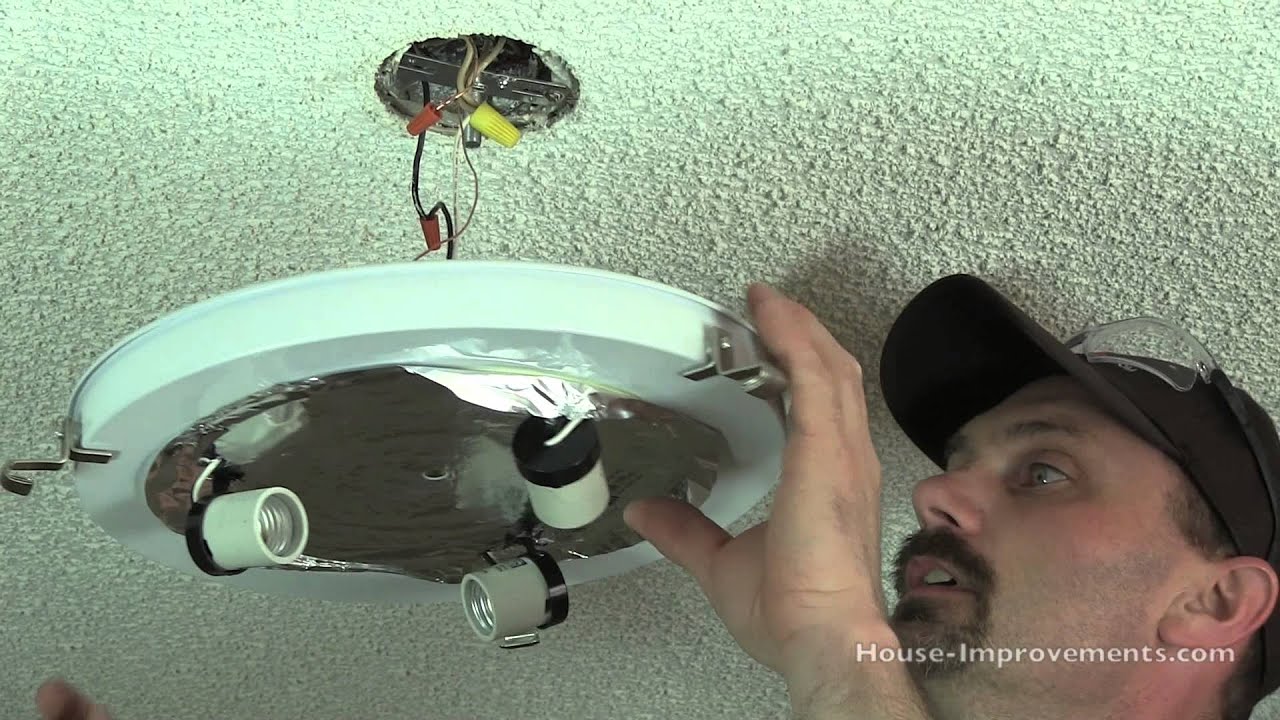
Showing 5:02–7:45 of the source video.
What happens in this clip
Prepare the wiring for the new light fixture. If the existing house wires are short or have minimal exposed copper, use wire strippers to expose about 3/8 to 1/2 inch of bare copper on the ends of the house's black (hot) and white (neutral) wires. Similarly, ensure the new fixture's wires have enough exposed copper. Connect the fixture's pre-twisted ground wire (often bare copper or green) to the ground pigtail you installed in the previous step, twisting them together clockwise and securing with a wire nut. Next, connect the fixture's white neutral wire(s) to the house's white neutral wire(s), again twisting clockwise and capping with a wire nut. Finally, connect the fixture's black hot wire(s) to the house's black hot wire(s), twisting and securing with a wire nut. Ensure all connections are tight and no bare copper is exposed outside the wire nuts.
Goal: Connect the electrical wires from the new fixture to the house wiring
What's used
Tools
- Ground Pigtail
- New Light Fixture
- Wire Nuts
- Wire Strippers
About the full video
This DIY project guides you through the process of replacing an old, outdated ceiling light fixture with a new, more contemporary one. It covers safe power disconnection, removal of the old fixture, preparation of the electrical box with appropriate grounding, wiring the new fixture, mounting it securely, installing light bulbs and the decorative shade, and finally, testing the new installation for proper functionality.
Step 9 of 13: Connect New Fixture Wiring
Strip approximately 1/2 to 3/4 inch of insulation from the ends of the wires on the new fixture if not already done. Connect the wires from the new fixture to the corresponding wires from the ceiling electrical box using wire nuts. Typically, this involves connecting black to black (hot), white to white (neutral), and green or bare copper to green or bare copper (ground). Ensure connections are tight and secure.
Other videos for this step
Light Fixture Replacement
This project involves safely removing an existing light fixture in a two-story stairwell and installing a new one. Due to the height and electrical work involved, safety precautions are paramount.
Read the full guide Browse all guides
Planning this project? Shop Oak Valley Designs.