Remove Existing Fixtures and Wiring
From Light Fixture Replacement · Step 5 of 13 · Video by Moore Approved
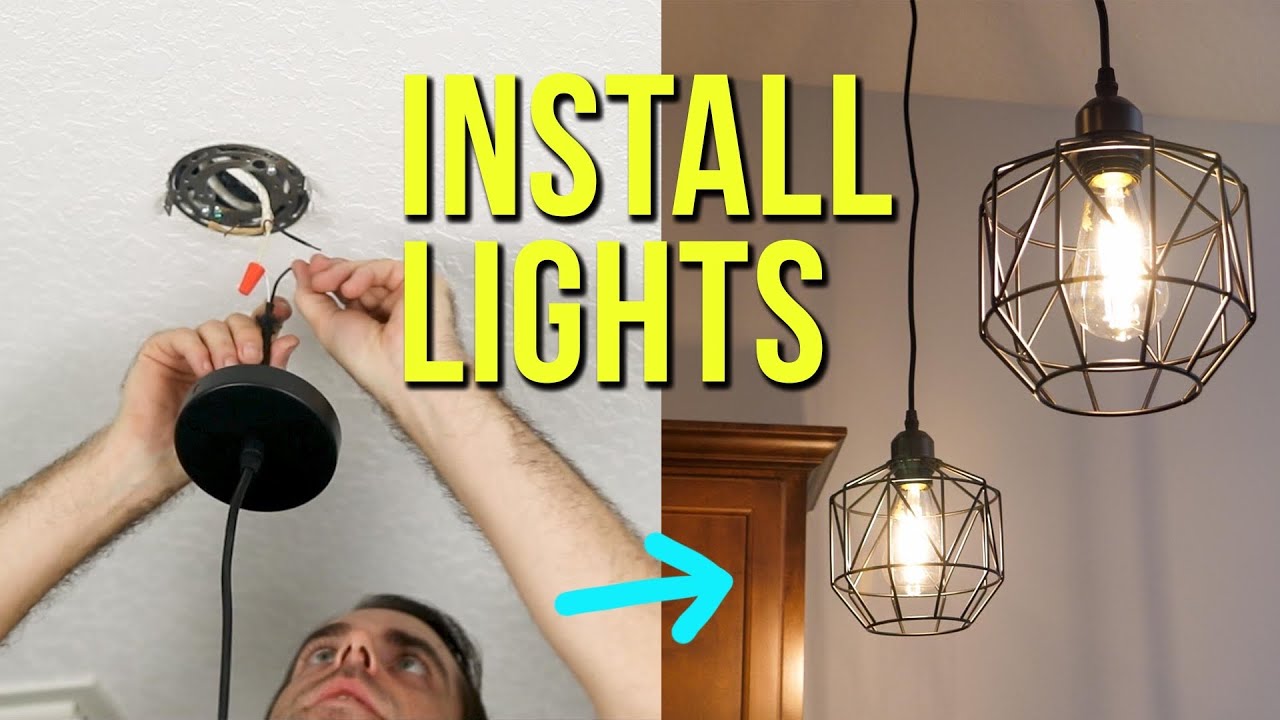
Showing 4:30–5:32 of the source video.
What happens in this clip
For the first fixture (a flush mount), carefully unscrew the finial at the center to remove the glass cover. Then, unscrew and remove the light bulbs. Next, locate and loosen the mounting screws holding the fixture base to the ceiling. Turn the fixture slightly to disengage it from the screws and carefully lower it. For the second fixture (a recessed light cover), simply pop off the plastic cover. Use a flathead screwdriver to loosen and remove the plastic bracket inside the ceiling box. Disconnect the existing wiring by twisting off the wire nuts from the black (hot), white (neutral), and bare (ground) wires.
Goal: Safely remove old lighting fixtures and prepare wiring for new installation
What's used
Tools
- Flathead Screwdriver
- Phillips Head Screwdriver
About the full video
This project provides comprehensive, step-by-step instructions for safely installing new lighting fixtures in your home. It emphasizes critical safety precautions, proper tool usage, and detailed wiring connections, ensuring a secure and functional installation. The guide covers replacing existing flush-mount and pendant-style fixtures.
What's said in this clip
and move these out of the way and open up the ceiling get started just pop this off the ceiling and pop this off the ceiling so this is what it looks like after you pull off that cover this little plastic bracket needs to come off just loosen it up and this should come out sometimes you're going to have to actually take and take the screw all the way out to get it out but with this one you didn't have to at this point you want to fire up your electrical sensor make sure that this does not beep and does not have any power going to it so we're good and if it is beeping then you know it's hot and if it is flashing then you know there's hot wire in there but it's not so we're fine all right these are the wires on the inside we've already checked and ensured that the breaker that we flipped was proper with that voltage sensor and this is going to be your hot it's black this could be your white that's not hot and then this is going to be the earth ground that you're putting to the fixture itself so you want to put your wire through the center of this
Automatically transcribed from the source video.
Step 5 of 13: Expose Wiring
Identify and remove any decorative shades, globes, or the main canopy that conceals the electrical box and wiring. This may involve unscrewing screws or releasing retaining nuts that hold the fixture's main body to the ceiling electrical box.
Other videos for this step
Light Fixture Replacement
This project involves safely removing an existing light fixture in a two-story stairwell and installing a new one. Due to the height and electrical work involved, safety precautions are paramount.
Read the full guide Browse all guides
Planning this project? Shop Oak Valley Designs.