Install Light Bulbs and Shade
From Light Fixture Replacement · Step 11 of 13 · Video by HouseImprovements
Showing 9:24–10:55 of the source video.
What happens in this clip
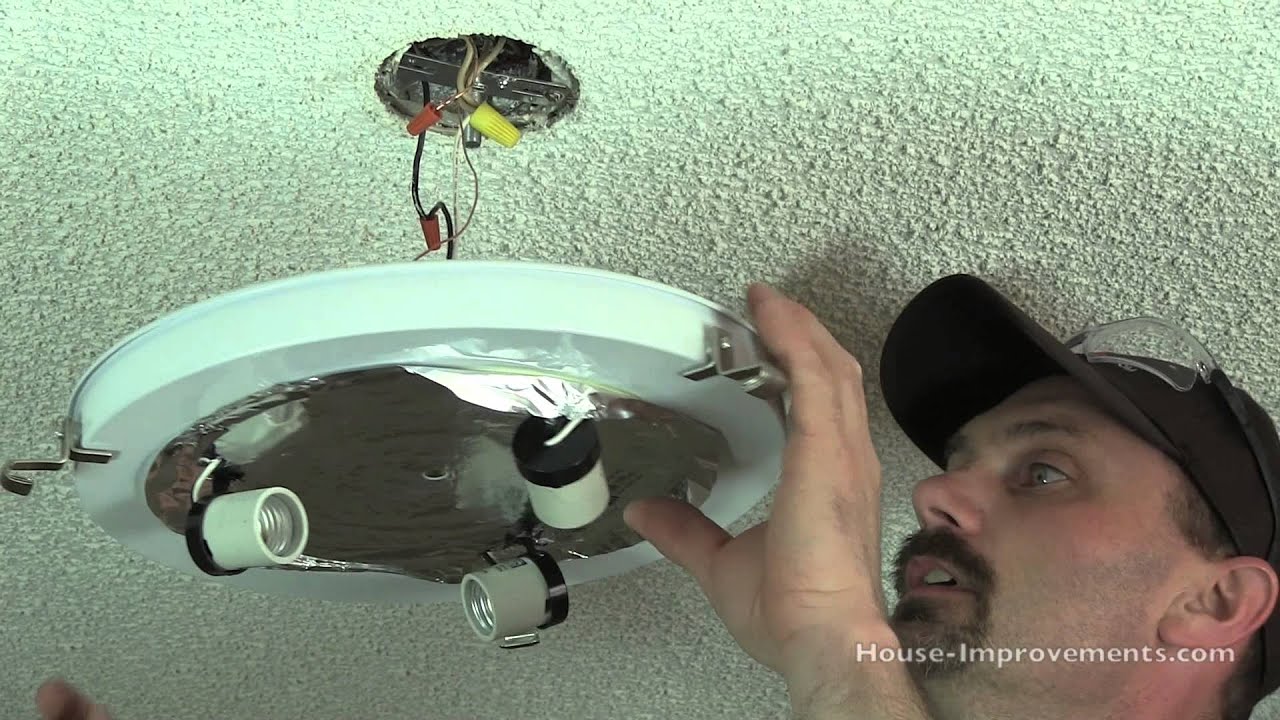
Screw three appropriate wattage light bulbs into the sockets of the newly mounted fixture. The presenter uses incandescent bulbs, noting the fixture is rated for a maximum of 60 watts per bulb, and suggests alternatives like fluorescent or LED bulbs if desired and compatible. Once the bulbs are in place, take the decorative glass shade. This style of fixture typically uses a combination of solid and spring-loaded brackets to hold the shade. Hook two of the solid brackets into the edges of the shade, then carefully pull back the third, spring-loaded bracket to insert the remaining edge of the shade, releasing the spring to secure it in place. Ensure the shade is stable and centered.
Goal: Complete the light fixture by installing bulbs and the decorative shade
What's used
Tools
- Glass Shade
- Light Bulbs
- CFL bulbs
About the full video
This DIY project guides you through the process of replacing an old, outdated ceiling light fixture with a new, more contemporary one. It covers safe power disconnection, removal of the old fixture, preparation of the electrical box with appropriate grounding, wiring the new fixture, mounting it securely, installing light bulbs and the decorative shade, and finally, testing the new installation for proper functionality.
Step 11 of 13: Install New Fixture Cover and Bulbs
Once the fixture is securely mounted, attach the new fixture's cover or globe, securing it with the provided screws or clips. Then, screw in the appropriate type and wattage of light bulbs as specified by the fixture manufacturer.
Other videos for this step
Light Fixture Replacement
This project involves safely removing an existing light fixture in a two-story stairwell and installing a new one. Due to the height and electrical work involved, safety precautions are paramount.
Read the full guide Browse all guides
Planning this project? Shop Oak Valley Designs.