Install New Fixture Cover
From Light Fixture Replacement · Step 11 of 13 · Video by Darryl Adams
Showing 7:25–8:09 of the source video.
What happens in this clip
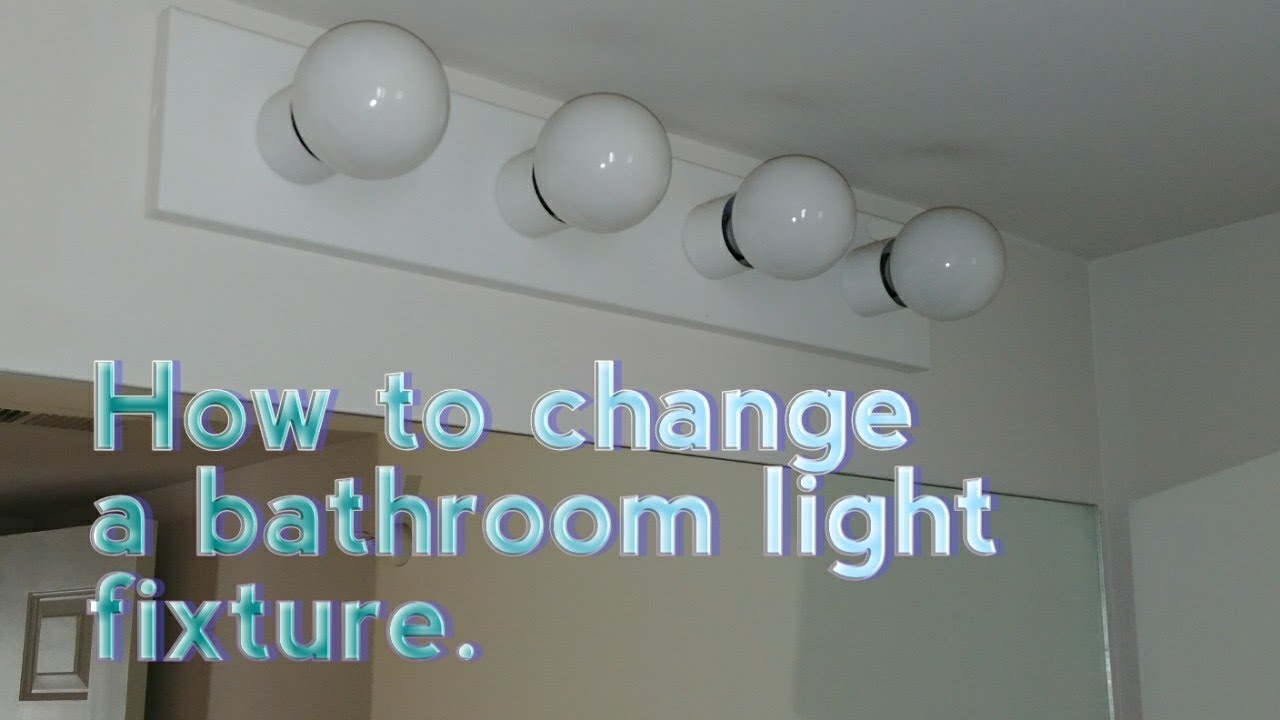
Once all wires are securely connected with wire nuts, gently push the connected wire bundles back into the electrical box in the wall. Then, align the decorative cover or housing of the new light fixture with the mounted base plate. Slide or clip it into place, ensuring it sits flush against the wall and conceals all wiring. Some fixtures may require tightening small set screws on the sides or bottom of the cover to fully secure it.
About the full video
This project provides step-by-step instructions for replacing an old, outdated bathroom vanity light fixture with a new, more modern one. The process involves safely disconnecting the old fixture's wiring, removing its components, installing the new fixture's base, connecting the new wiring, securing the decorative cover, and finally installing new light bulbs to complete the transformation.
Step 11 of 13: Install New Fixture Cover and Bulbs
Once the fixture is securely mounted, attach the new fixture's cover or globe, securing it with the provided screws or clips. Then, screw in the appropriate type and wattage of light bulbs as specified by the fixture manufacturer.
Other videos for this step
Light Fixture Replacement
This project involves safely removing an existing light fixture in a two-story stairwell and installing a new one. Due to the height and electrical work involved, safety precautions are paramount.
Read the full guide Browse all guides
Planning this project? Shop Oak Valley Designs.