Remove Old Light Bulbs
From Light Fixture Replacement · Step 4 of 13 · Video by Dad Does Videos
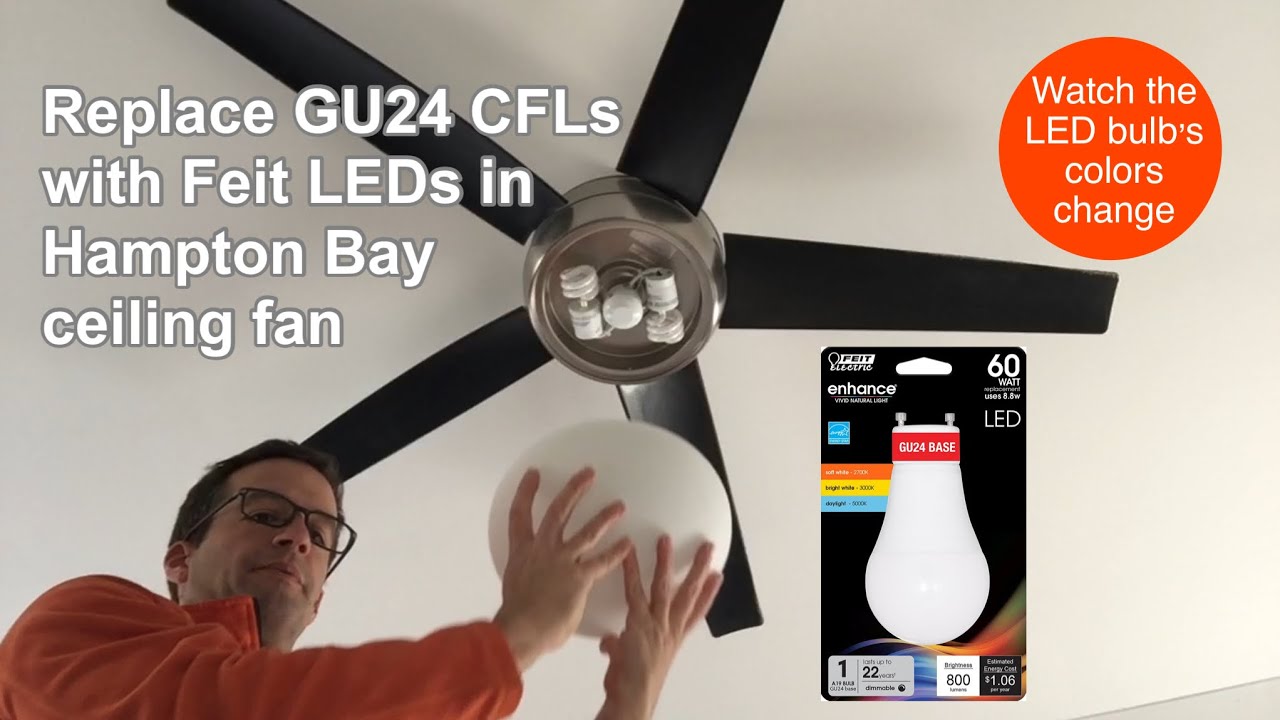
Showing 0:55–1:45 of the source video.
What happens in this clip
With the light cover removed, you will see the old light bulbs. The presenter identifies these as older CFL (Compact Fluorescent Lamp) bulbs with a GU24 base. These bulbs typically have two pins at their base. To remove each bulb, firmly grasp it and twist it counter-clockwise. The bulb should easily detach from the socket once the pins align with the release slots.
Goal: Detach the outdated CFL bulbs from their sockets
What's used
Tools
- CFL Light Bulbs (GU24 base)
About the full video
This DIY project provides step-by-step instructions for replacing outdated CFL (Compact Fluorescent Lamp) light bulbs in a Hampton Bay ceiling fan with new, energy-efficient LED (Light Emitting Diode) bulbs. The process involves safely removing the light cover, detaching the old GU24 base CFL bulbs, installing multi-color temperature adjustable LED bulbs, demonstrating their color settings, and finally reattaching the light cover.
Step 4 of 13: Remove Bulbs
With the cover removed, carefully unscrew each light bulb counter-clockwise. Place the bulbs in a safe location where they will not be damaged or roll away.
Other videos for this step
Light Fixture Replacement
This project involves safely removing an existing light fixture in a two-story stairwell and installing a new one. Due to the height and electrical work involved, safety precautions are paramount.
Read the full guide Browse all guides
Planning this project? Shop Oak Valley Designs.