Disconnect Old Fixture Wiring
From Light Fixture Replacement · Step 6 of 13 · Video by DIY with Chris Home Projects
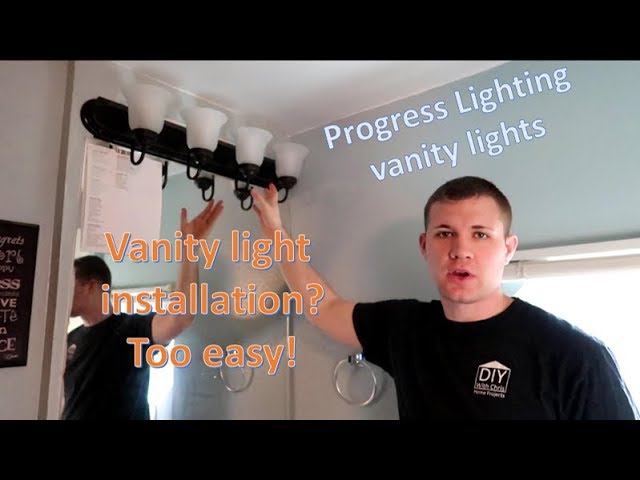
Showing 1:55–3:18 of the source video.
What happens in this clip
Before touching any wires, ensure the electricity to the room is completely turned off at the circuit breaker. Use a non-contact voltage tester to verify that no power is present in the wiring coming from the wall. Once confirmed safe, carefully disconnect the wire nuts connecting the old fixture's wires (typically white for neutral, black for hot, and bare copper/green for ground) to the house's electrical wires. Match colors when disconnecting. The presenter also removes a ground wire that is screwed directly to the fixture's base using a Philips head screwdriver.
Goal: Safely disconnect old electrical connections
What's used
Tools
- Non-Contact Voltage Tester
- Philips Head Screwdriver
- Wire Nuts
- not recommended for permanent connections)
About the full video
This project provides step-by-step instructions on how to replace an existing bathroom vanity light fixture with a new one. It covers the safe removal of the old fixture, proper electrical disconnection, mounting the new baseplate, connecting the new fixture's wiring, and finally, installing the shades and bulbs.
Step 6 of 13: Disconnect Wiring
Observe how the existing fixture is wired. Typically, there will be three sets of wires: one from the ceiling to the fixture (hot), one from the ceiling to the fixture (neutral), and one from the ceiling to the fixture (ground). Usually, these are connected with wire nuts. Unscrew the wire nuts counter-clockwise to separate the wires. If wires are directly connected, you may need to loosen terminal screws.
Other videos for this step
Light Fixture Replacement
This project involves safely removing an existing light fixture in a two-story stairwell and installing a new one. Due to the height and electrical work involved, safety precautions are paramount.
Read the full guide Browse all guides
Planning this project? Shop Oak Valley Designs.