Ensure Safety and Remove Old Fixture
From Light Fixture Replacement · Step 2 of 13 · Video by This Old House
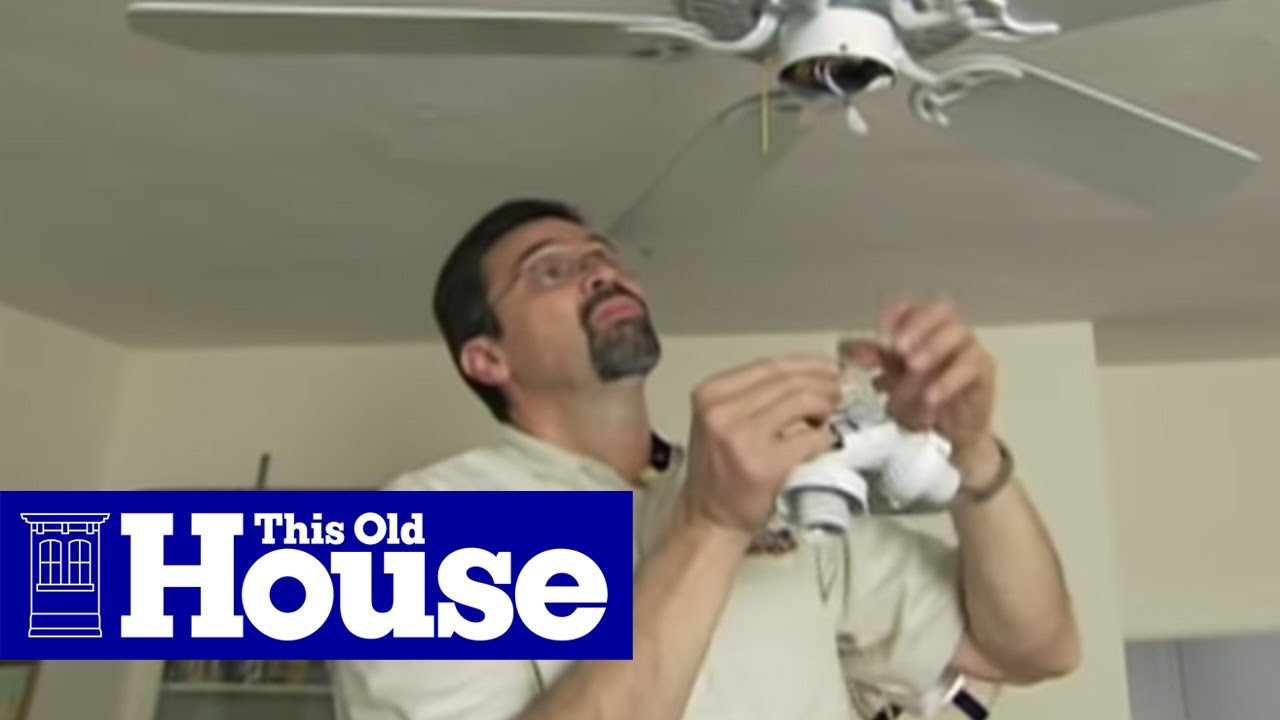
Showing 0:04–0:54 of the source video.
What happens in this clip
Before starting any electrical work, prioritize safety. Go to your home's electrical panel and locate the circuit breaker that controls the light fixture you intend to replace. Flip the breaker to the 'OFF' position to cut power to the fixture. Once power is confirmed off, retrieve a stepladder to safely reach the ceiling fixture. Remove any decorative glass covers or light bulbs from the existing fixture. Then, carefully loosen and remove the small brass nuts that secure the light fixture to the ceiling, allowing it to drop slightly. Disconnect the black (hot) wire, white (neutral) wire, and the ground wire from the ceiling's electrical box by unscrewing any wire nuts and loosening the ground screw. Set the old light fixture aside.
Goal: Safely de-energize the circuit and remove the existing light fixture
What's used
Tools
- Non-contact Voltage Tester
- Screwdriver (Straight/Flathead)
- Stepladder
About the full video
This project guides you through the process of safely replacing an existing light fixture with a new ceiling fan. It covers disconnecting old wiring, removing the old junction box, installing a new fan-rated electrical box, preparing the fan's wiring, making electrical connections, assembling the fan blades and light kit, and finally testing the new ceiling fan.
Step 2 of 13: Set Up Ladder
Place a sturdy ladder, such as an extension ladder or a stepladder, directly beneath the existing light fixture. Ensure the ladder is on a level and stable surface. Extend the ladder to a height that allows comfortable and safe access to the fixture without overreaching.
Other videos for this step
Light Fixture Replacement
This project involves safely removing an existing light fixture in a two-story stairwell and installing a new one. Due to the height and electrical work involved, safety precautions are paramount.
Read the full guide Browse all guides
Planning this project? Shop Oak Valley Designs.