
Measure Treads and Mark Laminate
From How to Install Carpet Treads on Stairs with a Deep Nosing Overhang · Step 1 of 7 · Video by The Home Depot
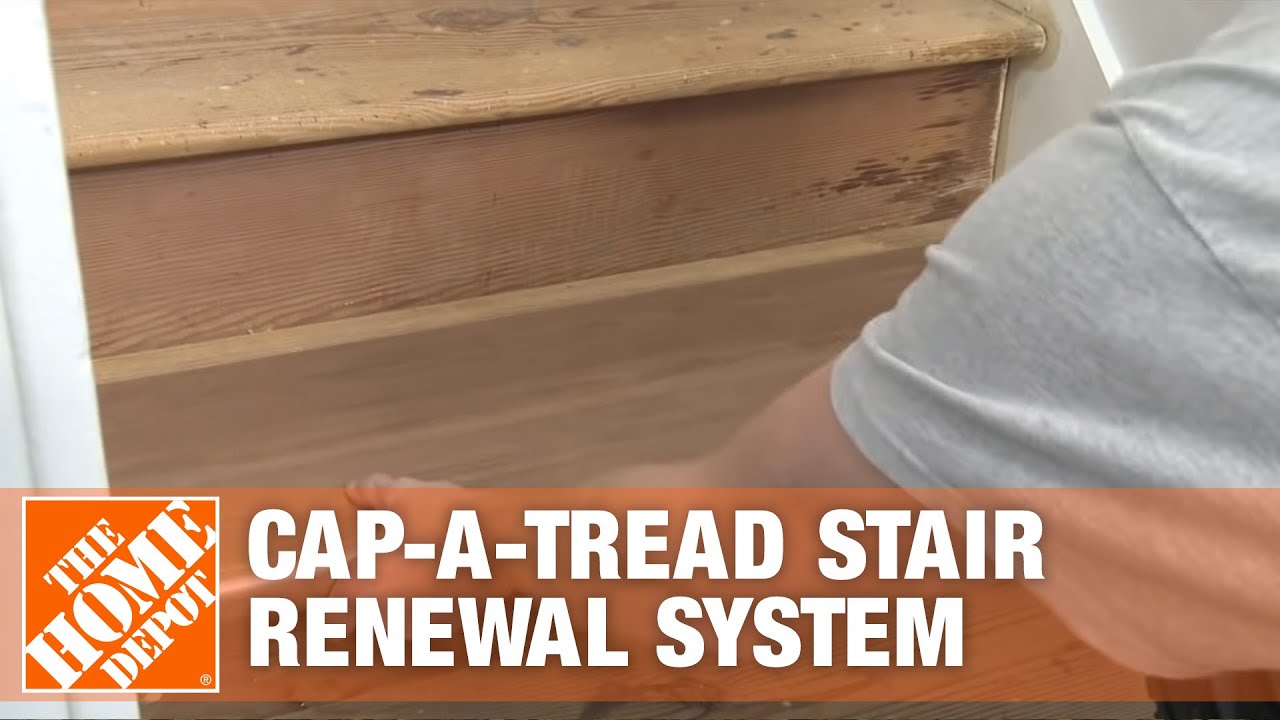
Showing 0:57–1:16 of the source video. Watch the full video with every moment.
What happens in this clip
Using your measuring tape, accurately measure the width and depth of each individual stair tread. The depth measurement is taken from the very edge of the bullnose (the rounded, protruding part of the stair tread) to the face of the existing riser (the vertical board at the back of the step). It is crucial to measure each tread separately, as stairs are rarely identical in size or perfectly square. Once measurements are taken, record them on a notepad. Then, transfer these precise measurements onto the Cap-A-Tread laminate material, marking the cut lines clearly with a pencil.
Goal: Accurately measure each stair tread and mark the laminate pieces for cutting.
What's used
Tools
- Measuring Tape Stanley
- Notepad
- Pencil
Materials
- Cap-A-Tread Laminate Cap-A-Tread
About the full video
This project provides a comprehensive guide on how to install Cap-A-Tread laminate flooring on stairs. It covers the initial preparation, including the removal of old carpet and staples, precise measurement of treads and risers, cutting the laminate pieces to fit, and securing them with construction adhesive. The result is an updated, durable, and attractive staircase.
Step 1 of 7: Measure Existing Tread Depth and Nosing
Carefully measure the depth of each stair tread from the front edge to the riser. Also, measure the overhang of the nosing on each tread. Record these measurements accurately, as they will be crucial for cutting the carpet treads to the correct size.
Every video in How to Install Carpet Treads on Stairs with a Deep Nosing Overhang
Step 1: Measure Existing Tread Depth and Nosing
- 0:57–1:16 Measure Treads and Mark Laminate (this video)
- 0:46–1:05 Measure and Cut Underlayment
- 0:12–0:57 Measure and Cut Carpet Tread
Step 2: Cut Carpet Treads to Size
- 7:20–9:07 Measure and Cut Carpet
- 0:12–0:57 Measure and Cut Carpet Tread
- 2:09–3:19 Measure and Cut Carpet Pieces
Step 3: Dry Fit and Trim Carpet Treads
- 2:13–2:35 Test Fit and Adjust Treads
- 3:53–7:38 Trim Excess Carpet and Prepare Final Riser
- 0:57–2:36 Pre-form and Secure Carpet Underneath Tread
Step 4: Apply Adhesive to Treads
- 0:05–0:06 Apply Adhesive to Treads
- 0:34–0:46 Apply Carpet Adhesive to Stairs
- 0:16–0:21 Apply Peel-and-Stick Carpet Treads
Step 5: Install Carpet Treads
- 0:04–0:06 Install Carpet Treads
- 0:59–2:07 Install First Stair Tread
- 0:11–0:43 Install Remaining Carpet Stair Treads
Step 6: Secure Nosing Overhang
- 0:57–2:36 Pre-form and Secure Carpet Underneath Tread
- 1:19–1:59 Lay and Secure Carpet Sections (Repetitive)
- 12:05–14:25 Fold and Staple Carpet Over Next Nose
Step 7: Allow Adhesive to Cure
- 3:06–3:19 Project Completion
- 3:44–4:26 Final Curing and Caulking
- 0:31–0:38 Inspect and Finish Installation
How to Install Carpet Treads on Stairs with a Deep Nosing Overhang
This project outlines the steps for installing carpet treads on stairs that have a deep nosing overhang. It covers measuring, cutting, fitting, and securing the treads to ensure a safe and aesthetically pleasing result.
Read the full guide Browse all guides
Planning this project? Shop Oak Valley Designs.

Subscribe for exclusive updates
Be the first to know about promotions, new products, and sales.