
Pre-form and Secure Carpet Underneath Tread
From How to Install Carpet Treads on Stairs with a Deep Nosing Overhang · Step 6 of 7 · Video by Direct Carpet
Showing 0:57–2:36 of the source video. Watch the full video with every moment.
What happens in this clip
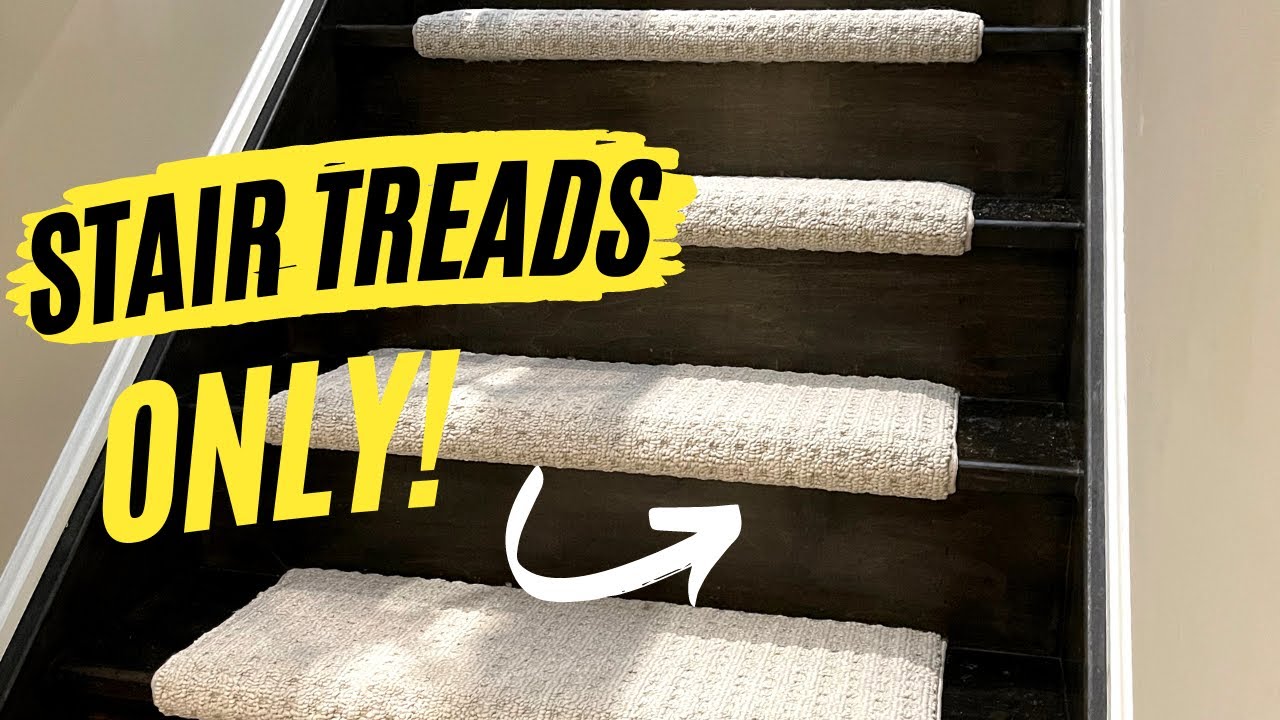
Place the newly cut carpet piece onto the stair tread, ensuring it is centered. Measure the exposure on each side (e.g., 4.25 inches). Firmly press the carpet down over the nose of the step to pre-form it, which helps prevent staples from popping out. Then, using a pneumatic stapler, begin stapling the carpet underneath the stair nose. Start with one or two staples in the middle and then work your way towards the left, feeling underneath with your thumb to ensure the carpet is pushed tightly against the riser. Continue stapling all the way across the underside of the nose, making sure not to press the stapler too hard into the riser to avoid scratches, as the risers will not be covered.
Goal: Secure the carpet to the underside of the stair nose, creating a clean edge.
What's used
Tools
- Pneumatic Stapler Robert's
- Electric staple gun
- Staples
About the full video
This DIY project details the step-by-step process of installing carpet treads on a wooden staircase, covering everything from securing padding and precise carpet cutting to stapling and finishing the edges for a clean, professional look.
What's said in this clip
all right we've got our 13 inch piece let's give it a go on the bottom stair see how we do so we've got the pile facing down nothing changes we're going to center our carpet four and a quarter now we're going to staple underneath preform our nose so our staples don't pop out or at least have a better chance of getting in there all right here we go we'll pop one in the middle one or two and then we'll work our way all the way to the left feeling with our thumb underneath on the carpet against the baseboard we don't want a gap so we're pushing it against that riser all the way along holding it in place and then we want to put a staple all the way down make sure not to rock too hard into your riser because remember we're not covering them we don't want to scratch them okay we're gonna work our way all the way from the metal all the way to the end feel underneath make sure we're doing good okay now we're going to stretch it in
Automatically transcribed from the source video.
Step 6 of 7: Secure Nosing Overhang
For carpets with a distinct nosing overhang, ensure the carpet is pressed firmly down over the front edge of the stair. The adhesive should hold it in place. If the carpet tends to lift, you may need to apply a bit more adhesive specifically to the underside of the nosing overhang before pressing the carpet down. Some systems might also use a small tack strip or staple in inconspicuous areas if the carpet type and adhesive allow, but this is often not necessary with good adhesive.
Every video in How to Install Carpet Treads on Stairs with a Deep Nosing Overhang
Step 1: Measure Existing Tread Depth and Nosing
- 0:57–1:16 Measure Treads and Mark Laminate
- 0:46–1:05 Measure and Cut Underlayment
- 0:12–0:57 Measure and Cut Carpet Tread
Step 2: Cut Carpet Treads to Size
- 7:20–9:07 Measure and Cut Carpet
- 0:12–0:57 Measure and Cut Carpet Tread
- 2:09–3:19 Measure and Cut Carpet Pieces
Step 3: Dry Fit and Trim Carpet Treads
- 2:13–2:35 Test Fit and Adjust Treads
- 3:53–7:38 Trim Excess Carpet and Prepare Final Riser
- 0:57–2:36 Pre-form and Secure Carpet Underneath Tread
Step 4: Apply Adhesive to Treads
- 0:05–0:06 Apply Adhesive to Treads
- 0:34–0:46 Apply Carpet Adhesive to Stairs
- 0:16–0:21 Apply Peel-and-Stick Carpet Treads
Step 5: Install Carpet Treads
- 0:04–0:06 Install Carpet Treads
- 0:59–2:07 Install First Stair Tread
- 0:11–0:43 Install Remaining Carpet Stair Treads
Step 6: Secure Nosing Overhang
- 0:57–2:36 Pre-form and Secure Carpet Underneath Tread (this video)
- 1:19–1:59 Lay and Secure Carpet Sections (Repetitive)
- 12:05–14:25 Fold and Staple Carpet Over Next Nose
Step 7: Allow Adhesive to Cure
- 3:06–3:19 Project Completion
- 3:44–4:26 Final Curing and Caulking
- 0:31–0:38 Inspect and Finish Installation
Questions about How to Install Carpet Treads on Stairs with a Deep Nosing Overhang
How can I ensure clean, straight cuts when trimming the carpet treads to size?
For precise cuts, always use a sharp carpet knife with a fresh blade and a sturdy cutting mat. For edges that require more control or if you're working with thicker carpet, heavy-duty carpet shears can provide a cleaner, more controlled finish. Remember to measure twice and cut once to minimize waste.
What safety precautions should I take when installing carpet treads, especially with adhesives?
Always ensure good ventilation when working with carpet adhesives, as they can emit fumes; open windows and doors. Wear appropriate safety gear like gloves to protect your hands from adhesive and eye protection when cutting. Exercise extreme caution when using sharp tools like carpet knives on stairs to prevent slips and cuts.
My stairs have a deep nosing overhang; how do I ensure the carpet tread adheres properly and doesn't lift?
For deep nosings, ensure the carpet tread material is flexible enough to contour around the edge. Apply a quality carpet adhesive evenly across the tread and use a J-roller to firmly press the carpet into place, especially around the nosing. For added security under the very tip of the overhang, a small bead of construction adhesive can provide extra grip and prevent future lifting.
How difficult is it to get the carpet treads perfectly aligned and secure, especially for a beginner?
While considered a beginner project, careful measuring and thorough dry-fitting are crucial for proper alignment and a professional finish. The most time-consuming part is often making small, precise adjustments during the dry-fit stage to ensure each tread sits perfectly. Taking your time here will make the final adhesive application much smoother.
Can I use double-sided carpet tape instead of liquid adhesive for an easier installation?
While double-sided carpet tape offers a quicker installation, it may not provide the long-term durability and security needed for stair treads, especially on high-traffic stairs or those with deep nosings. For a truly secure, permanent installation that prevents shifting, bunching, and lifting over time, a dedicated carpet adhesive is highly recommended.
What's the difference between using pre-made stair tread covers and cutting my own carpet for treads?
Pre-made stair tread covers offer convenience, often come with finished edges, and typically simplify the installation process. Cutting your own treads from broadloom carpet allows for greater customization in size and material, and can be more cost-effective if you have remnant carpet. However, it requires more precise cutting and potentially edge finishing for a neat look.
How to Install Carpet Treads on Stairs with a Deep Nosing Overhang
This project outlines the steps for installing carpet treads on stairs that have a deep nosing overhang. It covers measuring, cutting, fitting, and securing the treads to ensure a safe and aesthetically pleasing result.
Read the full guide Browse all guides
Planning this project? Shop Oak Valley Designs.

Subscribe for exclusive updates
Be the first to know about promotions, new products, and sales.