
Pre-form and Secure Carpet Underneath Tread
From How to Install Carpet Treads on Stairs with a Deep Nosing Overhang · Step 3 of 7 · Video by Direct Carpet
Showing 0:57–2:36 of the source video. Watch the full video with every moment.
What happens in this clip
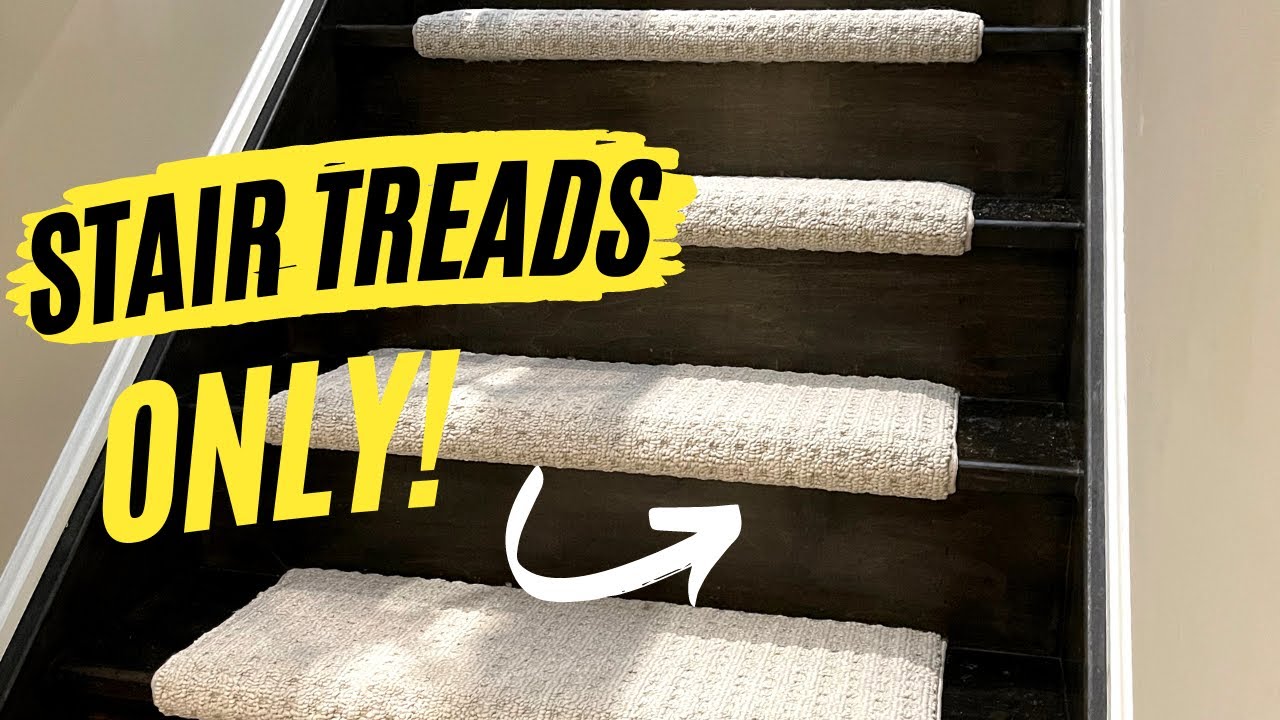
Place the newly cut carpet piece onto the stair tread, ensuring it is centered. Measure the exposure on each side (e.g., 4.25 inches). Firmly press the carpet down over the nose of the step to pre-form it, which helps prevent staples from popping out. Then, using a pneumatic stapler, begin stapling the carpet underneath the stair nose. Start with one or two staples in the middle and then work your way towards the left, feeling underneath with your thumb to ensure the carpet is pushed tightly against the riser. Continue stapling all the way across the underside of the nose, making sure not to press the stapler too hard into the riser to avoid scratches, as the risers will not be covered.
Goal: Secure the carpet to the underside of the stair nose, creating a clean edge.
What's used
Tools
- Pneumatic Stapler Robert's
- Electric staple gun
- Staples
About the full video
This DIY project details the step-by-step process of installing carpet treads on a wooden staircase, covering everything from securing padding and precise carpet cutting to stapling and finishing the edges for a clean, professional look.
Step 3 of 7: Dry Fit and Trim Carpet Treads
Place each cut carpet tread onto its intended stair to check the fit. Pay close attention to how it sits around the nosing and against the riser. Make any necessary small adjustments or trims to ensure the carpet lies flat and covers the tread area completely without bunching or leaving gaps. The goal is a precise fit that follows the contours of the stair.
Every video in How to Install Carpet Treads on Stairs with a Deep Nosing Overhang
Step 1: Measure Existing Tread Depth and Nosing
- 0:57–1:16 Measure Treads and Mark Laminate
- 0:46–1:05 Measure and Cut Underlayment
- 0:12–0:57 Measure and Cut Carpet Tread
Step 2: Cut Carpet Treads to Size
- 7:20–9:07 Measure and Cut Carpet
- 0:12–0:57 Measure and Cut Carpet Tread
- 2:09–3:19 Measure and Cut Carpet Pieces
Step 3: Dry Fit and Trim Carpet Treads
- 2:13–2:35 Test Fit and Adjust Treads
- 3:53–7:38 Trim Excess Carpet and Prepare Final Riser
- 0:57–2:36 Pre-form and Secure Carpet Underneath Tread (this video)
Step 4: Apply Adhesive to Treads
- 0:05–0:06 Apply Adhesive to Treads
- 0:34–0:46 Apply Carpet Adhesive to Stairs
- 0:16–0:21 Apply Peel-and-Stick Carpet Treads
Step 5: Install Carpet Treads
- 0:04–0:06 Install Carpet Treads
- 0:59–2:07 Install First Stair Tread
- 0:11–0:43 Install Remaining Carpet Stair Treads
Step 6: Secure Nosing Overhang
- 0:57–2:36 Pre-form and Secure Carpet Underneath Tread
- 1:19–1:59 Lay and Secure Carpet Sections (Repetitive)
- 12:05–14:25 Fold and Staple Carpet Over Next Nose
Step 7: Allow Adhesive to Cure
- 3:06–3:19 Project Completion
- 3:44–4:26 Final Curing and Caulking
- 0:31–0:38 Inspect and Finish Installation
How to Install Carpet Treads on Stairs with a Deep Nosing Overhang
This project outlines the steps for installing carpet treads on stairs that have a deep nosing overhang. It covers measuring, cutting, fitting, and securing the treads to ensure a safe and aesthetically pleasing result.
Read the full guide Browse all guides
Planning this project? Shop Oak Valley Designs.

Subscribe for exclusive updates
Be the first to know about promotions, new products, and sales.