Install Internal Divider Shelves
From Under-Stair Shelving · Step 8 of 10 · Video by Shanty2Chic
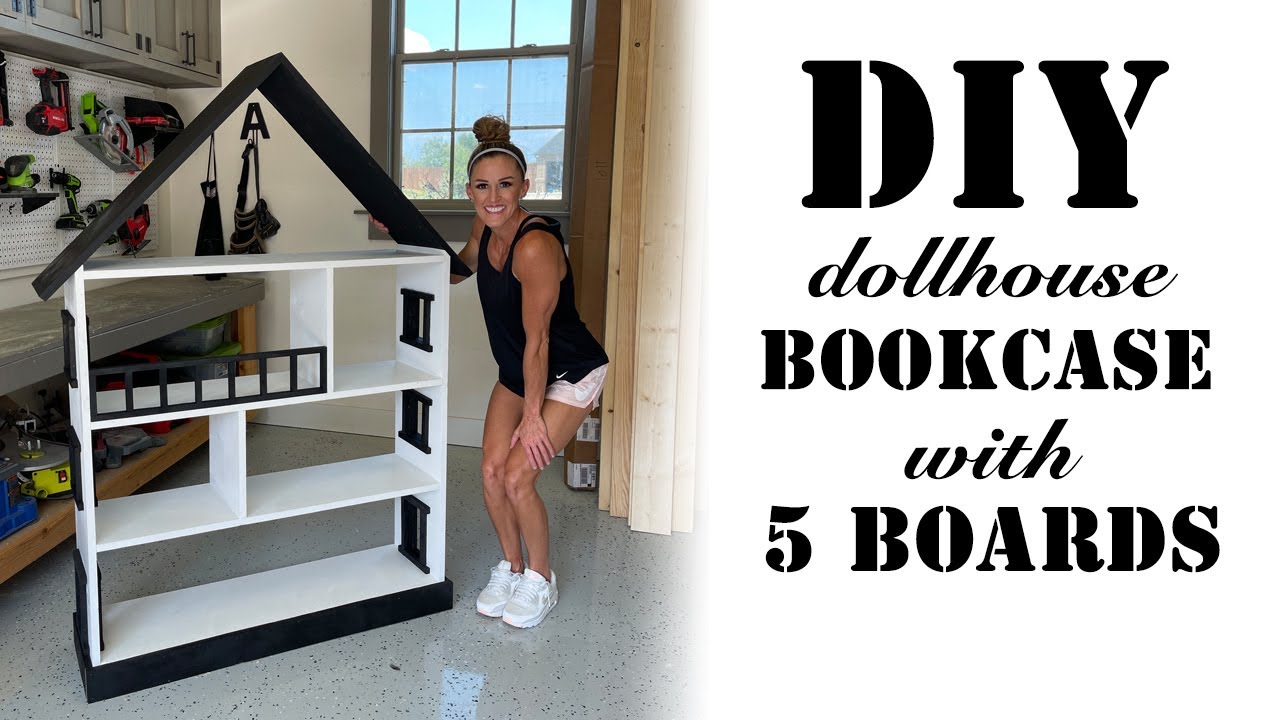
Showing 4:56–5:53 of the source video.
What happens in this clip
After the main frame is assembled, add the smaller internal divider shelves. Measure and mark the desired locations for these dividers on the main shelves using a tape measure and pencil. Ensure the markings are straight and square with a speed square. Apply a bead of wood glue to the edges of the divider shelves that will contact the main shelves. Secure the divider shelves in place using a brad nailer and 1 1/4" brad nails. This creates additional compartments within the bookshelf.
Goal: Add the internal divider shelves to create compartments.
What's used
Tools
- Brad Nailer Ryobi
- Brad Nails (1 1/4 inch)
- Pencil
- Safety Glasses
- Small Pine Boards
- Speed Square
- Tape Measure
Materials
- Wood Glue Gorilla Wood Glue
About the full video
This project details the construction of a versatile dollhouse bookshelf using pine wood, designed to function as both a bookshelf for a nursery and a playhouse as a child grows. The process involves cutting and shaping pine boards, drilling pocket holes for strong joints, assembling the main structure and internal shelves, pre-painting components, and finally attaching the roof, window trims, and balcony railing.
What's said in this clip
No. So, we've got the whole frame done. Now, we're going to add the two divider shelves and we're going to do that with wood glue AND NAILS. WOO! HEY THERE. OKAY, so what I'M DOING IS I'M MARKING 15 inches on the side of this bookcase using my speed square. Love these. This will just give me a nice straight line on this side. I'm going to repeat it on this side cuz it's going to make it easier to attach knowing that we are nice and straight. And then, I'll use my speed square again. Cut. I'm adding a line of wood glue above both lines. And then, we'll nail this side. Okay. All right, so we've got one divider. I'm measuring for the second divider. Okay. Now, we're going to do the same exact thing, attach it with 1 and 1/4 inch brad nails.
Automatically transcribed from the source video.
Step 8 of 10: Install Shelves
Position the shelves within the frame according to your design. Apply wood glue to the edges where the shelves meet the frame and secure them with screws. If you are installing adjustable shelves, attach the shelf pins or hardware according to the manufacturer's instructions.
Other videos for this step
Under-Stair Shelving
Design and construct open shelving or a bookcase unit to fit within the under-stair space, maximizing storage and aesthetic appeal.
Read the full guide Browse all guides
Planning this project? Shop Oak Valley Designs.