Assemble Main Shelf Box
From Under-Stair Shelving · Step 7 of 10 · Video by Robert J. Keller
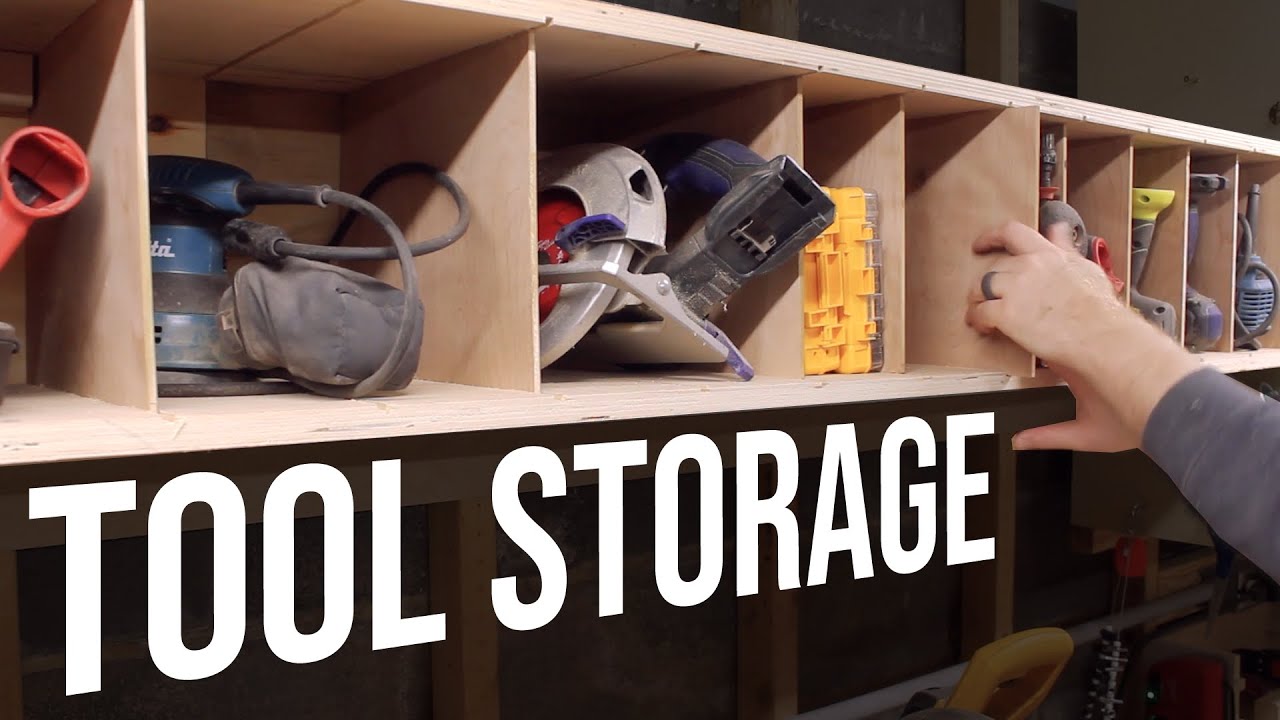
Showing 2:26–2:55 of the source video.
What happens in this clip
The main box of the shelving unit is assembled. Wood glue is applied to the edges of the bottom shelf piece and the end panels. These pieces are then brought together, held with clamps, and secured permanently with screws using an impact driver. This forms the foundational structure of the shelf.
What's used
Tools
- Clamps
- Impact Driver
- Plywood Panels
- Screws
- Wood Glue
About the full video
This project guides the user through building a custom wall-mounted power tool shelving unit featuring adjustable vertical dividers. The process involves precise cutting of plywood, routing dadoes to create slots for the dividers, assembling the main shelf box, and securely mounting it to a wall. The adjustable dividers allow for flexible compartment sizing to accommodate various power tools.
Step 7 of 10: Assemble the Main Frame
Begin assembling the main structural components of your shelving unit. Apply wood glue to the joints and secure them with screws. If your design includes a back panel or vertical dividers, attach them now. Ensure the frame is square and sturdy.
Other videos for this step
Under-Stair Shelving
Design and construct open shelving or a bookcase unit to fit within the under-stair space, maximizing storage and aesthetic appeal.
Read the full guide Browse all guides
Planning this project? Shop Oak Valley Designs.