Gather Materials and Tools
From Under-Stair Shelving · Step 4 of 10 · Video by Revive Home Tips
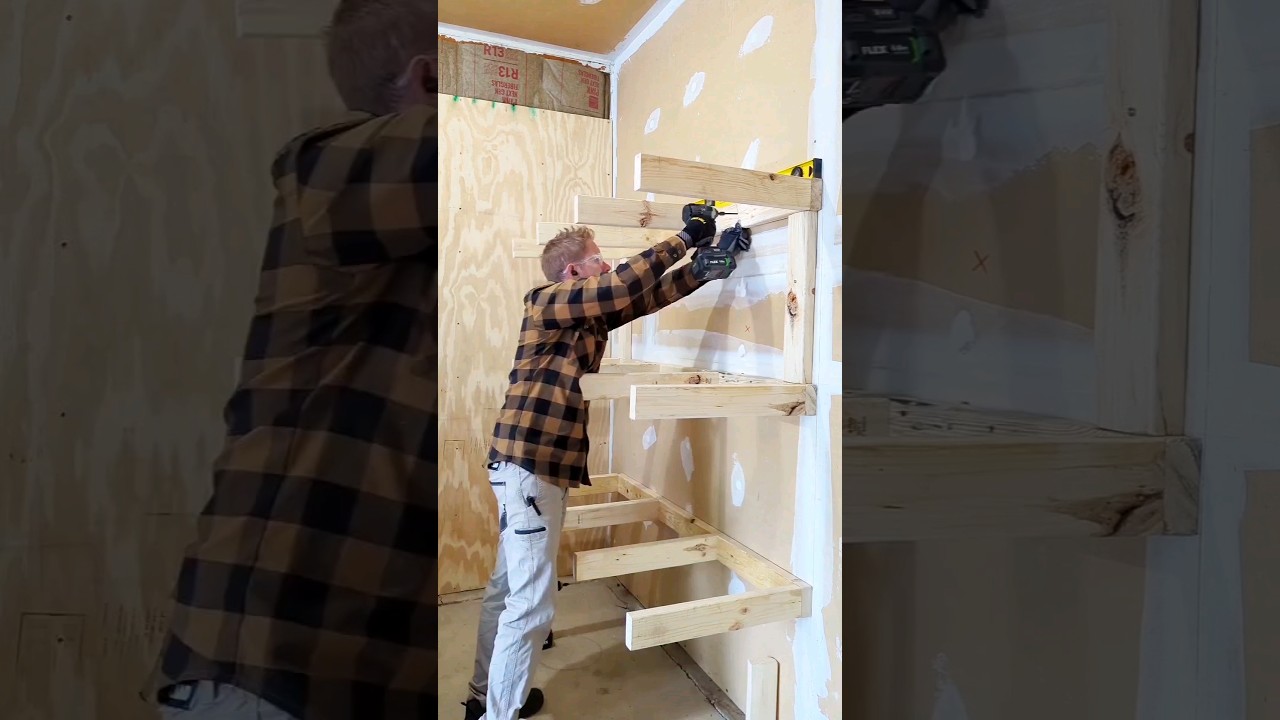
Showing 0:00–0:03 of the source video.
What happens in this clip
Begin by gathering all necessary materials, including various lengths of lumber (like 2x4s) for the shelf frames and plywood sheets for the shelf surfaces. Ensure you have the required tools readily available, such as a circular saw for cutting, drills for fastening, a tape measure for accuracy, and safety gear like glasses and gloves. The video shows the builder selecting wood planks and plywood sheets, and preparing a cordless circular saw and drills.
Goal: Prepare all components and equipment for the shelving project.
What's used
Tools
- Circular Saw Makita
- Miter saw
- Jigsaw (for smaller cuts)
- Cordless Drill Flex
- Makita
- Impact driver
- Pencil
- Safety Glasses
- Tape Measure
- Work Gloves
Materials
- Lumber (2x4s)
- Plywood strips (laminated for strength)
- Plywood Sheets
- MDF boards
About the full video
This project details the construction of robust, multi-tiered wooden storage shelves in a garage. The process involves measuring and marking the wall, cutting lumber for the frame and shelf panels, assembling the shelf frames with screws, securing them to the wall, adding vertical supports for stability, and finally, cutting and installing plywood panels to create the shelf surfaces.
Step 4 of 10: Purchase Materials
Visit your local lumber yard or home improvement store to purchase the wood (e.g., plywood, solid wood boards), screws, wood glue, sandpaper, and any finishing products (paint, stain, sealer) needed for your project. Have your cut list ready for assistance and to ensure you get the right quantities.
Other videos for this step
Under-Stair Shelving
Design and construct open shelving or a bookcase unit to fit within the under-stair space, maximizing storage and aesthetic appeal.
Read the full guide Browse all guides
Planning this project? Shop Oak Valley Designs.