

Under-Stair Shelving
About This Guide
Design and construct open shelving or a bookcase unit to fit within the under-stair space, maximizing storage and aesthetic appeal.
Assembled from 11 on-camera clips by 10 independent creators demonstrating these exact steps.
Tools & Materials
WEN 12 in. Aluminum Triangular Architect Ruler with Laser-Etched Imperial Drafting Scales
WEN 12 in. Aluminum Triangular Architect Ruler with Laser-Etched Imperial Drafting Scales
Steps


Design the Shelving Unit
Sketch out a design for your shelving unit. Decide on the type of shelves (fixed or adjustable), the spacing between them (consider the items you plan to store), and the overall structural support needed. You can opt for a simple bookcase style or a more complex, custom-built unit that follows the angle of the stairs. Consider whether the back of the unit will be open or against the wall.

Purchase Materials
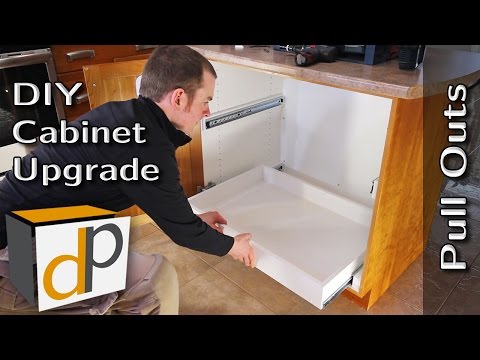
Visit your local lumber yard or home improvement store to purchase the wood (e.g., plywood, solid wood boards), screws, wood glue, sandpaper, and any finishing products (paint, stain, sealer) needed for your project. Have your cut list ready for assistance and to ensure you get the right quantities.


Finish the Unit
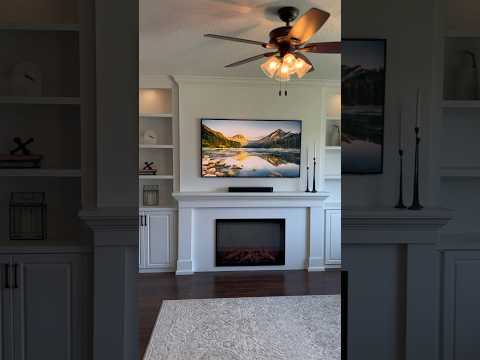
Once the glue has fully dried and the unit is assembled, apply your chosen finish. Start with a primer if painting, then apply two coats of paint. If staining, apply the stain evenly, wipe off excess, and then apply a protective topcoat (polyurethane, varnish). Follow the manufacturer's instructions for drying times between coats.

Install the Shelving Unit
Position the shelving unit into the designated under-stair area. If the unit is built to fit snugly, you may need to angle it slightly to get it into place. Once positioned, secure the unit to the wall studs or floor using L-brackets or screws, ensuring it is stable and level.
Frequently Asked Questions
What are the essential tools I need for accurate measurements in an angled under-stair space?
Beyond a standard measuring tape and pencil, an angle finder or a protractor is crucial for accurately capturing the slope of the stairs. Also, a long straight edge or level will help you mark level lines and check for plumb, ensuring your shelves are straight and true despite the angled surroundings.
Beyond basic hand tools, what power tools would make this under-stair shelving project easier for a beginner?
A miter saw or circular saw with a guide will significantly improve the accuracy and speed of cutting your lumber, especially for repetitive cuts and angles. An electric orbital sander is also highly recommended to efficiently prepare all pieces for finishing, saving you hours compared to hand sanding.
What are the most important safety precautions I should take when cutting and assembling lumber for this project?
Always wear safety glasses to protect your eyes from sawdust and flying debris. Use hearing protection when operating power tools and ensure your work area is clean and well-lit to prevent accidents. Make sure all lumber is securely clamped or supported before cutting to avoid kickback.
The project is listed as 'beginner' and '3 days'. Is this estimated time realistic for someone completely new to woodworking?
While classified as beginner, the 3-day estimate often assumes some prior familiarity with tools and a focused work schedule. If you're completely new, allow for extra time, especially for careful measuring, precise cutting, and thorough finishing, as these steps are critical for a professional-looking result. Don't rush the process.
What's a common mistake beginners make when measuring for under-stair shelving, and how can I avoid it?
A frequent mistake is not fully accounting for irregularities in the wall or floor, or failing to precisely capture the stair's varying angles, leading to shelves that don't fit snugly. To avoid this, create a detailed template using cardboard or scrap material for complex angles, and always 'measure twice, cut once' to confirm dimensions.
Are there alternative materials to dimensional lumber that might be easier for a beginner or offer a different look for under-stair shelving?
Plywood or MDF (medium-density fiberboard) can be good alternatives, often providing flatter surfaces and being easier to cut into large panels for shelves and backs. These materials typically require edge banding or painting for a finished appearance, which might add a different aesthetic and complexity to the finishing steps. Consider pre-made shelving kits for the simplest approach, though customization will be limited.
Questions about your project or which product fits? Oak Valley Designs's team is happy to help. Mon–Fri 9–5 ET



Subscribe for exclusive updates
Be the first to know about promotions, new products, and sales.