
Set Second Masonry Anchor and Finalize Installation
From Install Outdoor Handrail · Step 8 of 8 · Video by Maker Table
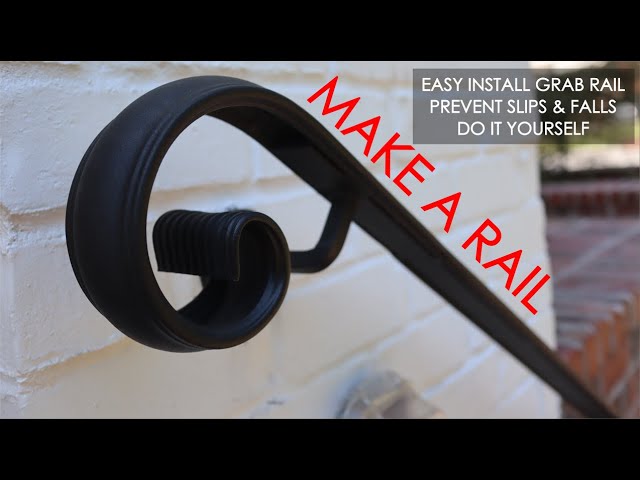
Showing 3:52–4:16 of the source video.
What happens in this clip
Once the second pilot hole is drilled, you can remove the blue painter's tape from the wall. Insert the second masonry anchor into the freshly drilled hole through the handrail's mounting plate. Use a hammer to firmly drive this anchor into the wall until it is completely seated and the handrail is tightly secured. After both anchors are installed, test the stability of the handrail by applying pressure. It should feel solid and not move, indicating a successful and secure installation.
Goal: Securely fasten the entire handrail and ensure its stability.
What's used
Tools
- Blue Painter's Tape
- Hammer
- Handrail Maker Rail
- Masonry Anchor
About the full video
This project provides a detailed guide on how to install a handrail onto a masonry surface like brick, concrete, or CMU. It covers selecting the right tools, proper layout and marking techniques using painter's tape, drilling pilot holes with a rotary hammer drill, and securely setting masonry anchors to ensure a safe and stable installation.
Step 8 of 8: Test Handrail Stability
Once all connections are tightened, test the handrail by applying steady, firm pressure in various directions. Push and pull on the handrail to check for any wobbling, looseness, or shifting. Ensure it feels solid and securely mounted to the concrete steps.
Other videos for this step
Install Outdoor Handrail
This project outlines the steps for installing a surface mount handrail on outdoor concrete steps. It covers selecting the appropriate handrail and hardware, preparing the concrete surface, marking and drilling holes, and securely mounting the handrail.
Read the full guide Browse all guides
Planning this project? Shop Oak Valley Designs.

Subscribe for exclusive updates
Be the first to know about promotions, new products, and sales.