
Sand Stair Treads and Risers
From How to Remove Carpet Stair Treads Without Damaging the Finish · Step 8 of 9 · Video by This Old House
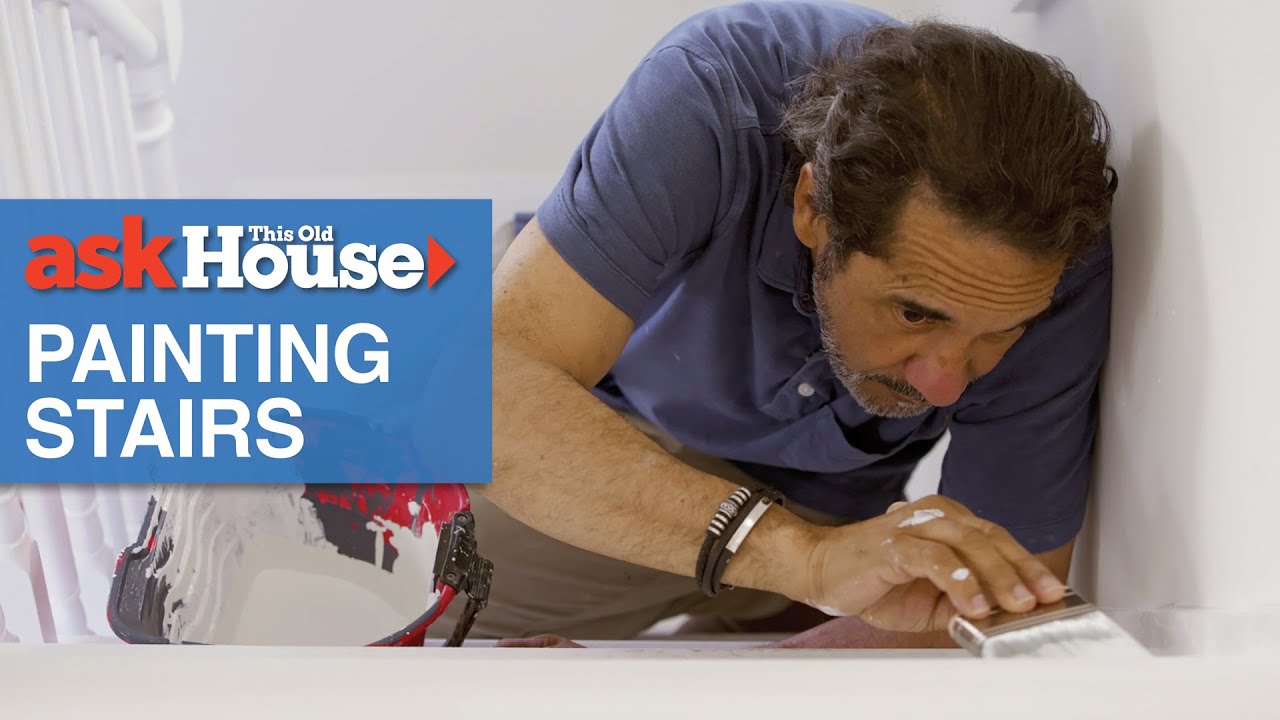
Showing 2:06–2:52 of the source video. Watch the full video with every moment.
What happens in this clip
Using an orbital sander equipped with a vacuum attachment, begin sanding the stair treads with 120-grit sandpaper to remove any imperfections and smooth the surface. Follow this with a second pass using 220-grit sandpaper for a finer finish. Manually sand the edges of the treads and risers with 220-grit sandpaper or a sanding sponge to ensure all surfaces are smooth and ready for primer. The vacuum attachment on the sander helps to minimize dust in the work area.
Goal: Sand the stair treads and risers, starting with 120-grit for initial smoothing, then finishing with 220-grit for a fine, paint-ready surface. Pay attention to sanding the edges thoroughly.
What's used
Tools
- 120-grit Sandpaper
- 220-grit Sandpaper
- Orbital Sander
- Sanding Sponge
- Vacuum Attachment (for sander)
About the full video
This video details the process of preparing, priming, and applying the first coat of paint to wooden staircase treads, risers, handrails, and newel posts. The goal is to create a durable, scratch-resistant, and easy-to-clean finish, suitable for high-traffic areas and eventual addition of a runner. The process emphasizes proper sanding, choice of oil-based primer for wood, and specialized paints for different components of the staircase.
Step 8 of 9: Sand the Treads and Risers
Using medium-grit sandpaper (e.g., 120-grit), sand the entire surface of the treads and risers to remove any remaining imperfections, old finishes, or rough patches. Follow up with a finer grit (e.g., 220-grit) for a smoother finish. Vacuum or wipe down to remove all dust.
Every video in How to Remove Carpet Stair Treads Without Damaging the Finish
Step 1: Score and Cut Carpet Edges
- 0:15–0:39 Remove Stair Carpet
- 0:58–3:40 Cut and Remove Main Carpet Sections
- 0:21–0:50 Remove the Carpet
Step 2: Peel Back Carpet
- 0:21–0:50 Remove the Carpet
- 0:58–3:40 Cut and Remove Main Carpet Sections
- 0:15–0:39 Remove Stair Carpet
Step 3: Remove Carpet Padding
- 3:40–4:20 Remove Carpet Underpad
- 0:17–0:22 Remove Carpet Padding
- 0:09–0:13 Remove Carpet Padding
Step 4: Remove Staples and Fasteners
- 0:17–0:23 Remove Staples
- 0:38–0:57 Remove Tack Strips and Staples
- 1:00–1:25 Remove Carpet Pad
Step 5: Clean the Wood Treads
- 0:04–0:07 Clean the Staircase
- 0:34–0:40 Clean the Stairs
- 0:09–0:45 Prepare and Clean Stair Treads
Step 6: Inspect for Damage
Step 7: Repair Wood Damage
- 0:06–0:07 Repairing Surface Imperfections
- 2:07–2:28 Minor Damage Repair with Wood Filler
- 0:09–0:16 Apply Wood Filler to Minor Damage
Step 8: Sand the Treads and Risers
- 0:37–0:41 Sand the Staircase
- 2:06–2:52 Sand Stair Treads and Risers (this video)
- 2:19–2:43 Sand and Final Clean
Step 9: Apply Finish (Optional)
- 1:07–1:13 Apply Protective Finish Sealer
- 2:11–2:16 Apply a Clear Protective Finish
- 3:59–4:37 Apply Protective Finish
How to Remove Carpet Stair Treads Without Damaging the Finish
A high-level outline for removing carpeted stair treads while preserving the underlying wood finish. This involves carefully detaching the carpet, padding, and any fasteners, then cleaning and potentially refinishing the exposed treads.
Read the full guide Browse all guides
Planning this project? Shop Oak Valley Designs.

Subscribe for exclusive updates
Be the first to know about promotions, new products, and sales.