
Remove Carpet Padding
From How to Remove Carpet Stair Treads Without Damaging the Finish · Step 3 of 9 · Video by KeepinupwithKJ
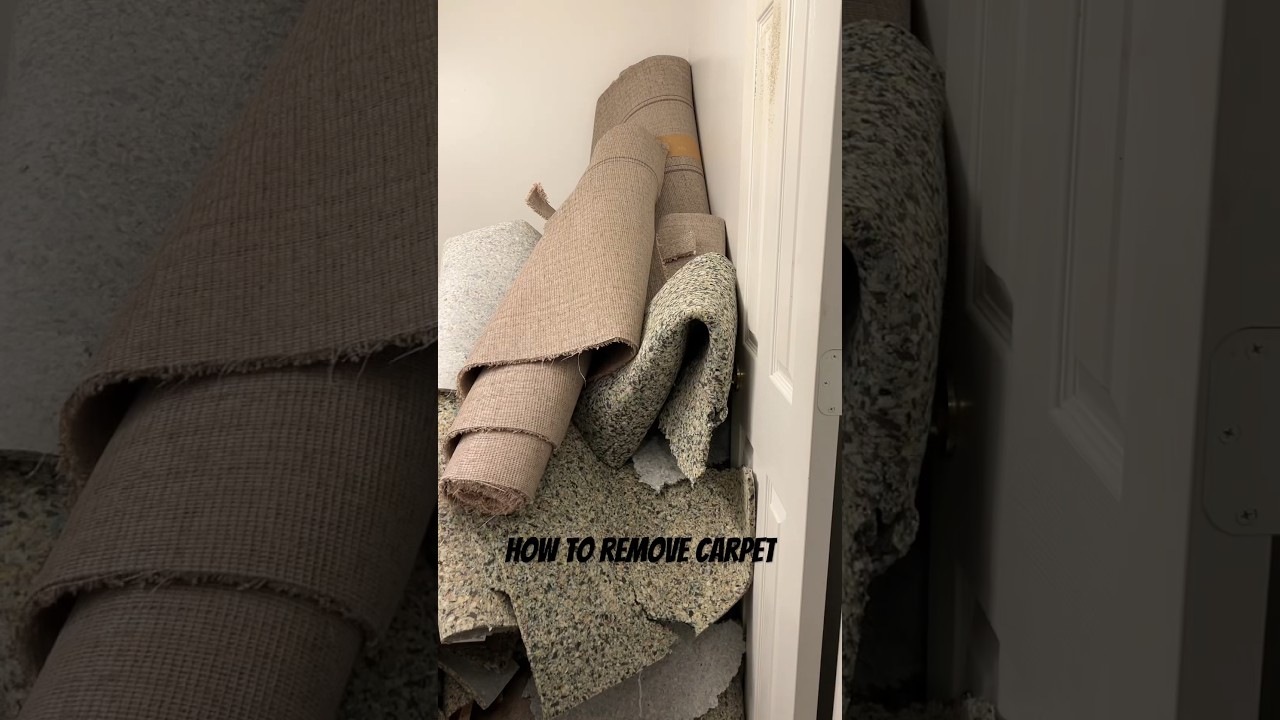
Showing 0:17–0:22 of the source video. Watch the full video with every moment.
What happens in this clip
After the main carpet layer has been removed, the underlying carpet padding is exposed. The presenter demonstrates rolling up sections of this padding. Carpet padding is typically held down by staples or adhesive, and while it may tear in places, the goal is to remove as much of it as possible to expose the subfloor beneath.
Goal: Remove the carpet padding from the subfloor
What's used
Tools
- Gloves
Materials
- Carpet Padding
- being removed.
About the full video
This project provides a comprehensive guide on how to effectively remove old carpet, padding, tack strips, and staples from a room, preparing the subfloor for new flooring installation. It emphasizes using appropriate tools and techniques for safety and efficiency, highlighting common challenges like rusty nails and accumulated dirt.
What's said in this clip
show you how I remove the carpet in my guest bedroom to prepare for my new lvp flooring you definitely want to use a box cutter to cut the carpet down into strips this is just going to allow you to remove the carpet and dispose of it a lot easier and it's not going to be as heavy once you remove the carpet and the padding you'll be left with these tack strips that are nailed into the subfloor I use the flat end of a pry bar to get in between the subfloor and the tag strips during this process you definitely want to make sure that you're being careful because these nails can be rusty now the most tedious part about
Automatically transcribed from the source video.
Step 3 of 9: Remove Carpet Padding
Once the main carpet is peeled back, remove the underlayment or padding. This is usually a foam or felt material and can typically be pulled out by hand.
Every video in How to Remove Carpet Stair Treads Without Damaging the Finish
Step 1: Score and Cut Carpet Edges
- 0:15–0:39 Remove Stair Carpet
- 0:58–3:40 Cut and Remove Main Carpet Sections
- 0:21–0:50 Remove the Carpet
Step 2: Peel Back Carpet
- 0:21–0:50 Remove the Carpet
- 0:58–3:40 Cut and Remove Main Carpet Sections
- 0:15–0:39 Remove Stair Carpet
Step 3: Remove Carpet Padding
- 3:40–4:20 Remove Carpet Underpad
- 0:17–0:22 Remove Carpet Padding (this video)
- 0:09–0:13 Remove Carpet Padding
Step 4: Remove Staples and Fasteners
- 0:17–0:23 Remove Staples
- 0:38–0:57 Remove Tack Strips and Staples
- 1:00–1:25 Remove Carpet Pad
Step 5: Clean the Wood Treads
- 0:04–0:07 Clean the Staircase
- 0:34–0:40 Clean the Stairs
- 0:09–0:45 Prepare and Clean Stair Treads
Step 6: Inspect for Damage
Step 7: Repair Wood Damage
- 0:06–0:07 Repairing Surface Imperfections
- 2:07–2:28 Minor Damage Repair with Wood Filler
- 0:09–0:16 Apply Wood Filler to Minor Damage
Step 8: Sand the Treads and Risers
- 0:37–0:41 Sand the Staircase
- 2:06–2:52 Sand Stair Treads and Risers
- 2:19–2:43 Sand and Final Clean
Step 9: Apply Finish (Optional)
- 1:07–1:13 Apply Protective Finish Sealer
- 2:11–2:16 Apply a Clear Protective Finish
- 3:59–4:37 Apply Protective Finish
How to Remove Carpet Stair Treads Without Damaging the Finish
A high-level outline for removing carpeted stair treads while preserving the underlying wood finish. This involves carefully detaching the carpet, padding, and any fasteners, then cleaning and potentially refinishing the exposed treads.
Read the full guide Browse all guides
Planning this project? Shop Oak Valley Designs.

Subscribe for exclusive updates
Be the first to know about promotions, new products, and sales.