
Remove Tack Strips and Staples
From How to Remove Carpet Stair Treads Without Damaging the Finish · Step 4 of 9 · Video by KeepinupwithKJ
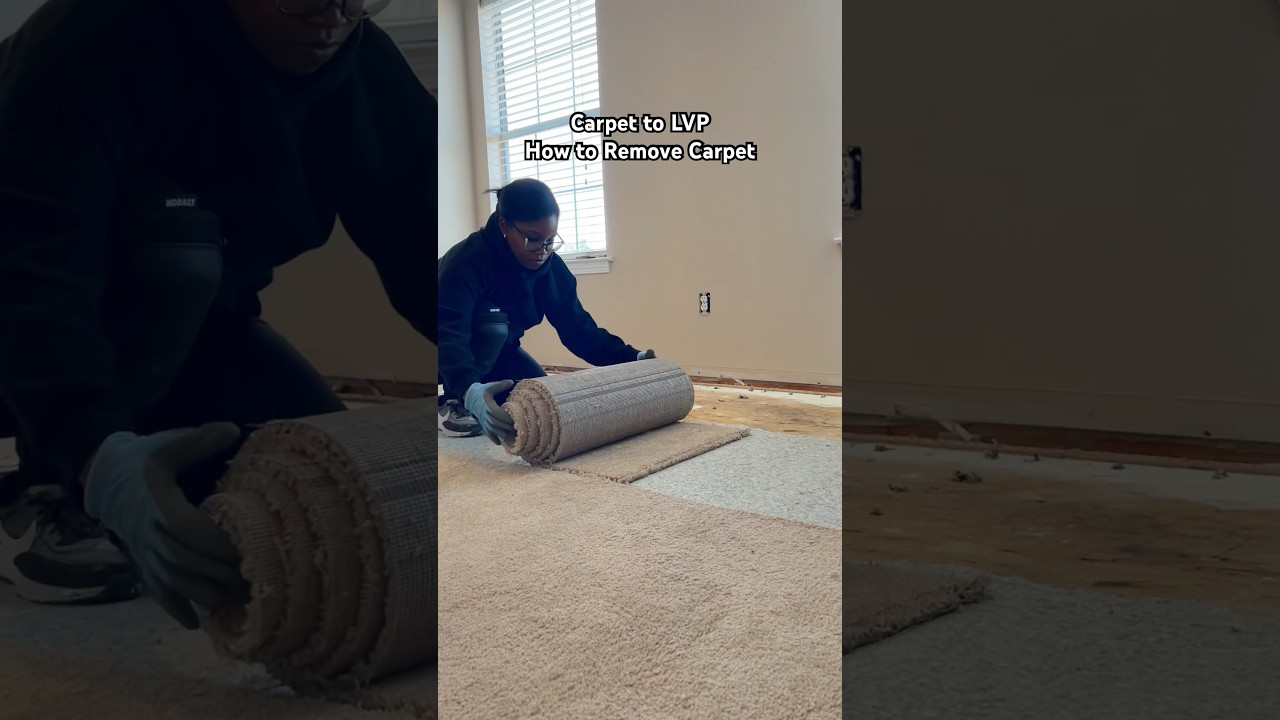
Showing 0:38–0:57 of the source video. Watch the full video with every moment.
What happens in this clip
This is often the most time-consuming and tedious part of carpet removal. Along the perimeter of the room, you will find tack strips, which are wooden strips with sharp, upward-pointing nails that held the carpet in place. Use a pry bar to carefully lift and remove these tack strips. Additionally, the padding was likely secured with numerous staples. Use the pry bar or a pair of pliers to remove all visible staples from the subfloor. Exercise extreme caution as these staples and nails can be rusty and sharp, posing a risk of injury.
Goal: Clear the subfloor of all carpet fasteners
What's used
Tools
- Kneepads
- Pliers
- Nail puller
- Pry Bar Kobalt
- Claw hammer (for staples)
- Work Gloves MaxiFlex
About the full video
This project provides a detailed guide on how to effectively remove old carpet and its padding, along with the underlying tack strips and staples, to prepare a room for new flooring like LVP. It emphasizes safety precautions, practical tips for handling carpet, and the importance of a thorough cleanup.
What's said in this clip
painter's tape to keep it in a roll, again, to make it easier to dispose of later on. Now, I'm not going to lie, now comes the most tedious part about this project, removing all of the tack strips and the staples that was holding the carpet down into place. You'll need a pry bar for this portion of the project, but please be careful because these staples and nails can definitely be rusty. Oh, and I forgot to mention it earlier, but you're definitely going to need some gloves and then also some knee pads because you're going to be moving around on the floor a lot. So, now you're going to see why I needed that respirator. Y'all, look at how much dirt
Automatically transcribed from the source video.
Step 4 of 9: Remove Staples and Fasteners
Using a pair of pliers or a staple remover tool, meticulously remove all staples, tack strips, and any other fasteners that were used to secure the carpet and padding. Pay close attention to the edges and corners.
Every video in How to Remove Carpet Stair Treads Without Damaging the Finish
Step 1: Score and Cut Carpet Edges
- 0:15–0:39 Remove Stair Carpet
- 0:58–3:40 Cut and Remove Main Carpet Sections
- 0:21–0:50 Remove the Carpet
Step 2: Peel Back Carpet
- 0:21–0:50 Remove the Carpet
- 0:58–3:40 Cut and Remove Main Carpet Sections
- 0:15–0:39 Remove Stair Carpet
Step 3: Remove Carpet Padding
- 3:40–4:20 Remove Carpet Underpad
- 0:17–0:22 Remove Carpet Padding
- 0:09–0:13 Remove Carpet Padding
Step 4: Remove Staples and Fasteners
- 0:17–0:23 Remove Staples
- 0:38–0:57 Remove Tack Strips and Staples (this video)
- 1:00–1:25 Remove Carpet Pad
Step 5: Clean the Wood Treads
- 0:04–0:07 Clean the Staircase
- 0:34–0:40 Clean the Stairs
- 0:09–0:45 Prepare and Clean Stair Treads
Step 6: Inspect for Damage
Step 7: Repair Wood Damage
- 0:06–0:07 Repairing Surface Imperfections
- 2:07–2:28 Minor Damage Repair with Wood Filler
- 0:09–0:16 Apply Wood Filler to Minor Damage
Step 8: Sand the Treads and Risers
- 0:37–0:41 Sand the Staircase
- 2:06–2:52 Sand Stair Treads and Risers
- 2:19–2:43 Sand and Final Clean
Step 9: Apply Finish (Optional)
- 1:07–1:13 Apply Protective Finish Sealer
- 2:11–2:16 Apply a Clear Protective Finish
- 3:59–4:37 Apply Protective Finish
How to Remove Carpet Stair Treads Without Damaging the Finish
A high-level outline for removing carpeted stair treads while preserving the underlying wood finish. This involves carefully detaching the carpet, padding, and any fasteners, then cleaning and potentially refinishing the exposed treads.
Read the full guide Browse all guides
Planning this project? Shop Oak Valley Designs.

Subscribe for exclusive updates
Be the first to know about promotions, new products, and sales.