
Marking Stringers
From How to Lay Out Winder Stairs · Step 6 of 7 · Video by Shoyan Japanese Carpenter
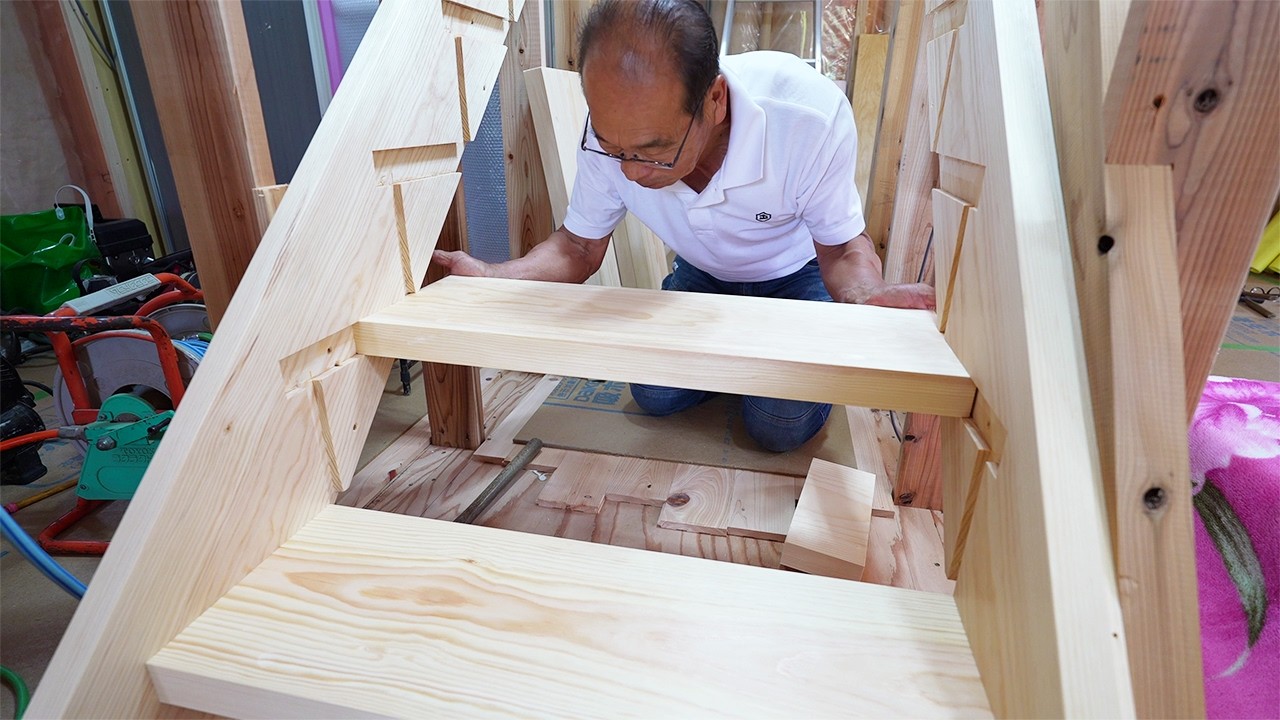
Showing 6:54–8:50 of the source video. Watch the full video with every moment.
What happens in this clip
After the landing is complete, mark the stringers (side support boards for the steps). Use a measuring tape and an adjustable angle square to transfer the precise rise and run dimensions from the site onto the stringer boards. Mark the positions of each step by dividing the total rise and run by the number of steps. Double-check all measurements to ensure accuracy, as even small differences can impact the final fit of the staircase. A calculator can be used for precise division.
Goal: Accurately mark step positions on stringers
What's used
Tools
- Adjustable Angle Square
- Calculator (Casio) Casio
- Measuring Tape
- Pencil
- Stringer Boards (Pine)
About the full video
This project guides you through building a custom straight staircase using pine lumber, incorporating techniques for precise cutting, planing, and assembly. It highlights the importance of material preparation, accurate measurements, and careful joinery to create a durable and aesthetically pleasing staircase.
Step 6 of 7: Mark Stringers for Winder Treads
Using the previously determined rise and run measurements, and the winder tread layout, meticulously mark the cut lines on the stair stringers. This involves marking the 'rise' line and the 'run' line for each step. For winder steps, the 'run' line will be angled, and the marking must accurately reflect the point where the winder tread will seat. Ensure the layout accounts for the thickness of the treads and any trim or nosing.
Every video in How to Lay Out Winder Stairs
Step 1: Determine Total Rise and Run
- 2:54–4:34 Determine the Total Rise
- 0:16–1:17 Measure and Calculate Total Rise
- 0:04–0:30 Measure Total Rise
Step 2: Calculate Number of Treads and Risers
- 2:59–6:51 Calculate Number of Risers and Treads
- 8:59–9:54 Calculate Number of Risers and Treads
- 0:32–0:54 Calculate Number of Risers
Step 3: Determine Tread Depth and Landing Dimensions
Step 4: Layout the Stair Angle and Width
- 4:54–6:32 Lay Out Stringers
- 6:42–8:10 Lay Out the Stringer Using a Framing Square
- 0:11–1:48 Calculate and Layout Staircase Dimensions
Step 5: Determine Winder Tread Layout
Step 6: Mark Stringers for Winder Treads
- 6:54–8:50 Marking Stringers (this video)
- 0:59–1:13 Mark First Step Cuts
- 1:28–2:15 Implement the Nosing Offset Adjustment
Step 7: Cut Stringers
- 9:35–10:04 Cut the Stringer
- 15:28–20:38 Cut Stringers
- 0:42–0:53 Cut the Stringers
How to Lay Out Winder Stairs
This project outlines the process for accurately laying out winder stairs, which feature wedge-shaped treads that turn a corner. The process involves careful measurement, mathematical calculations, and precise marking to ensure safety, code compliance, and aesthetic appeal.
Read the full guide Browse all guides
Planning this project? Shop Oak Valley Designs.

Subscribe for exclusive updates
Be the first to know about promotions, new products, and sales.