
Mark Latching Side Bracket Locations
From How to Install a Retractable Baby Gate on Stairs · Step 2 of 6 · Video by Queen Anne Handyman
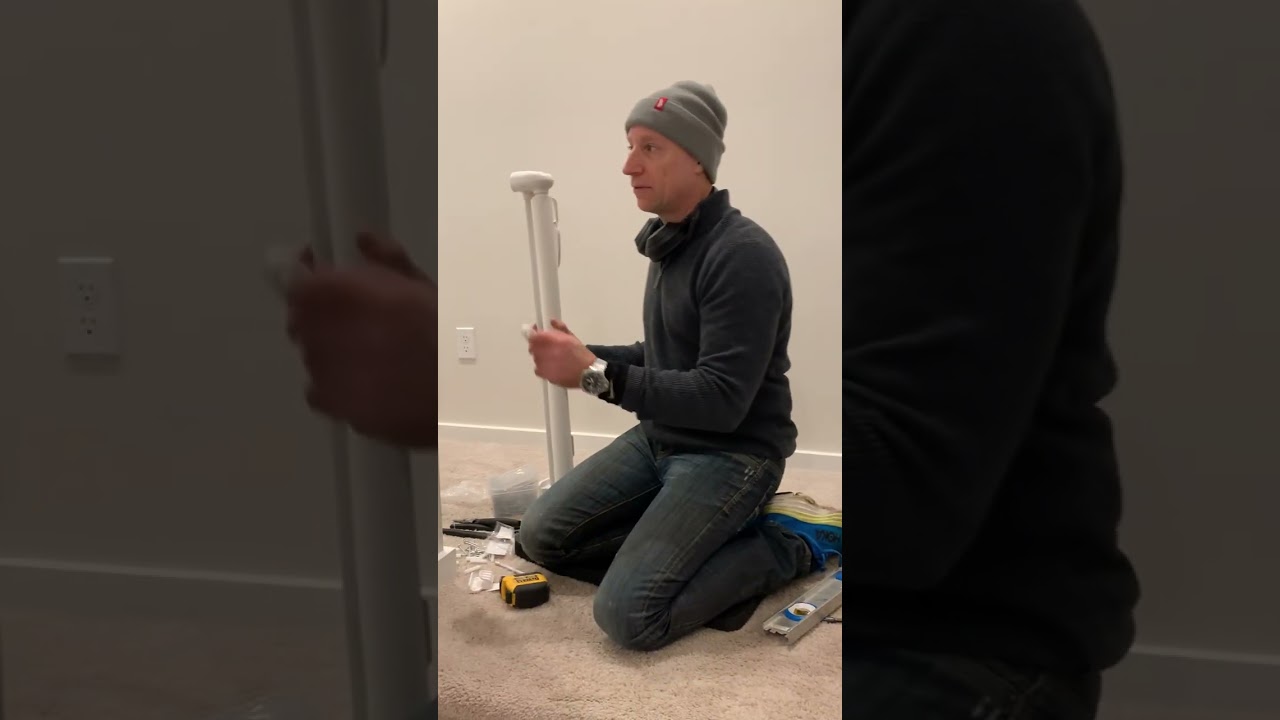
Showing 3:17–4:33 of the source video. Watch the full video with every moment.
What happens in this clip
After installing the first set of brackets, insert the retractable gate mechanism into them. Extend the gate across the opening to the opposing wall where the latching mechanism will be installed. Mark the exact desired height for the top and bottom latching brackets on the wall. The presenter stresses the importance of ensuring the gate is perfectly level and that the top and bottom spacing looks even across the span for both aesthetic appeal and proper functionality. This marking helps pre-plan the placement of the second set of anchors.
Goal: Precisely mark the positions for the latching side's mounting brackets.
What's used
Tools
- Level
- Pencil
- Retractable Gate Mechanism (partially installed)
About the full video
This instructional video provides a detailed guide on installing a retractable indoor/outdoor baby gate, emphasizing crucial safety considerations such as placement, wall anchoring techniques, and proper operation. It highlights the advantages of retractable gates over traditional rigid gates, especially for areas like staircases.
Step 2 of 6: Mark Bracket Positions
Refer to your specific retractable baby gate's installation manual for exact bracket placement guidelines. Typically, one bracket will be mounted on one side of the opening and the other on the opposite side. Use the measuring tape to ensure the distance between the marks corresponds to the gate's required width. Employ the level to confirm that the marks for each bracket are perfectly horizontal relative to each other. If mounting to a banister, ensure the marks are on a flat, stable section of the post.
Every video in How to Install a Retractable Baby Gate on Stairs
Step 1: Determine Gate Placement
- 2:14–3:30 Mount Gate Assembly Brackets
- 0:39–0:47 Position Gate and Mark Wall Cups
- 0:24–0:31 Install Lower Wall Mounts (First Side)
Step 2: Mark Bracket Positions
- 3:17–4:33 Mark Latching Side Bracket Locations (this video)
- 0:30–0:47 Mark Gate Mount Positions
- 3:44–4:19 Secure Mounting Brackets (Side 2)
Step 3: Drill Pilot Holes
- 1:14–1:24 Drill Pilot Holes
- 1:58–2:05 Drill Pilot Holes
- 0:00–0:19 Drill Pilot Holes
Step 4: Mount the Brackets
- 1:56–2:34 Install Mounting Brackets
- 0:19–0:22 Mount Wall Brackets
- 8:16–10:38 Mount the Brackets
Step 5: Attach the Gate Mechanism
- 2:22–2:34 Install Retractable Gate
- 5:13–5:39 Install Gate onto Wall Fittings
- 7:06–8:41 Test Gate Operation and Tighten Adjustments
Step 6: Test Gate Operation and Lock
- 1:51–1:59 Test Gate Operation
- 3:05–3:19 Test Gate Operation and SecurTech Lock
- 17:06–18:29 Test Gate Functionality and Latch
How to Install a Retractable Baby Gate on Stairs
Install a retractable baby gate at the top or bottom of a staircase to ensure child safety. This typically involves mounting brackets to the wall or banister posts and then attaching the gate mechanism.
Read the full guide Browse all guides
Planning this project? Shop Oak Valley Designs.

Subscribe for exclusive updates
Be the first to know about promotions, new products, and sales.