
Identify Squeak Location
From How to Use a Squeak-Repair Kit on Carpeted Stairs and Floors · Step 1 of 6 · Video by That Contractor Guy
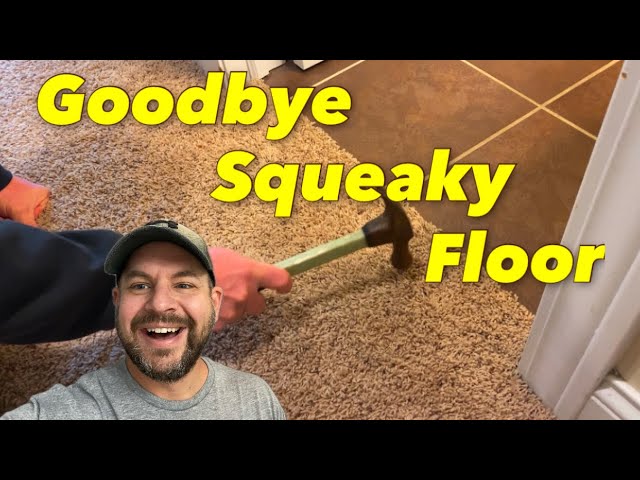
Showing 0:00–0:17 of the source video. Watch the full video with every moment.
What happens in this clip
Begin by walking across the carpeted area where the squeak is heard to pinpoint its exact location. Listen carefully and feel for movement to identify the precise spot or section of the floor that is producing the noise.
Goal: Locate the source of the squeaky floor.
About the full video
This video provides a step-by-step guide to diagnosing and repairing a squeaky floor, particularly focusing on a carpeted area transitioning to tile. It illustrates how traditional methods like magnetic stud finders and hammer tapping can be limited through carpet. The video then demonstrates a more invasive but effective method of lifting the carpet to visually inspect and secure the subfloor. The repair involves driving long screws through the subfloor into the joists to eliminate the movement causing the squeak.
Step 1 of 6: Identify Squeak Location
The first crucial step is to accurately locate the source of the squeak. This often involves a process of elimination by systematically walking over the affected areas. Pay close attention to where the sound originates. Once identified, mark the spot. For stairs, this might be on the tread or riser. For floors, it could be near a seam or in the middle of a wider expanse.
Every video in How to Use a Squeak-Repair Kit on Carpeted Stairs and Floors
Step 1: Identify Squeak Location
- 0:00–0:17 Identify Squeak Location (this video)
- 0:00–0:09 Locate the Squeak
- 0:00–0:30 Locate Squeak and Assess Access
Step 2: Prepare the Squeak Repair Kit
Step 3: Drill Pilot Holes
- 0:15–0:24 Drill a Pilot Hole
- 4:17–5:45 Fix from Above: Use Trim Head Screws
- 4:08–4:43 Pre-Drill Pilot Holes
Step 4: Install Repair Screws
- 1:25–3:50 Install Specialized Repair Screws
- 2:56–3:28 Install Breakaway Repair Screws
- 2:48–3:49 Drive and Snap Off the Screw
Step 5: Break Off Screw Heads (if applicable)
- 3:48–4:38 Break Off the Screw Head
- 4:49–5:22 Snap Off Screw Heads
- 3:50–4:00 Break Off Screw Heads
Step 6: Test the Repaired Area
- 8:01–8:29 Test Repaired Floor
- 3:57–4:25 Repeat for All Squeaky Areas
- 0:38–0:48 Confirm Repair and Concealment
How to Use a Squeak-Repair Kit on Carpeted Stairs and Floors
Outline for using a squeak-repair kit on carpeted stairs and floors to eliminate annoying squeaking sounds.
Read the full guide Browse all guides
Planning this project? Shop Oak Valley Designs.

Subscribe for exclusive updates
Be the first to know about promotions, new products, and sales.