
Connect Power Supply and Test
From How to Cut and Join LED Strip Lights Around Stair Corners · Step 6 of 7 · Video by Family Handyman
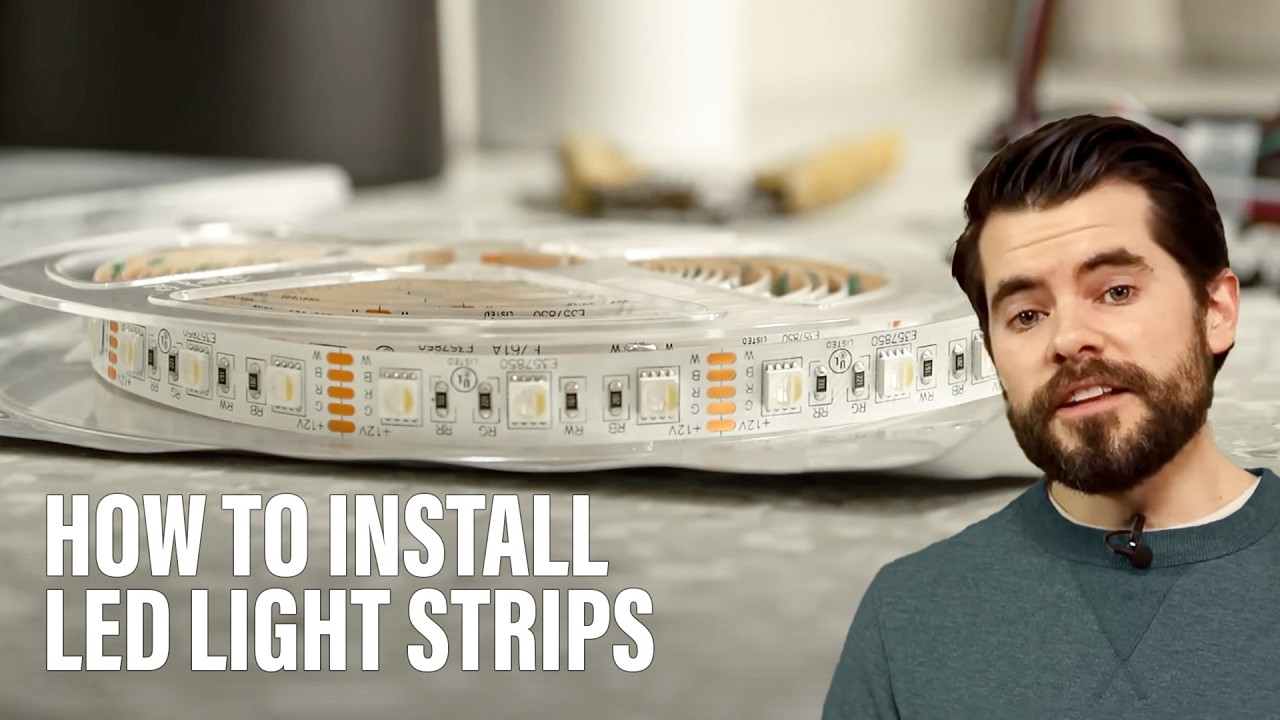
Showing 3:03–3:19 of the source video. Watch the full video with every moment.
What happens in this clip
With all connections made between the LED strip, wires, and controller, the final step is to connect the power supply. Take the barrel connector from the power supply and plug it into the corresponding power input jack on the LED controller. Once connected, the LED light strip should immediately illuminate. This confirms that all connections are correct and power is flowing, completing the basic installation process. You can now use the remote control to test different colors and brightness settings.
Goal: Plug the power supply into the controller and observe the LED strip to confirm it lights up, signifying a successful installation.
What's used
Tools
- LED Controller (with strip connected)
- Power Supply (Transformer)
About the full video
This project provides a step-by-step guide on how to install low voltage LED light strips using a power adapter. It covers identifying necessary components, cutting the LED strip to size, connecting it to solderless clamps and a controller, and finally powering it up. The process emphasizes ease of installation and flexibility for various lighting applications.
What's said in this clip
up the wire the color wire with the corresponding letter into the controller and tighten the connection so if you're plugging this into a 12 volt system you'd use these and put your positive and negative leads right there right from the fuse box from your car or your boat we're gonna put them into our house so we're gonna plug in a transformer and you got life LED light strips are really awesome and you can put them just about anywhere
Automatically transcribed from the source video.
Step 6 of 7: Connect Power Supply and Test
Connect the input end of your first LED strip segment (or the end of the main run) to the power supply. This typically involves connecting a low-voltage wire from the power adapter to the appropriate input terminals on the LED strip, ensuring correct polarity (+ to +, - to -). If using a controller for dimming or color changes, wire the LED strip to the controller's output and the power supply to the controller's input. Plug in the power supply and test all segments of the LED strip to ensure they light up correctly and consistently. Check for any flickering or dead sections.
Every video in How to Cut and Join LED Strip Lights Around Stair Corners
Step 1: Plan LED Strip Layout
- 0:00–0:02 Plan and Gather Components
- 0:00–0:19 Install Flexible LED Strip Lighting
- 5:35–6:58 Plan Light Placement and Spacing
Step 2: Cut LED Strips to Length
- 0:02–0:07 Cut LED Strip to Length
- 0:09–2:00 Cut the LED Strip to Length
- 7:29–8:41 Measure and Cut the LED Strip
Step 3: Prepare LED Strip Ends for Connection
- 0:52–1:41 Prepare and Connect LED Strips
- 8:41–10:19 Attach Solderless Connectors
- 0:59–1:26 Prepare Strip Ends
Step 4: Join LED Strips (if necessary)
- 1:49–2:53 Connect Strip Sections
- 1:47–5:03 Connect LED Strips (Plug-and-Play or Soldering)
- 0:03–0:09 Connect the LED Strips Using a Corner Connector
Step 5: Mount LED Strips to Stairs
- 0:00–0:00 Adhere LED Strips to Stair Treads
- 0:10–0:12 Install LED Strips on Stair Treads
- 0:00–0:19 Install Flexible LED Strip Lighting
Step 6: Connect Power Supply and Test
- 3:03–3:19 Connect Power Supply and Test (this video)
- 0:09–0:12 Wiring and Power Connection
- 1:11–1:33 Power Up and Test
Step 7: Secure and Conceal Wiring
- 0:00–0:00 Connect Power and Conceal Wiring
- 0:12–0:15 Conceal and Finish
- 3:52–4:19 Organize and Conceal Wiring
How to Cut and Join LED Strip Lights Around Stair Corners
A high-level outline for installing LED strip lights around stair corners, focusing on cutting, joining, and mounting techniques.
Read the full guide Browse all guides
Planning this project? Shop Oak Valley Designs.

Subscribe for exclusive updates
Be the first to know about promotions, new products, and sales.