
Measure and Cut the LED Strip
From How to Cut and Join LED Strip Lights Around Stair Corners · Step 2 of 7 · Video by Flexfire LEDs
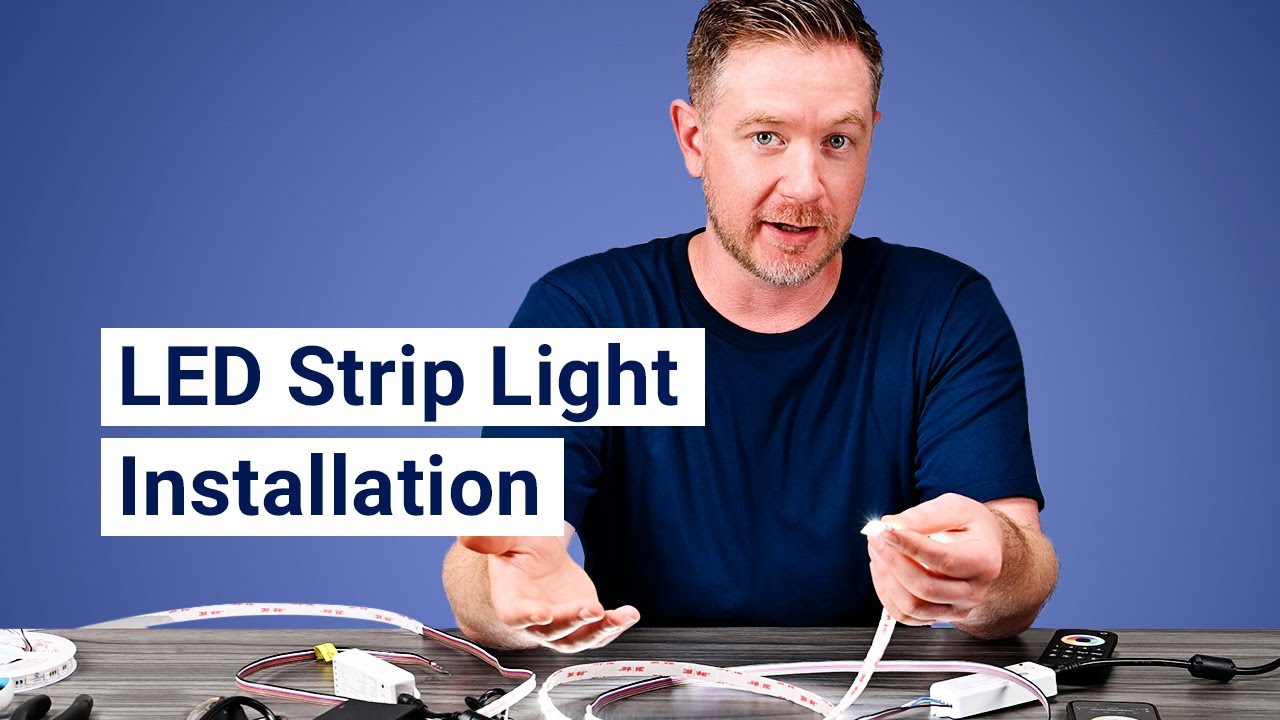
Showing 7:29–8:41 of the source video. Watch the full video with every moment.
What happens in this clip
Once functionality is confirmed, measure the length needed for your installation using a tape measure. Consult the product's spec sheet or installation manual to identify the specific cut marks on the LED strip's solder pads. These marks indicate safe points for cutting without damaging the circuit. If your desired length falls between cut marks, always cut at the closest designated mark. Ensure the power supply is disconnected from the controller and the strip before cutting to avoid electrical shock or damage from residual power. Use sharp scissors to cut precisely along the designated line, avoiding the LED beads themselves. After cutting, you will have a segment ready for connection.
Goal: Prepare the LED strip to the desired length
What's used
Tools
- LED Strip Light
- Scissors
- Tape Measure
About the full video
This video provides a comprehensive, step-by-step guide on how to install low-voltage LED strip lighting, focusing on products from FlexfireLEDs. It covers essential pre-installation considerations, identifies necessary components like the LED strip, solderless connectors, controllers (including smart home integration), power supplies, and mounting channels, and outlines the tools required. The core of the video demonstrates the installation process, including mock testing of components, measuring and cutting the LED strip, attaching solderless connectors, connecting the controller and power supply, and finally, installing the strip into an aluminum mounting channel. The tutorial emphasizes testing at each stage to ensure proper functionality and offers troubleshooting tips.
Step 2 of 7: Cut LED Strips to Length
LED strips are designed to be cut at specific intervals, usually marked with a small scissor icon or a copper pad. Measure the required length for each stair segment based on your planning. Carefully align your cutting tool with the designated cut line on the LED strip. Make a clean, straight cut. It is critical to cut only at the indicated points to avoid damaging the internal circuitry of the LED strip.
Every video in How to Cut and Join LED Strip Lights Around Stair Corners
Step 1: Plan LED Strip Layout
- 0:00–0:02 Plan and Gather Components
- 0:00–0:19 Install Flexible LED Strip Lighting
- 5:35–6:58 Plan Light Placement and Spacing
Step 2: Cut LED Strips to Length
- 0:02–0:07 Cut LED Strip to Length
- 0:09–2:00 Cut the LED Strip to Length
- 7:29–8:41 Measure and Cut the LED Strip (this video)
Step 3: Prepare LED Strip Ends for Connection
- 0:52–1:41 Prepare and Connect LED Strips
- 8:41–10:19 Attach Solderless Connectors
- 0:59–1:26 Prepare Strip Ends
Step 4: Join LED Strips (if necessary)
- 1:49–2:53 Connect Strip Sections
- 1:47–5:03 Connect LED Strips (Plug-and-Play or Soldering)
- 0:03–0:09 Connect the LED Strips Using a Corner Connector
Step 5: Mount LED Strips to Stairs
- 0:00–0:00 Adhere LED Strips to Stair Treads
- 0:10–0:12 Install LED Strips on Stair Treads
- 0:00–0:19 Install Flexible LED Strip Lighting
Step 6: Connect Power Supply and Test
- 3:03–3:19 Connect Power Supply and Test
- 0:09–0:12 Wiring and Power Connection
- 1:11–1:33 Power Up and Test
Step 7: Secure and Conceal Wiring
- 0:00–0:00 Connect Power and Conceal Wiring
- 0:12–0:15 Conceal and Finish
- 3:52–4:19 Organize and Conceal Wiring
How to Cut and Join LED Strip Lights Around Stair Corners
A high-level outline for installing LED strip lights around stair corners, focusing on cutting, joining, and mounting techniques.
Read the full guide Browse all guides
Planning this project? Shop Oak Valley Designs.

Subscribe for exclusive updates
Be the first to know about promotions, new products, and sales.