
Cut the LED Strip to Length
From How to Cut and Join LED Strip Lights Around Stair Corners · Step 2 of 7 · Video by TIGER POWER SUPPLIES
Showing 0:09–2:00 of the source video. Watch the full video with every moment.
What happens in this clip
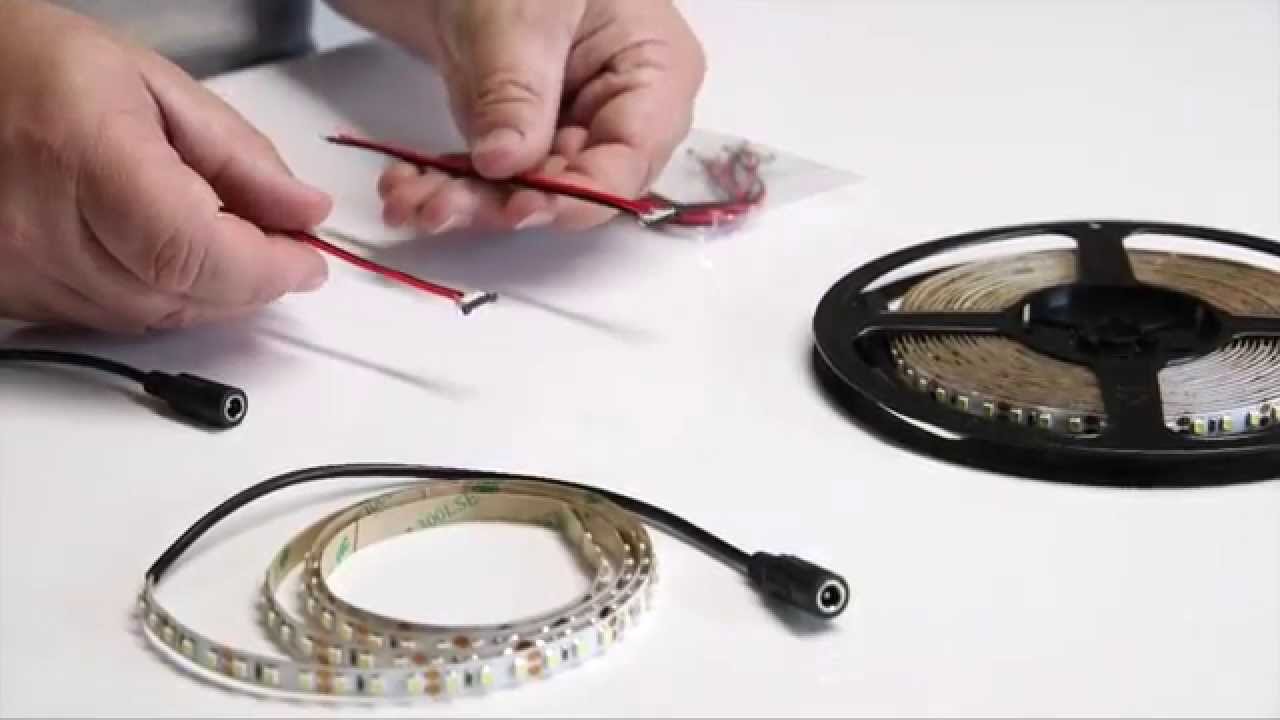
Begin by understanding how to correctly cut LED light strips to achieve your desired length. Identify the specific cut points on the strip, which are typically marked by a line. Note that the cutting distance varies based on the LED density: 100mm for 30 LEDs/meter, 50mm for 60 LEDs/meter, 25mm for 120 LEDs/meter, and 15mm for 240 LEDs/meter. Use a pair of sharp scissors to cut precisely along these marked lines. Cutting anywhere else can damage the strip and prevent some LEDs from functioning.
Goal: Prepare LED strips to the required length.
What's used
Tools
- LED Strip
- Ruler LINEX 2930M DENMARK
- Sharp Scissors
- Box cutter
About the full video
This project provides comprehensive instructions on how to cut, connect, and properly power LED light strips for various DIY applications. It covers essential safety guidelines, different connection methods (clip-on connectors and soldering), and crucial power supply calculations to ensure longevity and prevent damage to the LED strips.
Step 2 of 7: Cut LED Strips to Length
LED strips are designed to be cut at specific intervals, usually marked with a small scissor icon or a copper pad. Measure the required length for each stair segment based on your planning. Carefully align your cutting tool with the designated cut line on the LED strip. Make a clean, straight cut. It is critical to cut only at the indicated points to avoid damaging the internal circuitry of the LED strip.
Every video in How to Cut and Join LED Strip Lights Around Stair Corners
Step 1: Plan LED Strip Layout
- 0:00–0:02 Plan and Gather Components
- 0:00–0:19 Install Flexible LED Strip Lighting
- 5:35–6:58 Plan Light Placement and Spacing
Step 2: Cut LED Strips to Length
- 0:02–0:07 Cut LED Strip to Length
- 0:09–2:00 Cut the LED Strip to Length (this video)
- 7:29–8:41 Measure and Cut the LED Strip
Step 3: Prepare LED Strip Ends for Connection
- 0:52–1:41 Prepare and Connect LED Strips
- 8:41–10:19 Attach Solderless Connectors
- 0:59–1:26 Prepare Strip Ends
Step 4: Join LED Strips (if necessary)
- 1:49–2:53 Connect Strip Sections
- 1:47–5:03 Connect LED Strips (Plug-and-Play or Soldering)
- 0:03–0:09 Connect the LED Strips Using a Corner Connector
Step 5: Mount LED Strips to Stairs
- 0:00–0:00 Adhere LED Strips to Stair Treads
- 0:10–0:12 Install LED Strips on Stair Treads
- 0:00–0:19 Install Flexible LED Strip Lighting
Step 6: Connect Power Supply and Test
- 3:03–3:19 Connect Power Supply and Test
- 0:09–0:12 Wiring and Power Connection
- 1:11–1:33 Power Up and Test
Step 7: Secure and Conceal Wiring
- 0:00–0:00 Connect Power and Conceal Wiring
- 0:12–0:15 Conceal and Finish
- 3:52–4:19 Organize and Conceal Wiring
How to Cut and Join LED Strip Lights Around Stair Corners
A high-level outline for installing LED strip lights around stair corners, focusing on cutting, joining, and mounting techniques.
Read the full guide Browse all guides
Planning this project? Shop Oak Valley Designs.

Subscribe for exclusive updates
Be the first to know about promotions, new products, and sales.