
Utilize an Electronic Stud Finder and Mount Item
From How to Find Studs and Set the Right Handrail Height · Step 2 of 5 · Video by Inspire DIY
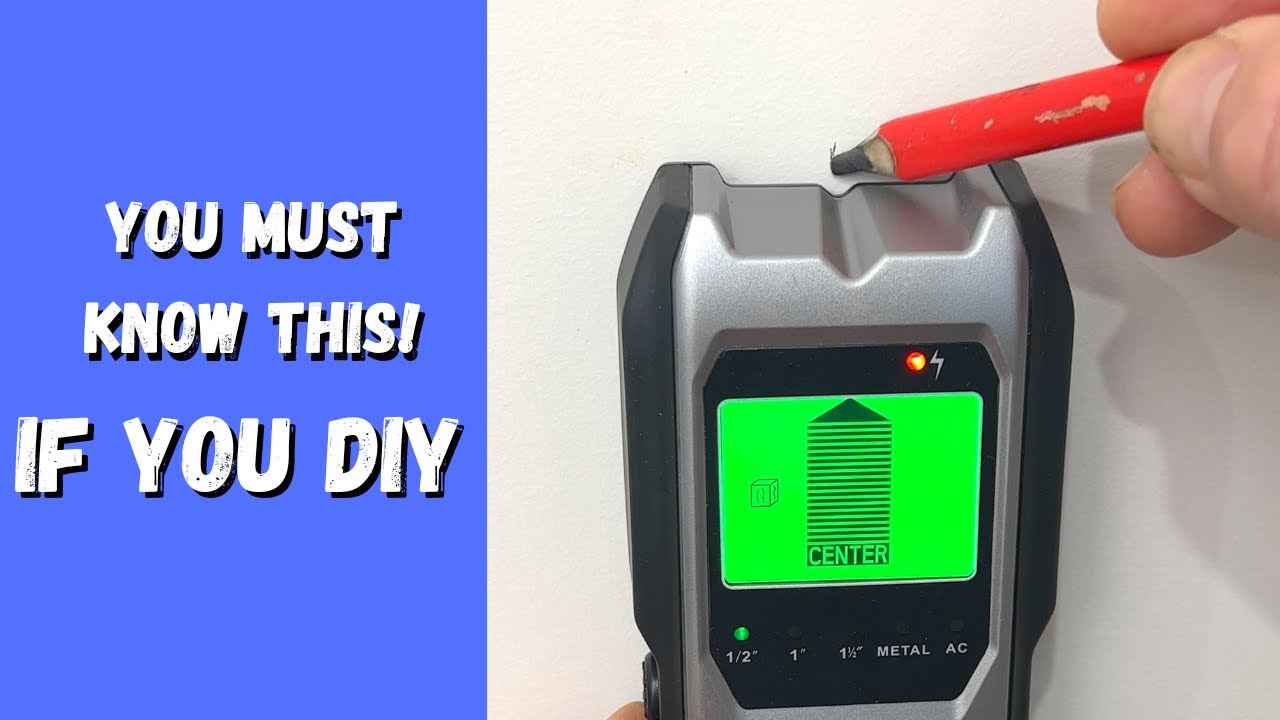
Showing 3:11–4:40 of the source video. Watch the full video with every moment.
What happens in this clip
The most accurate method involves using an electronic stud finder. Activate the stud finder and calibrate it by holding it flat against the wall where there is no stud. Then, slowly slide the stud finder horizontally along the wall. The device will typically indicate when it detects the edge of a stud and will often show the center of the stud on its screen (e.g., the Jurgen K brand shown features a 'CENTER' indicator). Many modern stud finders also offer additional detection modes, such as for live electrical wires, metal framing, or pipes behind the wall, enhancing safety and accuracy. Once the center of the stud is identified, mark it with a pencil. Then, use a level to mark the desired height for mounting your item (e.g., a shelf). Finally, use a drill and appropriate screws to securely attach your item into the located stud.
Goal: Accurately locate stud centers and securely mount items.
What's used
Tools
- Cordless Drill
- Impact driver
- Electronic Stud Finder Jurgen K
- Zircon StudSensor e50
- Black & Decker BDL190S
- metal
- and live electrical wires behind walls.
- Level
- Digital level
- Pencil
- Screws
- Drywall screws
- Shelf Brackets
Materials
- Shelf
- Television (TV)
About the full video
This project provides four practical methods for locating studs behind plasterboard walls, essential for securely mounting heavy items. Techniques range from traditional measurement and magnet use to acoustic tapping and advanced electronic stud finders, culminating in a demonstration of mounting a shelf into a located stud.
Step 2 of 5: Locate Wall Studs
At each marked height, use an electronic stud finder to locate the vertical wall studs. Once a stud is detected, slide the finder horizontally to find its edges and then mark the centerlines of the studs. Repeat this process for all desired mounting locations.
Every video in How to Find Studs and Set the Right Handrail Height
Step 1: Determine Handrail Height
- 0:47–1:58 Mark Handrail Height
- 0:40–1:07 Measure Handrail Height
- 3:48–4:29 Verify Handrail Height for Code Compliance
Step 2: Locate Wall Studs
- 3:11–4:40 Utilize an Electronic Stud Finder and Mount Item (this video)
- 0:34–1:16 Locate and Mark Studs with Stud Finder
- 0:04–0:13 Locate Wall Studs
Step 3: Mark Support Bracket Locations
- 1:25–2:44 Install Handrail Brackets (Wood Studs)
- 2:22–2:54 Mark Screw Locations
- 2:46–3:44 Locate and Mark Studs for Brackets
Step 4: Drill Pilot Holes
- 1:47–2:15 Locate Studs and Drill Pilot Holes
- 0:31–0:38 Drill Pilot Holes
- 8:51–9:40 Pre-Drill Pilot Holes
Step 5: Attach Support Brackets
- 0:23–0:35 Install Handrail Brackets
- 2:28–2:44 Install Brackets and Mount Handrail
- 2:15–2:28 Mount Handrail Brackets
How to Find Studs and Set the Right Handrail Height
This project outlines the steps to locate wall studs and determine the correct height for installing a handrail, ensuring safety and code compliance for stairways and accessible routes.
Read the full guide Browse all guides
Planning this project? Shop Oak Valley Designs.

Subscribe for exclusive updates
Be the first to know about promotions, new products, and sales.