
Mark Screw Locations
From How to Find Studs and Set the Right Handrail Height · Step 3 of 5 · Video by Reluctant DIYers
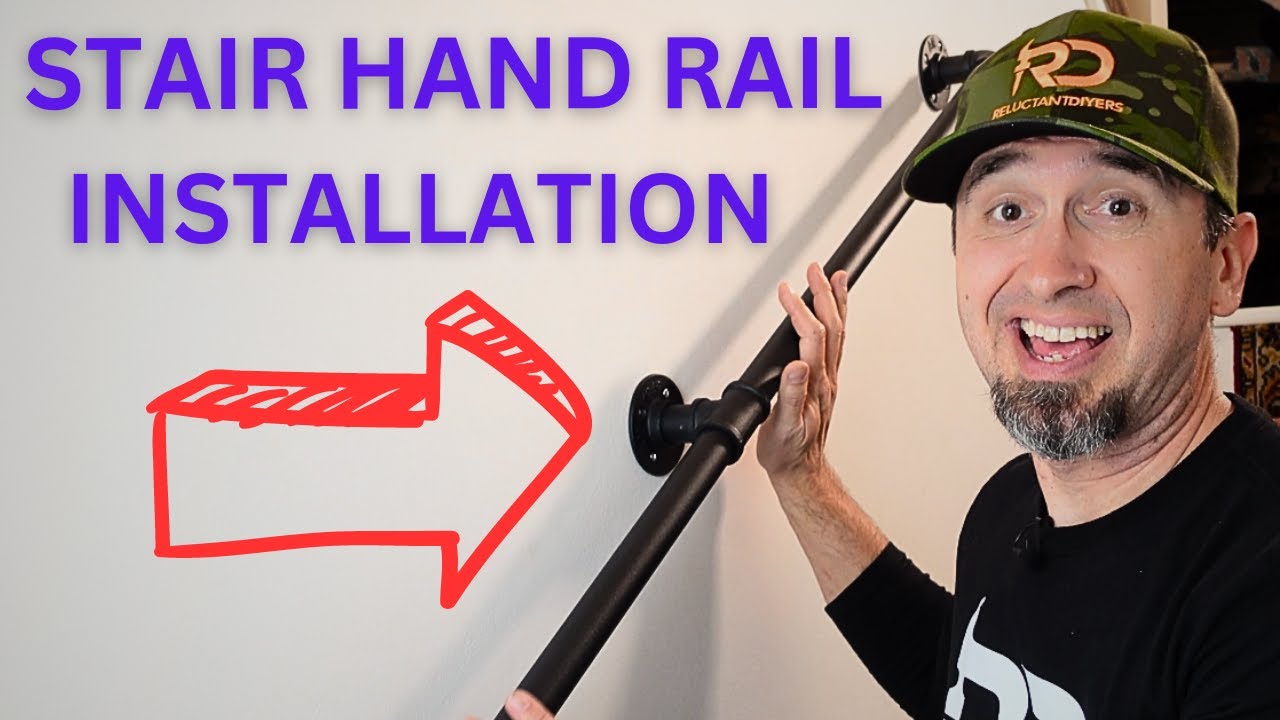
Showing 2:22–2:54 of the source video. Watch the full video with every moment.
What happens in this clip
Carefully hold the pre-assembled handrail against the wall at the previously marked desired height. Align it so that the mounting flanges are positioned over the green tape marks (studs) where possible. Use a pencil to precisely trace the screw holes within each flange onto the wall. The presenter suggests starting by holding one of the middle sections in place first, as this can help stabilize the rail while you mark the ends, making it easier to ensure proper alignment. This step identifies the exact points where you will need to drill or install anchors.
Goal: Accurately transfer screw hole positions from the handrail flanges to the wall
What's used
Tools
- Assembled Pipe Handrail
- Pencil
- Tape Measure
About the full video
This DIY project provides a step-by-step guide to installing a sturdy pipe handrail in a stairwell. It highlights the crucial steps of locating wall studs using a specialized stud finder, pre-assembling the pipe components, marking precise drilling locations, installing appropriate anchors for drywall sections, and securely mounting the handrail for enhanced safety and aesthetic appeal.
Step 3 of 5: Mark Support Bracket Locations
Hold a handrail bracket against the wall at the desired height, ensuring it is centered over a marked stud centerline. Use a pencil to mark the screw hole locations through the bracket onto the wall. For longer runs, use a level to ensure brackets are vertically aligned.
Every video in How to Find Studs and Set the Right Handrail Height
Step 1: Determine Handrail Height
- 0:47–1:58 Mark Handrail Height
- 0:40–1:07 Measure Handrail Height
- 3:48–4:29 Verify Handrail Height for Code Compliance
Step 2: Locate Wall Studs
- 3:11–4:40 Utilize an Electronic Stud Finder and Mount Item
- 0:34–1:16 Locate and Mark Studs with Stud Finder
- 0:04–0:13 Locate Wall Studs
Step 3: Mark Support Bracket Locations
- 1:25–2:44 Install Handrail Brackets (Wood Studs)
- 2:22–2:54 Mark Screw Locations (this video)
- 2:46–3:44 Locate and Mark Studs for Brackets
Step 4: Drill Pilot Holes
- 1:47–2:15 Locate Studs and Drill Pilot Holes
- 0:31–0:38 Drill Pilot Holes
- 8:51–9:40 Pre-Drill Pilot Holes
Step 5: Attach Support Brackets
- 0:23–0:35 Install Handrail Brackets
- 2:28–2:44 Install Brackets and Mount Handrail
- 2:15–2:28 Mount Handrail Brackets
How to Find Studs and Set the Right Handrail Height
This project outlines the steps to locate wall studs and determine the correct height for installing a handrail, ensuring safety and code compliance for stairways and accessible routes.
Read the full guide Browse all guides
Planning this project? Shop Oak Valley Designs.

Subscribe for exclusive updates
Be the first to know about promotions, new products, and sales.