
Mount Handrail Brackets
From How to Find Studs and Set the Right Handrail Height · Step 5 of 5 · Video by This Old House
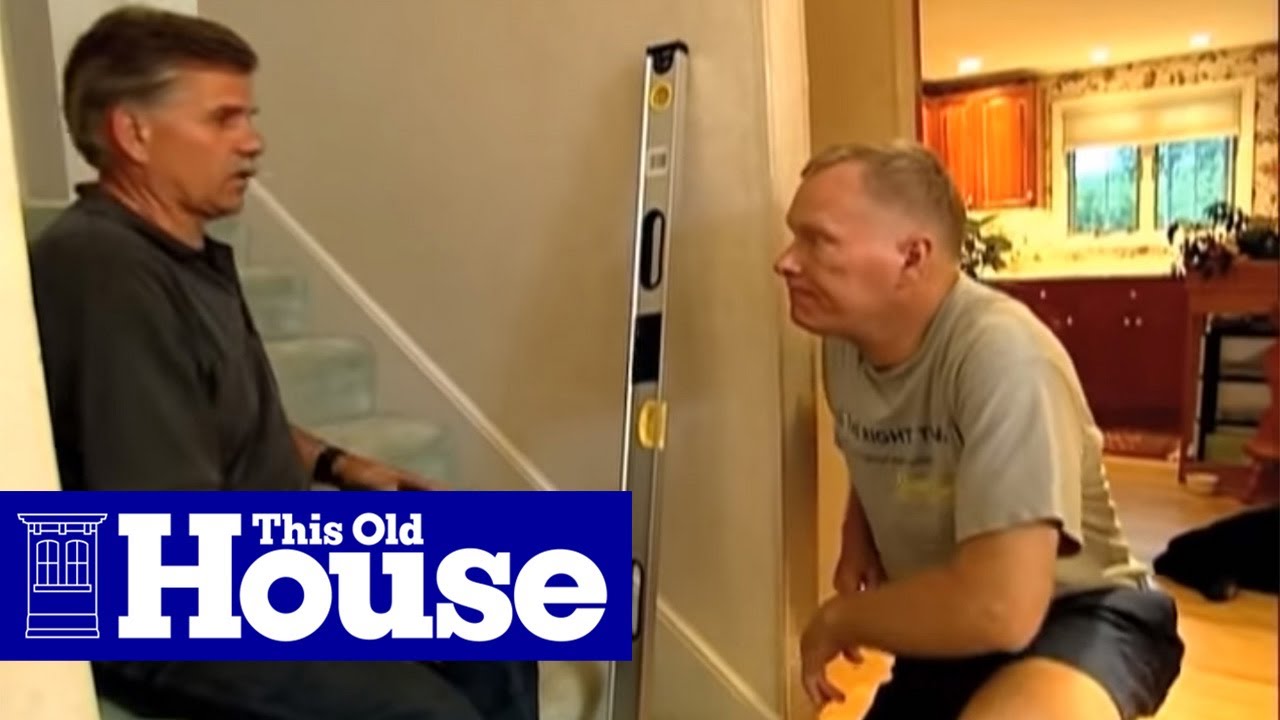
Showing 2:15–2:28 of the source video. Watch the full video with every moment.
What happens in this clip
Align each handrail bracket with the previously drilled pilot holes on the wall. Use a drill or screwdriver to drive the screws through the bracket and into the pilot holes, firmly attaching the brackets to the wall studs. Ensure the brackets are oriented correctly to receive the handrail.
Goal: Securely attach the handrail brackets to the wall at the pilot hole locations.
What's used
Tools
- Cordless Drill
- Railing Brackets
- Screws
About the full video
This video provides a detailed guide on installing a wooden handrail along a staircase, adhering to building code height requirements. It covers essential steps from accurately marking the wall for bracket placement and cutting the railing to size, to attaching mitered returns and finally mounting the railing securely to the wall.
Step 5 of 5: Attach Support Brackets
Place each handrail bracket over the pre-drilled pilot holes. Insert the appropriate screws (typically lag screws or wood screws designed for structural support) through the bracket and into the pilot holes. Tighten the screws firmly with a drill or wrench until the bracket is snug against the wall and securely engaged with the stud. Do not overtighten, which can strip the wood or damage the drywall.
Every video in How to Find Studs and Set the Right Handrail Height
Step 1: Determine Handrail Height
- 0:47–1:58 Mark Handrail Height
- 0:40–1:07 Measure Handrail Height
- 3:48–4:29 Verify Handrail Height for Code Compliance
Step 2: Locate Wall Studs
- 3:11–4:40 Utilize an Electronic Stud Finder and Mount Item
- 0:34–1:16 Locate and Mark Studs with Stud Finder
- 0:04–0:13 Locate Wall Studs
Step 3: Mark Support Bracket Locations
- 1:25–2:44 Install Handrail Brackets (Wood Studs)
- 2:22–2:54 Mark Screw Locations
- 2:46–3:44 Locate and Mark Studs for Brackets
Step 4: Drill Pilot Holes
- 1:47–2:15 Locate Studs and Drill Pilot Holes
- 0:31–0:38 Drill Pilot Holes
- 8:51–9:40 Pre-Drill Pilot Holes
Step 5: Attach Support Brackets
- 0:23–0:35 Install Handrail Brackets
- 2:28–2:44 Install Brackets and Mount Handrail
- 2:15–2:28 Mount Handrail Brackets (this video)
How to Find Studs and Set the Right Handrail Height
This project outlines the steps to locate wall studs and determine the correct height for installing a handrail, ensuring safety and code compliance for stairways and accessible routes.
Read the full guide Browse all guides
Planning this project? Shop Oak Valley Designs.

Subscribe for exclusive updates
Be the first to know about promotions, new products, and sales.