
Test and Fine-Tune the Latch Mechanism
From How to Install a Pet Gate at the Bottom of Stairs · Step 5 of 5 · Video by Simple Motions
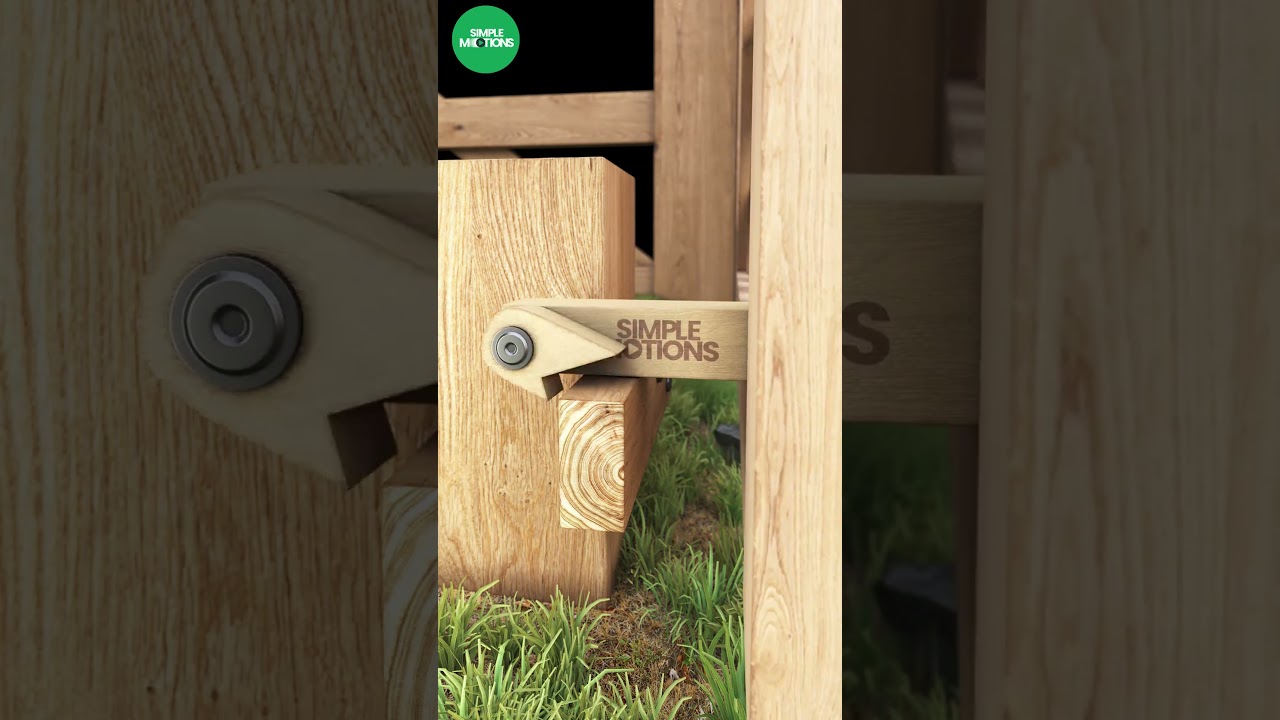
Showing 0:04–0:07 of the source video. Watch the full video with every moment.
What happens in this clip
With the gate latch fully installed, perform several tests to ensure it functions correctly and securely. Open and close the gate, observing the interaction between the pivoting latch arm and the fixed support bar. The latch arm should fall smoothly into place when the gate closes, securing it firmly. It should also lift easily to release the gate. If the latch is too stiff, slightly loosen the pivot bolt. If it feels too loose or rattles, tighten the pivot bolt slightly or add an additional washer for spacing. Check for any rubbing or binding, and if necessary, use a file or chisel to make minor adjustments to the wood components. The goal is a secure, easy-to-operate latch.
Goal: Verify the latch operates smoothly and securely, making necessary adjustments
What's used
Tools
- File
- Chisel
- Hammer
- Wrench Set
- Adjustable wrench
About the full video
This project details the construction of a simple, pivoting wooden gate latch mechanism. It involves preparing wooden components for a fixed support bar and a uniquely shaped latch arm, then assembling them to create a functional and aesthetically pleasing gate security solution. The latch pivots downwards to secure the gate and lifts upwards to release it.
Step 5 of 5: Adjust and Test Latch Mechanism
Once the gate is hung, make any necessary minor adjustments to ensure it sits perfectly square and closes flush against the frame or post. Operate the latch several times to ensure it is easy to use for adults but secure enough to contain pets and small children. Gently push and pull on the gate to confirm it is stable and securely attached to the mounting hardware. There should be minimal movement or play. Re-check that the latch engages fully and holds the gate closed effectively.
Every video in How to Install a Pet Gate at the Bottom of Stairs
Step 1: Select Gate Type and Location
- 0:04–0:43 Prepare and Plan for Gate Installation
- 10:22–10:55 Select and Position the Gate
- 1:29–1:43 Plan Hardware Mount Hinge Direction
Step 2: Mark Mounting Positions
- 1:11–1:29 Mark and Install Bottom Wall Brackets
- 0:24–0:31 Install Lower Wall Mounts (First Side)
- 0:56–1:10 Install Lower Wall Mounts (Second Side)
Step 3: Install Mounting Hardware
- 11:05–11:15 Drill Pilot Holes and Install Anchors
- 1:16–2:13 Install Gate (Hardware Mounting)
- 1:18–1:38 Install Left Gate Mounts
Step 4: Attach Gate to Hardware
- 5:13–5:39 Install Gate onto Wall Fittings
- 11:15–11:22 Mount and Adjust the Gate
- 5:29–6:07 Install Gate to Staircase
Step 5: Adjust and Test Latch Mechanism
- 0:09–0:15 Test Gate Security and Latch
- 11:15–11:22 Mount and Adjust the Gate
- 0:04–0:07 Test and Fine-Tune the Latch Mechanism (this video)
How to Install a Pet Gate at the Bottom of Stairs
Outline for installing a pet gate at the bottom of stairs, focusing on secure mounting and ensuring safety for pets and children.
Read the full guide Browse all guides
Planning this project? Shop Oak Valley Designs.

Subscribe for exclusive updates
Be the first to know about promotions, new products, and sales.