
Prepare and Plan for Gate Installation
From How to Install a Pet Gate at the Bottom of Stairs · Step 1 of 5 · Video by Argos
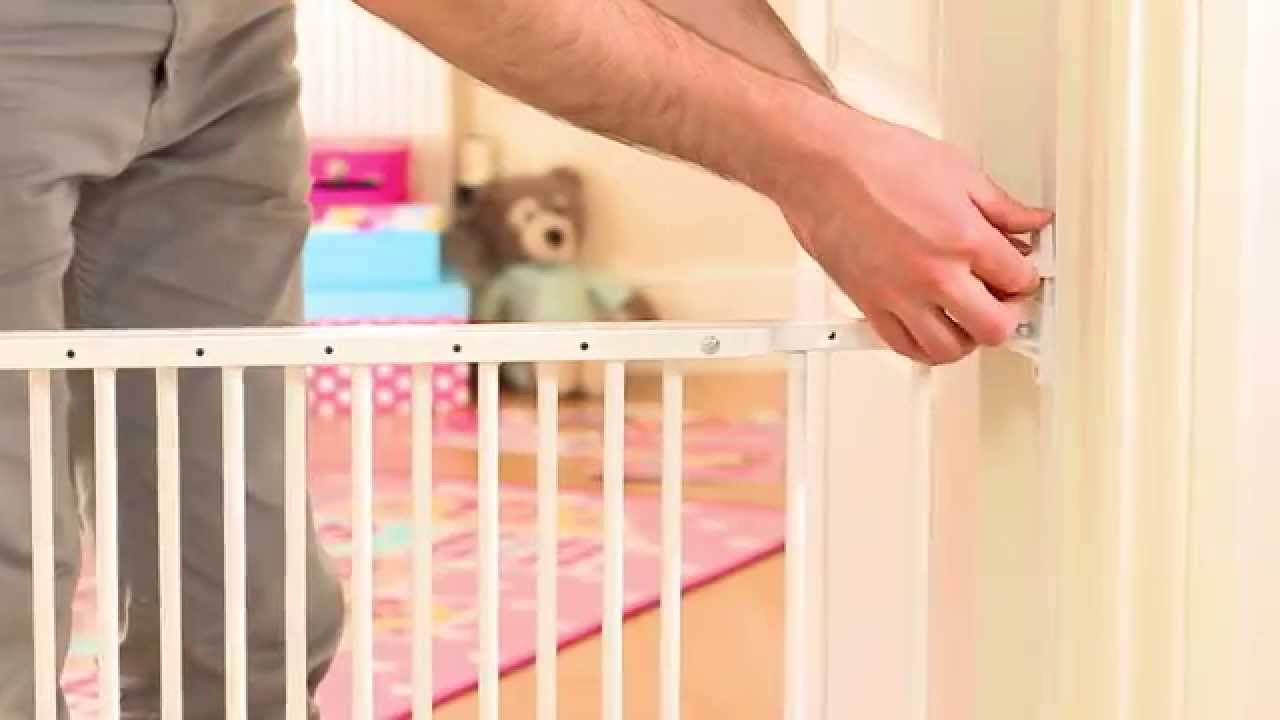
Showing 0:04–0:43 of the source video. Watch the full video with every moment.
What happens in this clip
Before purchasing, use a tape measure to accurately measure the gap where you intend to install the wall-fixed safety gate. This specific gate is extendable and fits openings between 62.5cm and 106.8cm. All Argos safety gates are suitable for children up to 24 months. For installation at the top of stairs, ensure the gate is located on the very top stair and opens inwards towards the landing to prevent accidental falls down the stairs. If installing at the bottom of stairs, position the gate on the lowest stair, opening away from the staircase.
Goal: Determine correct gate size and placement
What's used
Tools
- Tape Measure Stanley
- Yard stick
About the full video
This guide from Argos demonstrates how to install a wall-fixed safety gate, starting with crucial measurements and proper placement at stairs. It then walks through unboxing, using supplied templates to mark wall fixing points, attaching optional one-way stop pins, securing the wall fixings, assembling and adjusting the gate panels, and finally hanging and testing the gate for secure operation.
Step 1 of 5: Select Gate Type and Location
Select a pet gate that is specifically designed for use at the bottom of stairs. Hardware-mounted gates are generally recommended for stairways for maximum safety, as pressure-mounted gates can pose a risk if dislodged. Measure the width of the stair opening at the bottom to ensure the chosen gate will fit snugly. Check the gate's specifications for maximum and minimum opening widths it can accommodate. Prioritize gates that meet current safety standards for child and pet safety. Ensure the gate itself is sturdy and does not have small parts that could be a choking hazard for young children or pets.
Every video in How to Install a Pet Gate at the Bottom of Stairs
Step 1: Select Gate Type and Location
- 0:04–0:43 Prepare and Plan for Gate Installation (this video)
- 10:22–10:55 Select and Position the Gate
- 1:29–1:43 Plan Hardware Mount Hinge Direction
Step 2: Mark Mounting Positions
- 1:11–1:29 Mark and Install Bottom Wall Brackets
- 0:24–0:31 Install Lower Wall Mounts (First Side)
- 0:56–1:10 Install Lower Wall Mounts (Second Side)
Step 3: Install Mounting Hardware
- 11:05–11:15 Drill Pilot Holes and Install Anchors
- 1:16–2:13 Install Gate (Hardware Mounting)
- 1:18–1:38 Install Left Gate Mounts
Step 4: Attach Gate to Hardware
- 5:13–5:39 Install Gate onto Wall Fittings
- 11:15–11:22 Mount and Adjust the Gate
- 5:29–6:07 Install Gate to Staircase
Step 5: Adjust and Test Latch Mechanism
- 0:09–0:15 Test Gate Security and Latch
- 11:15–11:22 Mount and Adjust the Gate
- 0:04–0:07 Test and Fine-Tune the Latch Mechanism
How to Install a Pet Gate at the Bottom of Stairs
Outline for installing a pet gate at the bottom of stairs, focusing on secure mounting and ensuring safety for pets and children.
Read the full guide Browse all guides
Planning this project? Shop Oak Valley Designs.

Subscribe for exclusive updates
Be the first to know about promotions, new products, and sales.