
Shape Handrail Return Ends
From How to Install a Handrail Return at the End of a Rail · Step 3 of 6 · Video by DIYTyler
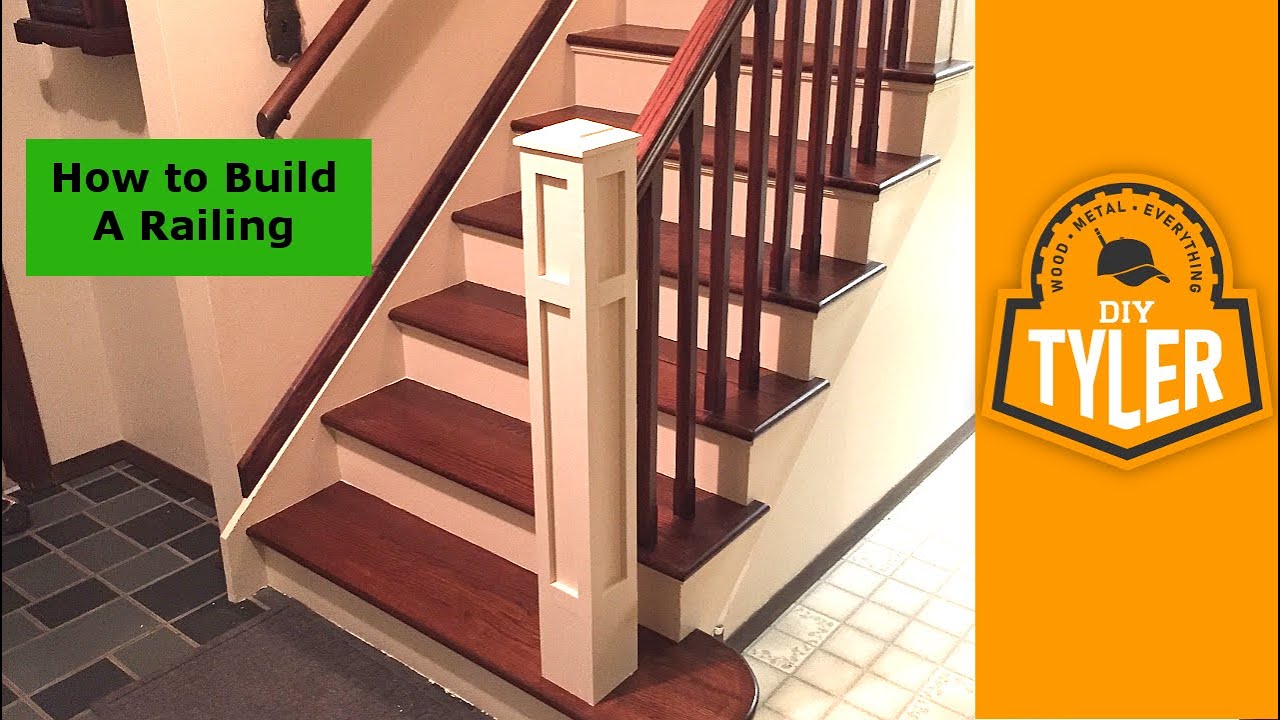
Showing 5:22–5:43 of the source video. Watch the full video with every moment.
What happens in this clip
Use a specialized jig, typically for miter cuts, to guide the miter saw in creating the precise angles needed for the handrail return end. Carefully feed the handrail material through the miter saw with the jig, making the necessary cuts to form the angled return piece that will seamlessly connect the handrail to a wall or another post.
What's used
Tools
- DeWalt Miter Saw
- Handrail Cutting Jig
Materials
- Handrail Material
About the full video
This video provides a detailed guide on constructing and installing a newel post, balusters, and a handrail with a custom return end for a staircase. The project involves preparing raw lumber, assembling the newel post components, accurately cutting and drilling for balusters, creating the handrail return end, and finally, installing and finishing all elements for a polished look.
Step 3 of 6: Fit and Test Handrail Return
Align the handrail return with the cut end of the handrail and the marked position on the wall or newel post. Check for a snug fit and proper alignment. Make any minor adjustments needed to ensure a seamless transition.
Every video in How to Install a Handrail Return at the End of a Rail
Step 1: Mark Handrail Return Position
Step 2: Prepare Handrail End for Return
- 2:44–3:32 Cut Handrail Ends for Returns
- 4:05–5:23 Cut Handrail for Returns
- 2:44–3:21 Cut Handrail Ends with Miter Saw
Step 3: Fit and Test Handrail Return
- 4:24–5:10 Final Handrail Installation and Stability Check
- 5:43–5:52 Dry Fit Handrail over Balusters
- 5:22–5:43 Shape Handrail Return Ends (this video)
Step 4: Secure Handrail Return to Handrail
- 4:26–5:07 Gluing and Fastening the Return Piece
- 9:58–10:29 Fabricate and Install Handrail Return
- 3:32–4:24 Assemble Handrail End Returns
Step 5: Mount Handrail Assembly to Wall/Newel Post
- 0:54–1:00 Connect Handrail to Newel Post
- 12:33–14:45 Install Handrail to Newel Post and Wall
- 0:15–0:22 Attach Handrail to Newel Post
Step 6: Finish and Inspect
- 1:53–2:04 Final Sanding and Cleaning
- 0:28–0:36 Finishing and Sealing
- 0:43–0:46 Finishing Touches (Sanding, Finishing, Caulk)
How to Install a Handrail Return at the End of a Rail
This project outlines the steps to properly install a handrail return, which is the curved or angled section at the end of a handrail that transitions it back to the wall or newel post. This ensures a safe and aesthetically pleasing finish.
Read the full guide Browse all guides
Planning this project? Shop Oak Valley Designs.

Subscribe for exclusive updates
Be the first to know about promotions, new products, and sales.