
Finishing Touches (Sanding, Finishing, Caulk)
From How to Install a Handrail Return at the End of a Rail · Step 6 of 6 · Video by Rad Dad Builds
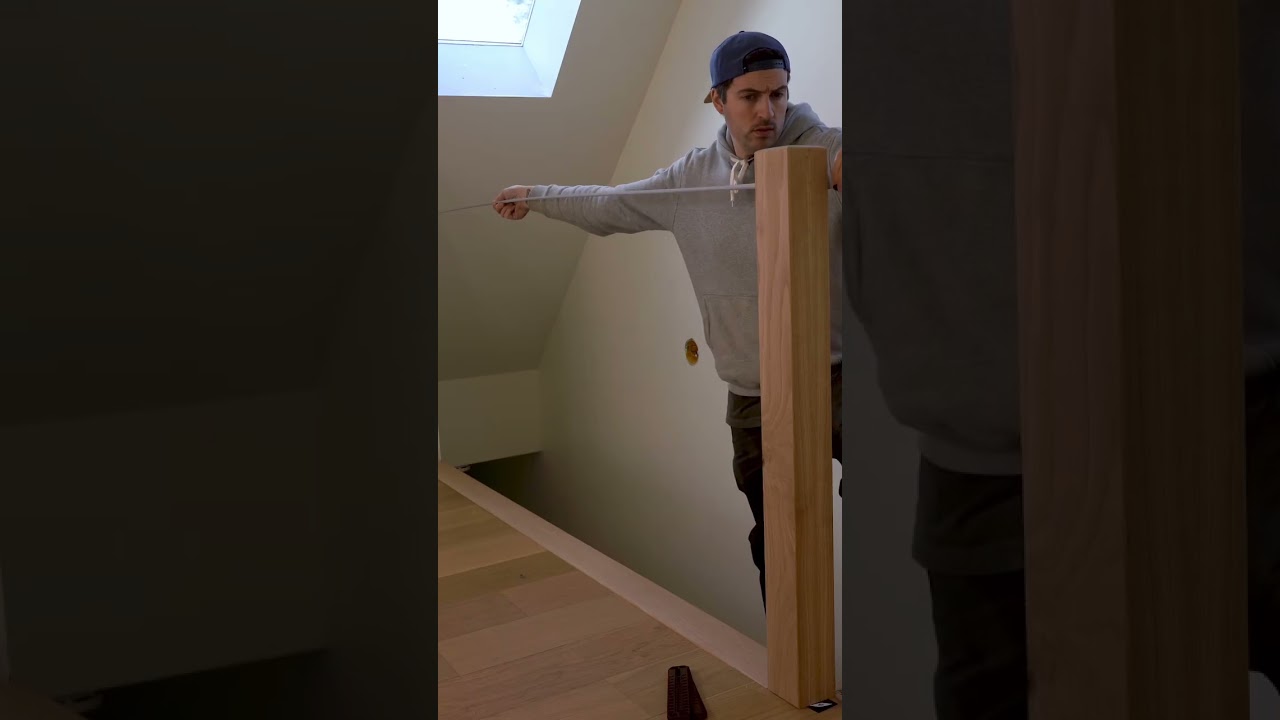
Showing 0:43–0:46 of the source video. Watch the full video with every moment.
What happens in this clip
Once all structural components are assembled, perform a final sanding of all wooden surfaces of the handrail and newel posts using progressively finer grit sandpaper (e.g., 120, 180, 220 grit) to achieve a smooth finish. After sanding, thoroughly clean the wood to remove any dust. Apply a wood finish, such as a stain, clear coat, or oil, using an applicator pad or brush. Ensure even coverage and wipe off any excess according to the product's instructions. Finally, use caulk or wood putty to fill any small gaps between the railing components and the wall or floor for a seamless appearance, and touch up any paint on adjacent walls or trim as needed.
Goal: Achieve a smooth, protected, and aesthetically pleasing final railing.
What's used
Tools
- Applicator Pad/Brush
- Caulk Gun
- Clean Cloths/Rags
- Putty Knife
- Sander (Random Orbital or Block)
Materials
- Caulk
- Silicone caulk
- Paint
- Sandpaper
- 120
- 180
- 220 grit).
- Wood Finish (Oil
- Stain
- Clear Coat)
- Lacquer
- Shellac
- Wood Putty/Filler
About the full video
This project details the process of constructing and installing a custom interior railing featuring wooden newel posts and handrails complemented by metal balusters. The steps include disassembling an existing railing, preparing custom wood components through cutting, gluing, and shaping, installing the main structural elements (newel posts and handrails), adding the metal balusters, and finally applying a protective finish and performing touch-ups.
Step 6 of 6: Finish and Inspect
Sand the entire handrail assembly smooth, paying attention to the joints. Fill any screw holes or imperfections with wood filler and allow it to dry. Once dry, sand the filled areas flush. Apply stain, paint, or sealant to match the existing handrail and surrounding finishes. Inspect the entire installation for stability and appearance.
Every video in How to Install a Handrail Return at the End of a Rail
Step 1: Mark Handrail Return Position
Step 2: Prepare Handrail End for Return
- 2:44–3:32 Cut Handrail Ends for Returns
- 4:05–5:23 Cut Handrail for Returns
- 2:44–3:21 Cut Handrail Ends with Miter Saw
Step 3: Fit and Test Handrail Return
- 4:24–5:10 Final Handrail Installation and Stability Check
- 5:43–5:52 Dry Fit Handrail over Balusters
- 5:22–5:43 Shape Handrail Return Ends
Step 4: Secure Handrail Return to Handrail
- 4:26–5:07 Gluing and Fastening the Return Piece
- 9:58–10:29 Fabricate and Install Handrail Return
- 3:32–4:24 Assemble Handrail End Returns
Step 5: Mount Handrail Assembly to Wall/Newel Post
- 0:54–1:00 Connect Handrail to Newel Post
- 12:33–14:45 Install Handrail to Newel Post and Wall
- 0:15–0:22 Attach Handrail to Newel Post
Step 6: Finish and Inspect
- 1:53–2:04 Final Sanding and Cleaning
- 0:28–0:36 Finishing and Sealing
- 0:43–0:46 Finishing Touches (Sanding, Finishing, Caulk) (this video)
How to Install a Handrail Return at the End of a Rail
This project outlines the steps to properly install a handrail return, which is the curved or angled section at the end of a handrail that transitions it back to the wall or newel post. This ensures a safe and aesthetically pleasing finish.
Read the full guide Browse all guides
Planning this project? Shop Oak Valley Designs.

Subscribe for exclusive updates
Be the first to know about promotions, new products, and sales.