
Finishing and Sealing
From How to Install a Handrail Return at the End of a Rail · Step 6 of 6 · Video by Ideals Woods
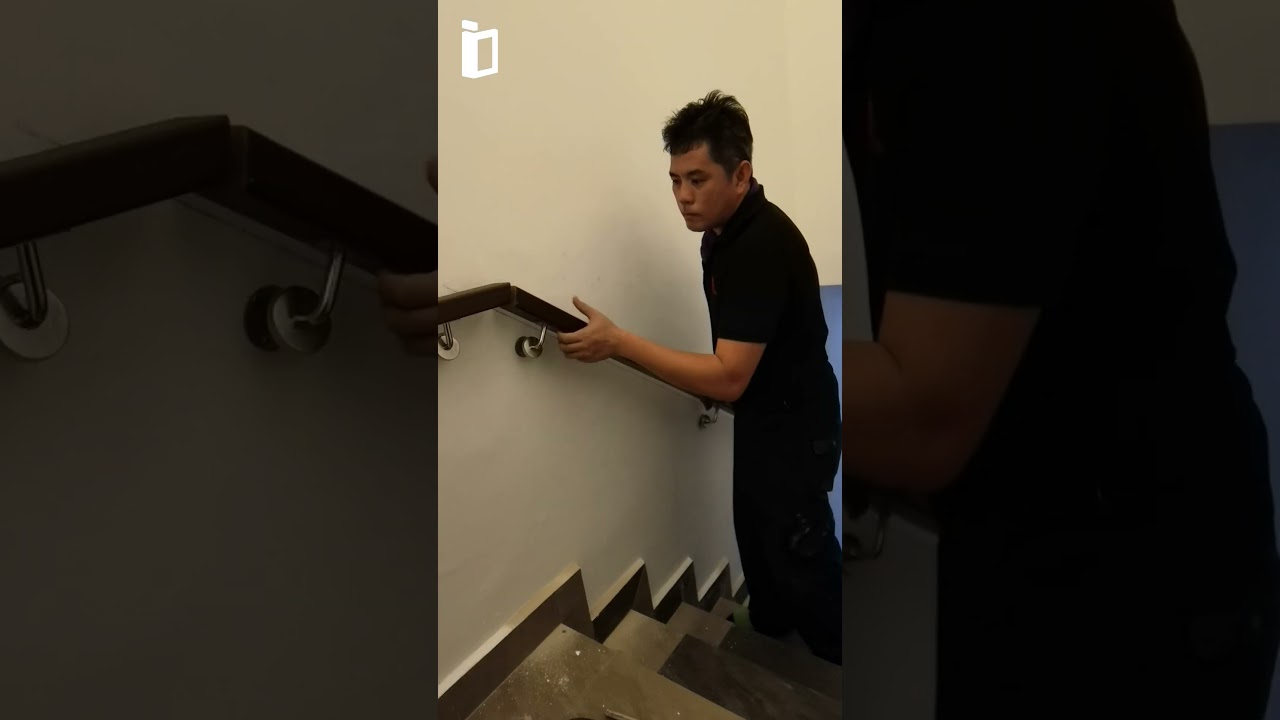
Showing 0:28–0:36 of the source video. Watch the full video with every moment.
What happens in this clip
After the handrail is fully installed, apply wood filler to any small gaps or imperfections at the mitered joints to ensure a smooth, continuous surface. Allow the filler to dry, then sand the areas smooth with a sanding block. Finally, apply a bead of white silicone sealant (or caulk) along the top and bottom edges where the handrail meets the wall, and around the base of each bracket. Smooth the sealant with a wet finger or a damp sponge for a clean, finished look, wiping away any excess immediately.
Goal: Achieve a smooth, sealed, and polished look
What's used
Tools
- Putty Knife (or similar applicator)
- Sanding Block
- Sealant Gun
- Wet Sponge/Rag
Materials
- Sandpaper
- Water Tap water
- White Silicone Sealant (or Caulk)
- Wood Filler
About the full video
This project details the installation of a wall-mounted wooden handrail along a staircase. The process involves accurately marking the handrail's path, drilling and securing mounting brackets to the wall, precisely cutting and joining wooden handrail sections, and finally, attaching the handrail to the brackets. The finishing touches include filling any gaps in the wood joints and sealing the edges where the handrail meets the wall for a clean, professional appearance.
Step 6 of 6: Finish and Inspect
Sand the entire handrail assembly smooth, paying attention to the joints. Fill any screw holes or imperfections with wood filler and allow it to dry. Once dry, sand the filled areas flush. Apply stain, paint, or sealant to match the existing handrail and surrounding finishes. Inspect the entire installation for stability and appearance.
Every video in How to Install a Handrail Return at the End of a Rail
Step 1: Mark Handrail Return Position
Step 2: Prepare Handrail End for Return
- 2:44–3:32 Cut Handrail Ends for Returns
- 4:05–5:23 Cut Handrail for Returns
- 2:44–3:21 Cut Handrail Ends with Miter Saw
Step 3: Fit and Test Handrail Return
- 4:24–5:10 Final Handrail Installation and Stability Check
- 5:43–5:52 Dry Fit Handrail over Balusters
- 5:22–5:43 Shape Handrail Return Ends
Step 4: Secure Handrail Return to Handrail
- 4:26–5:07 Gluing and Fastening the Return Piece
- 9:58–10:29 Fabricate and Install Handrail Return
- 3:32–4:24 Assemble Handrail End Returns
Step 5: Mount Handrail Assembly to Wall/Newel Post
- 0:54–1:00 Connect Handrail to Newel Post
- 12:33–14:45 Install Handrail to Newel Post and Wall
- 0:15–0:22 Attach Handrail to Newel Post
Step 6: Finish and Inspect
- 1:53–2:04 Final Sanding and Cleaning
- 0:28–0:36 Finishing and Sealing (this video)
- 0:43–0:46 Finishing Touches (Sanding, Finishing, Caulk)
How to Install a Handrail Return at the End of a Rail
This project outlines the steps to properly install a handrail return, which is the curved or angled section at the end of a handrail that transitions it back to the wall or newel post. This ensures a safe and aesthetically pleasing finish.
Read the full guide Browse all guides
Planning this project? Shop Oak Valley Designs.

Subscribe for exclusive updates
Be the first to know about promotions, new products, and sales.